Zunari Kabuto
Research Stage
I had never made a helmet or even done any sort of extensive metal work before. All of my previous armor project consisted of relatively simple metal work, mainly punching holes and single dimension curves. Even when following the classic guide at https://sengokudaimyo.com/katchu-katchuch09 I was quite lost on how I was going to actually make a kabuto. The guide covers many aspects of creating a helmet, but there are many questions left unanswered. Despite the brevity, read it, then read it again, and then another dozen times. Unfortunately there are no other resources for filling in the missing practical details of building a kabuto. I hope this project guide will fill in some of blanks.
Step 1 is reserch: There many not be a ton of Japanese armor specific resources for construction techniques, but there sure are a plethora of European armoring resources. Learning how they create patterns, what tools to acquire, and methods form metal forming are essential. Here are a few non-Japanese armoring sources I learned from:
- http://www.armourarchive.org/ – Primarily a discussion board these days, but the site has been around for ages has a number of European Patterns.
- http://allenantiques.com/Armour-Collection.html – Fantastic studies of extant European armor pieces.
- Errant Knight – In-depth discussions on the history and functions of armor
- Greenleaf Armory – Excellent armoring tutorials.
- World of armor. ArmorSmith – Ukrainian armorer that produces great tutorials and armor studies
- Armure Dubé – Master armorsmith Eric Dubé.
- https://www.facebook.com/groups/unitedleagueofarmourers – Large and very active armoring group
- Man Sewing – Great resource for learning how to sew.
- Eastwood – A car channel, but all of their metalworking tutorials apply directly to armoring
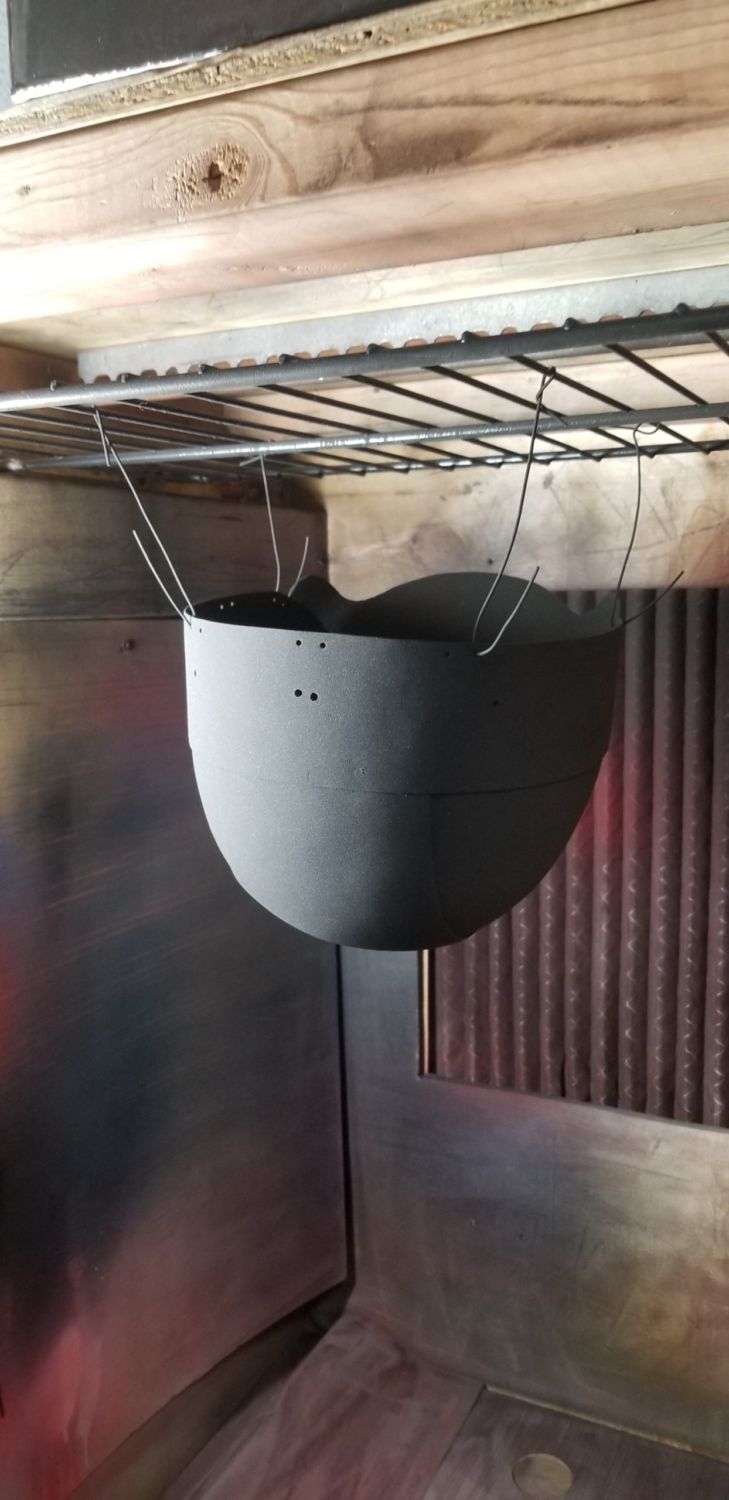
- https://www.powdercoatguide.com/ – Just as the url says; the guide for powder coating
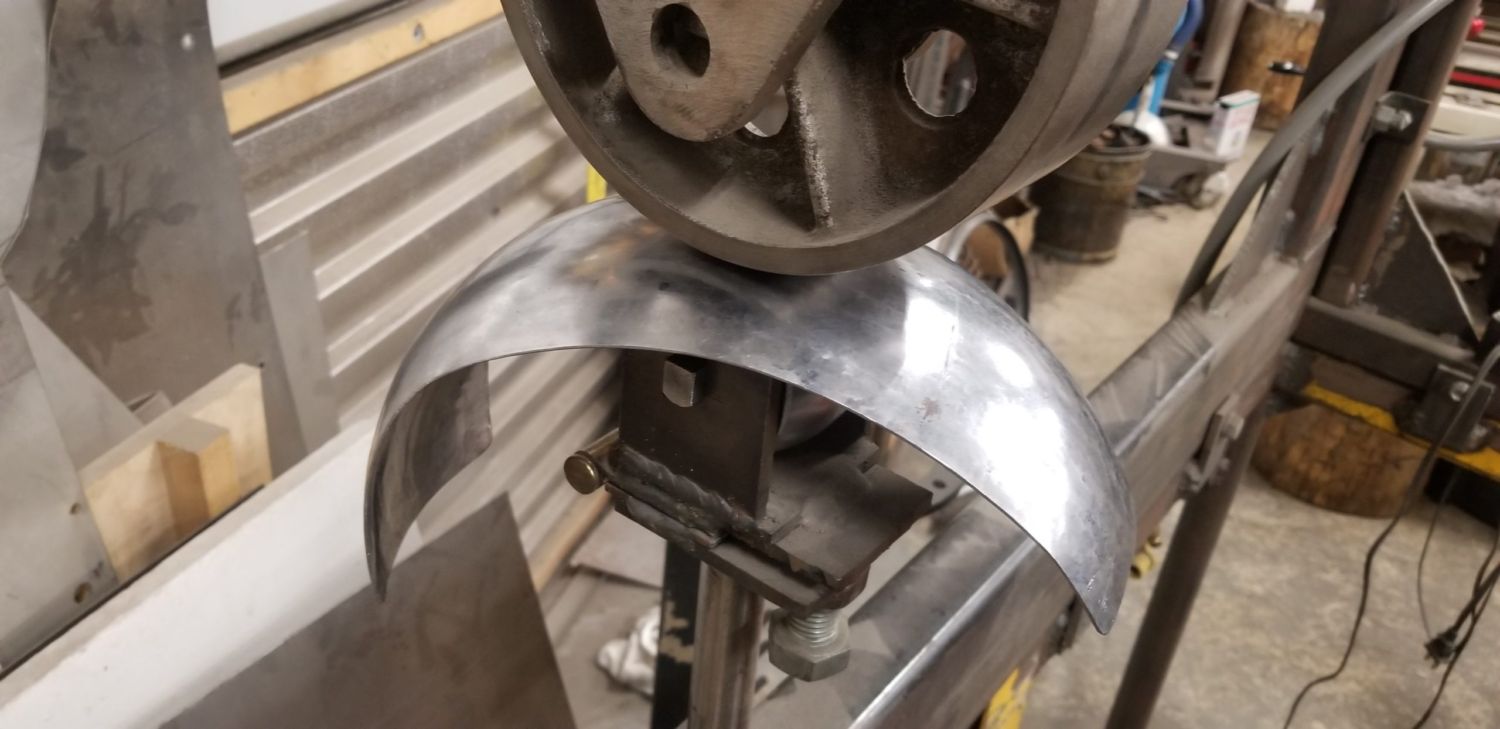
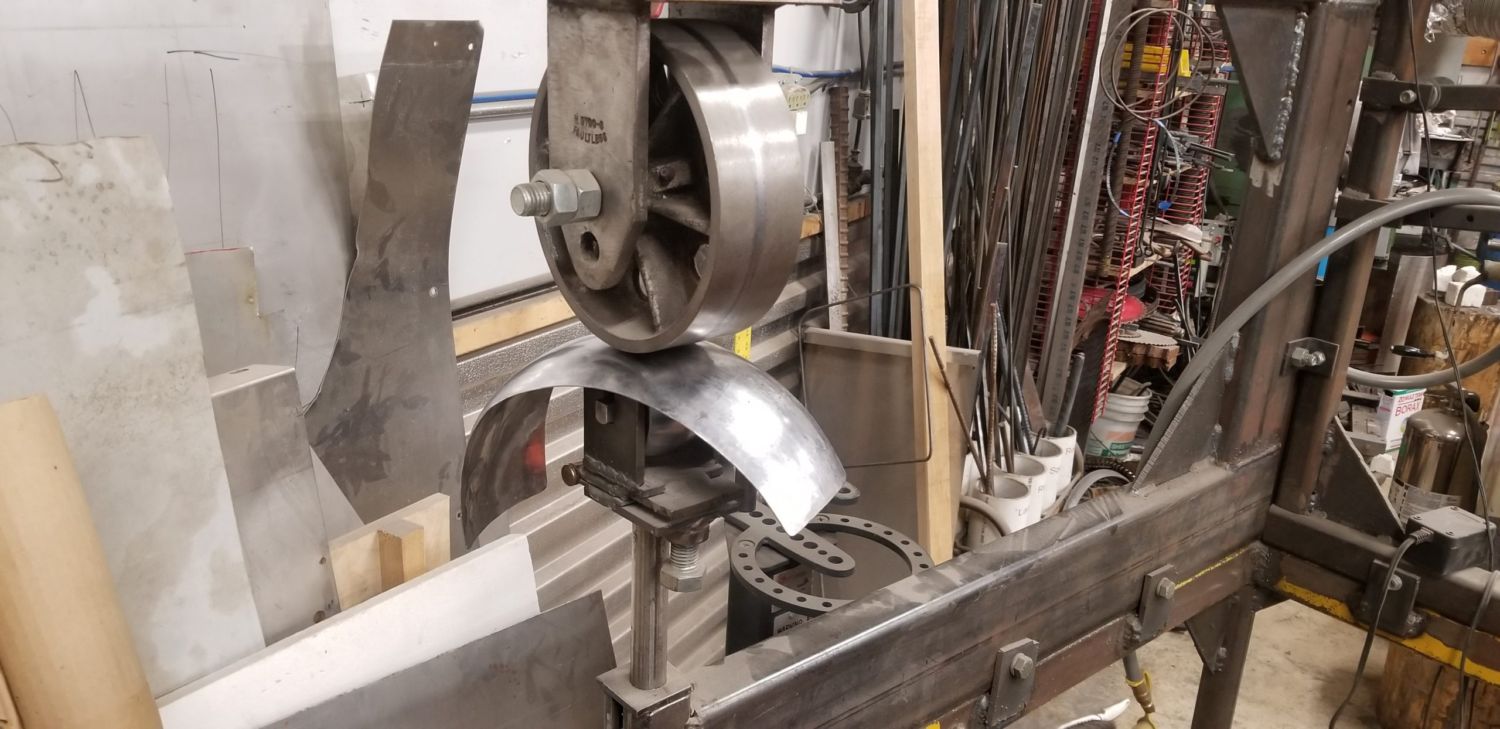
I’d actually like to focus on an unlikely source from the list for a moment, Eastwood. They are a huge automotive restoration brand in America. And when you think about , what better resource is out there for finding modern information and supplies for sheet metal fabrication and coating? The same skills used in the middle ages are alive and well in the automotive restoration world. For example, say you want to learn how to shape the center long plate for the zunari, just check out how the experts today would make a motorcycle or car fender. Its the same shape and tools! Check it out; https://www.youtube.com/watch?v=3NV3BmmoaU8 . Next, go back and visit the european armorers, such as World of Armorsmith when making a bascinet and visor, and compare how the two different disciplines work and form sheet metal. Lastly, look at and study pictures extensively, such as those found in the visual glossary kabuto page. Ideally, find a specific kabuto that matches your aesthetic and aim to copy it.
Initial Planning and Patterning
Luckily, the basic concept for the zunari pattern and instructions have already been laid out over at Sengoku Daimyo. The image to the right is not the pattern, visit the “Making A Kabuto” page to download the PDF that will be used as a very basic reference when creating the actual pattern.
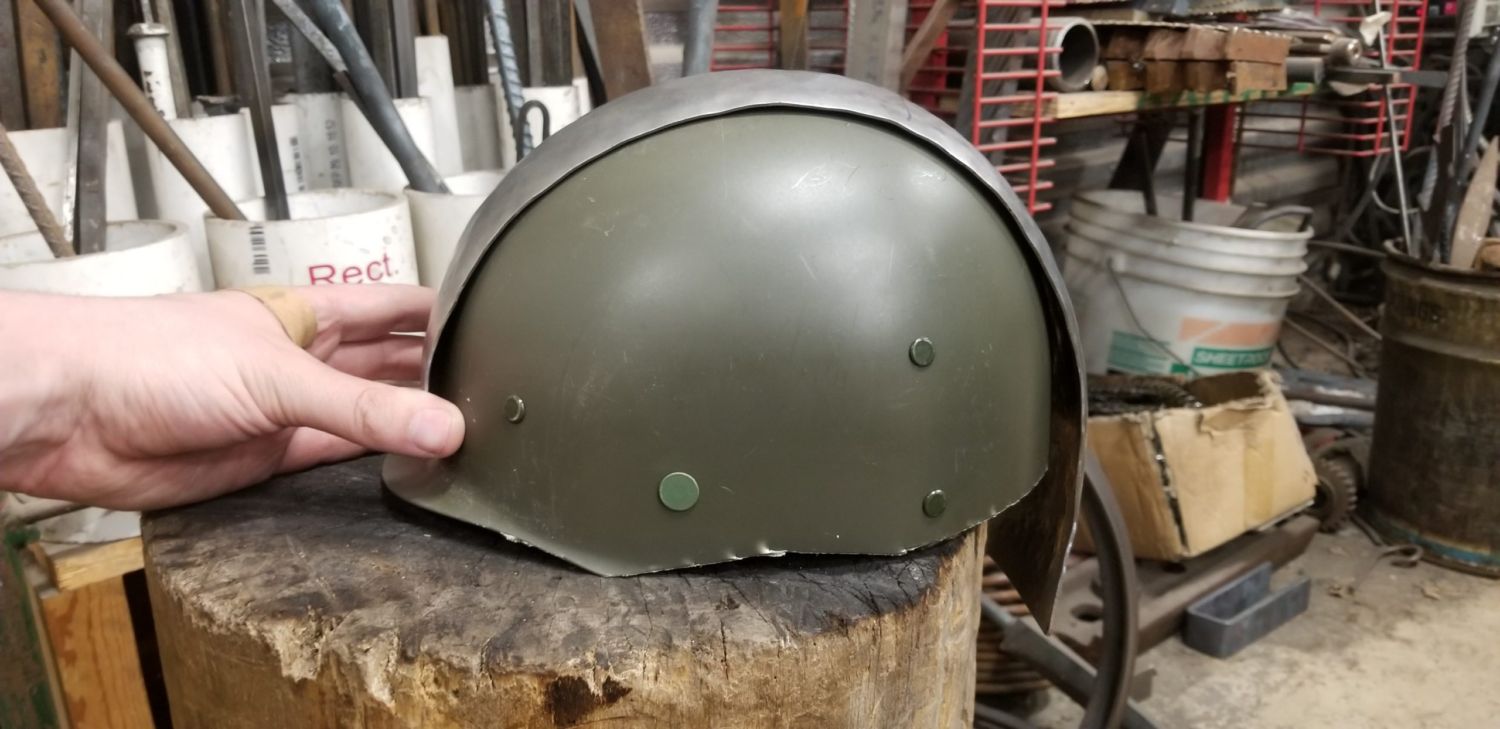
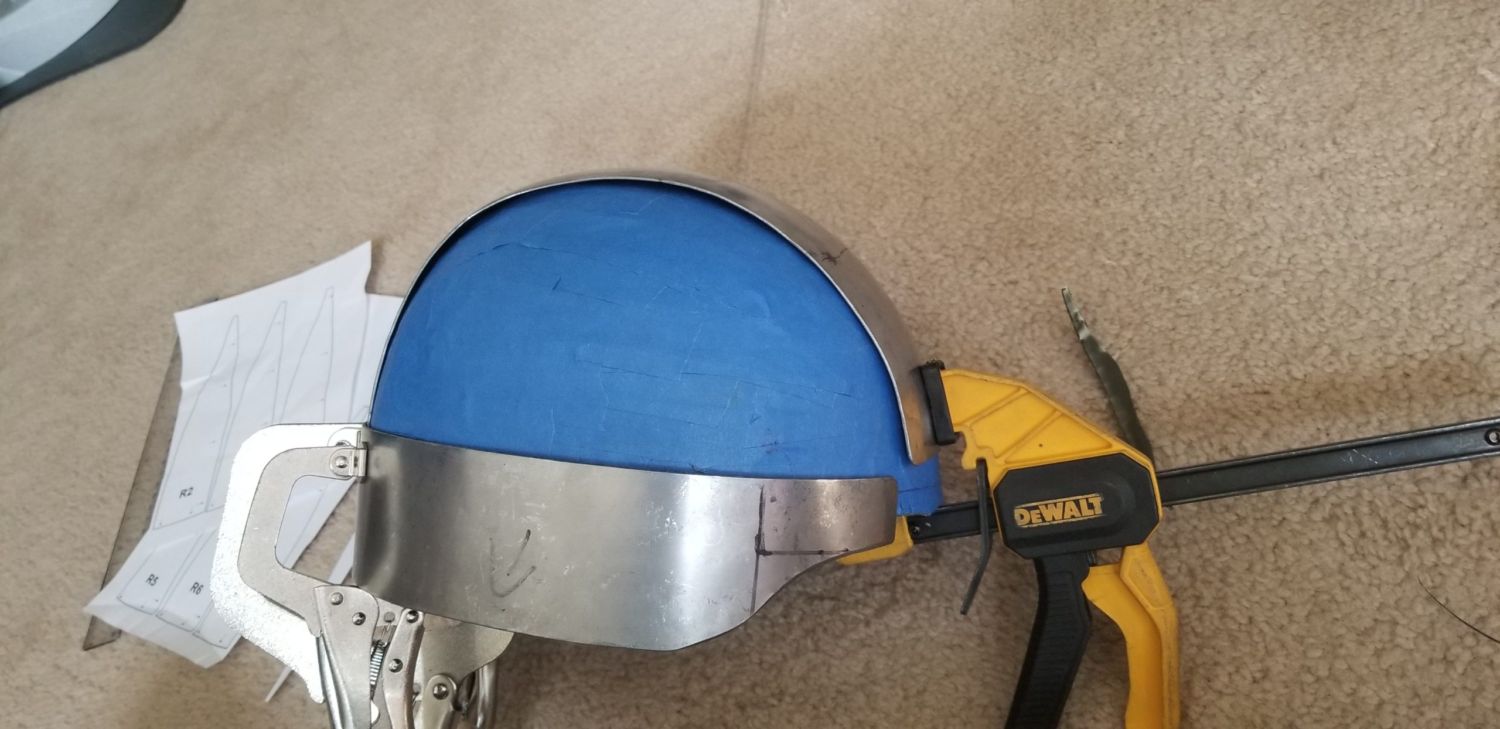
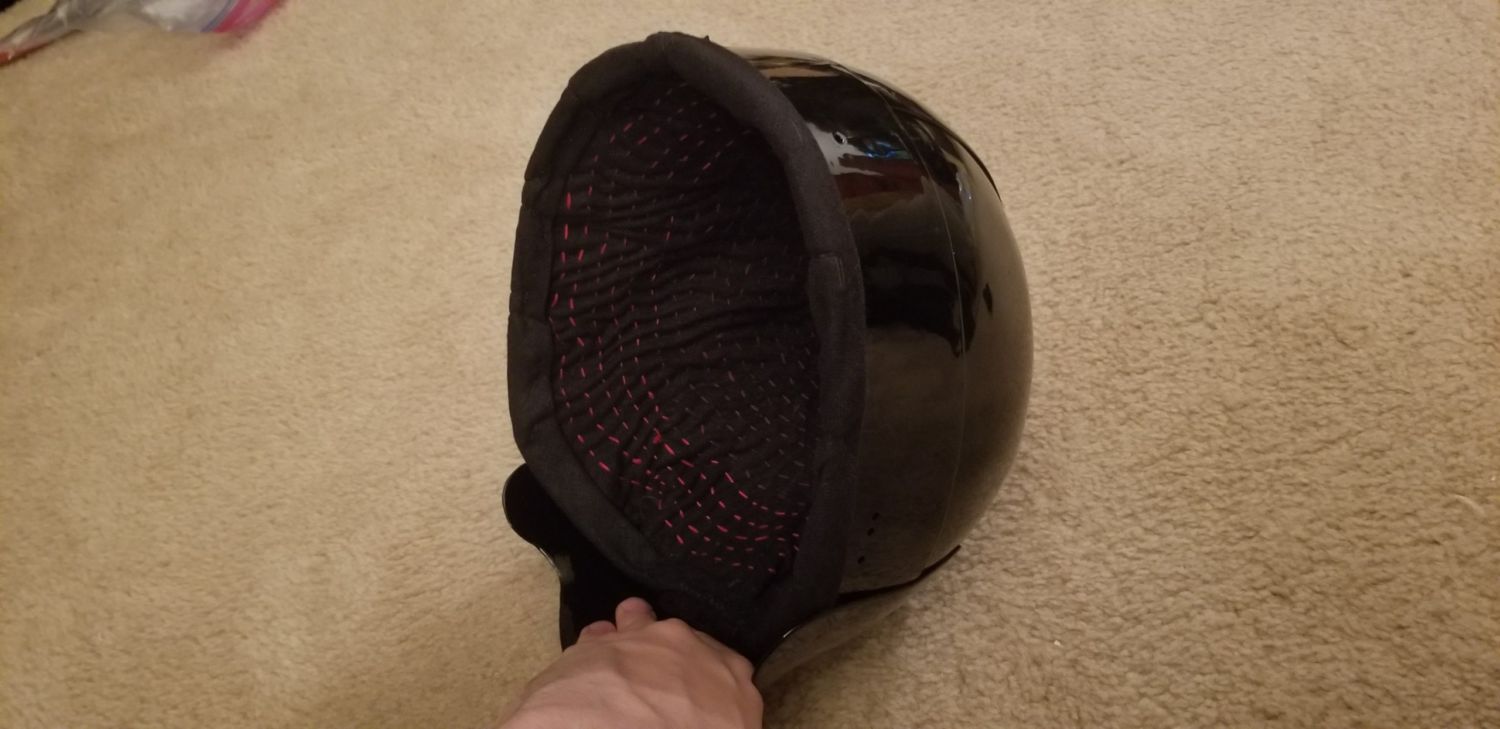
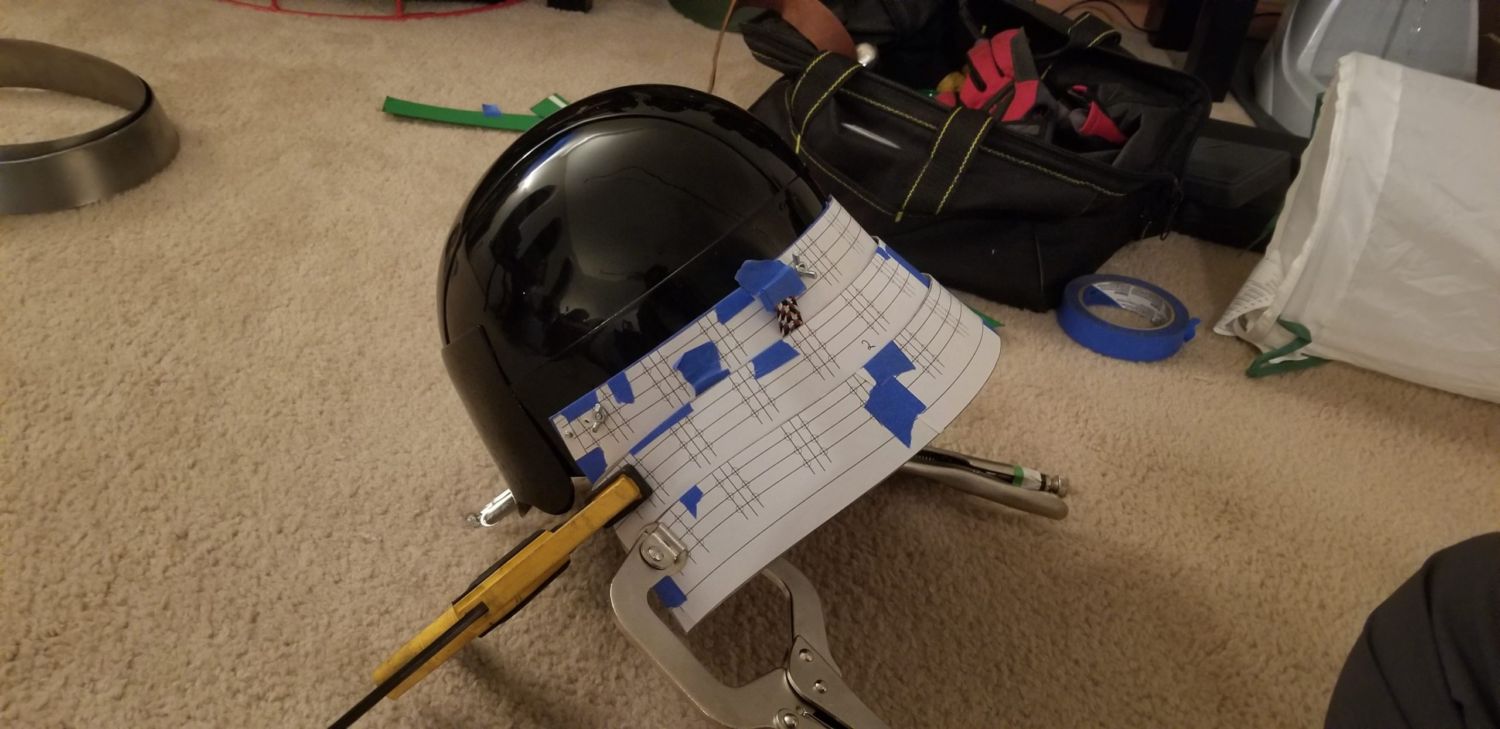
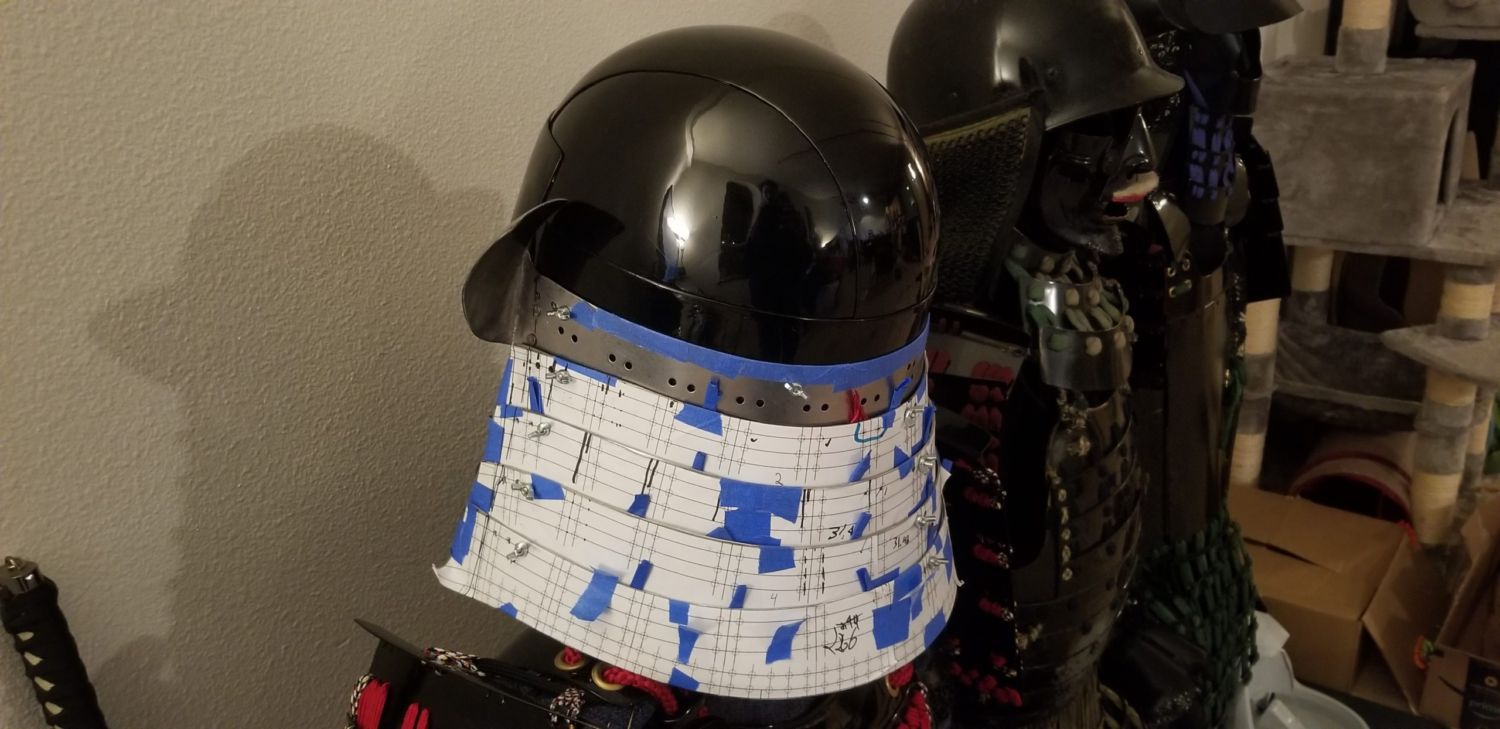
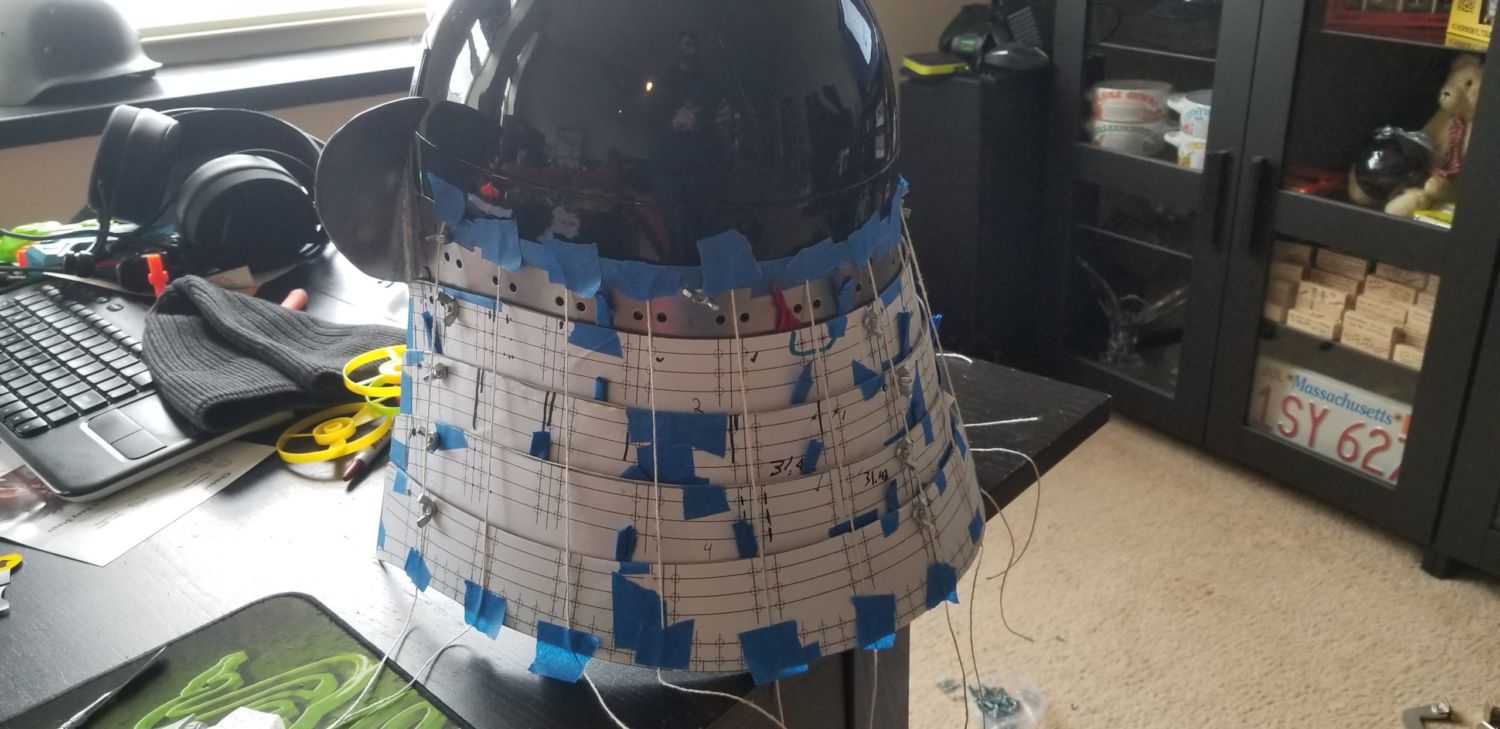
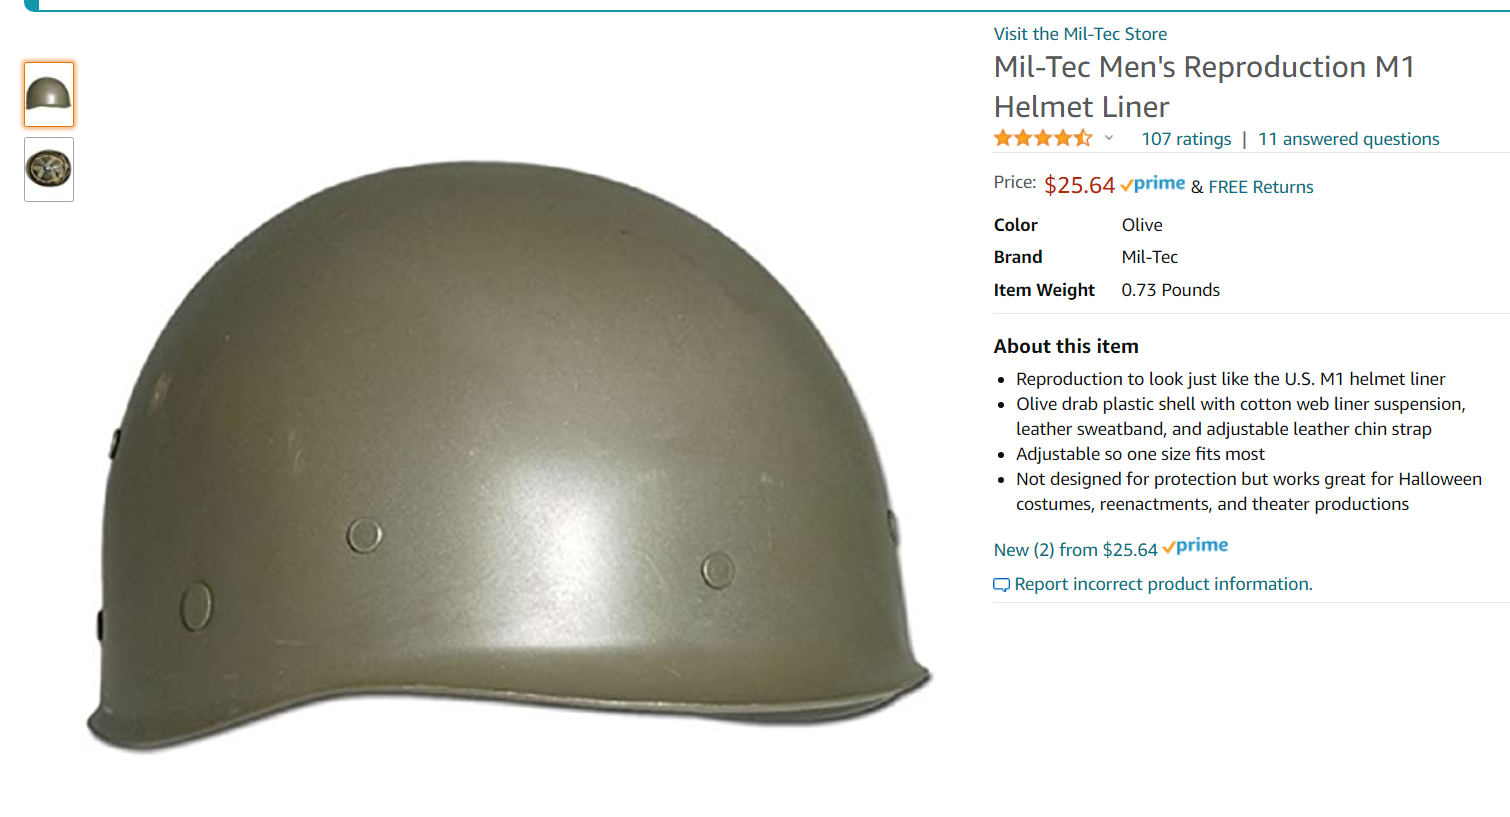
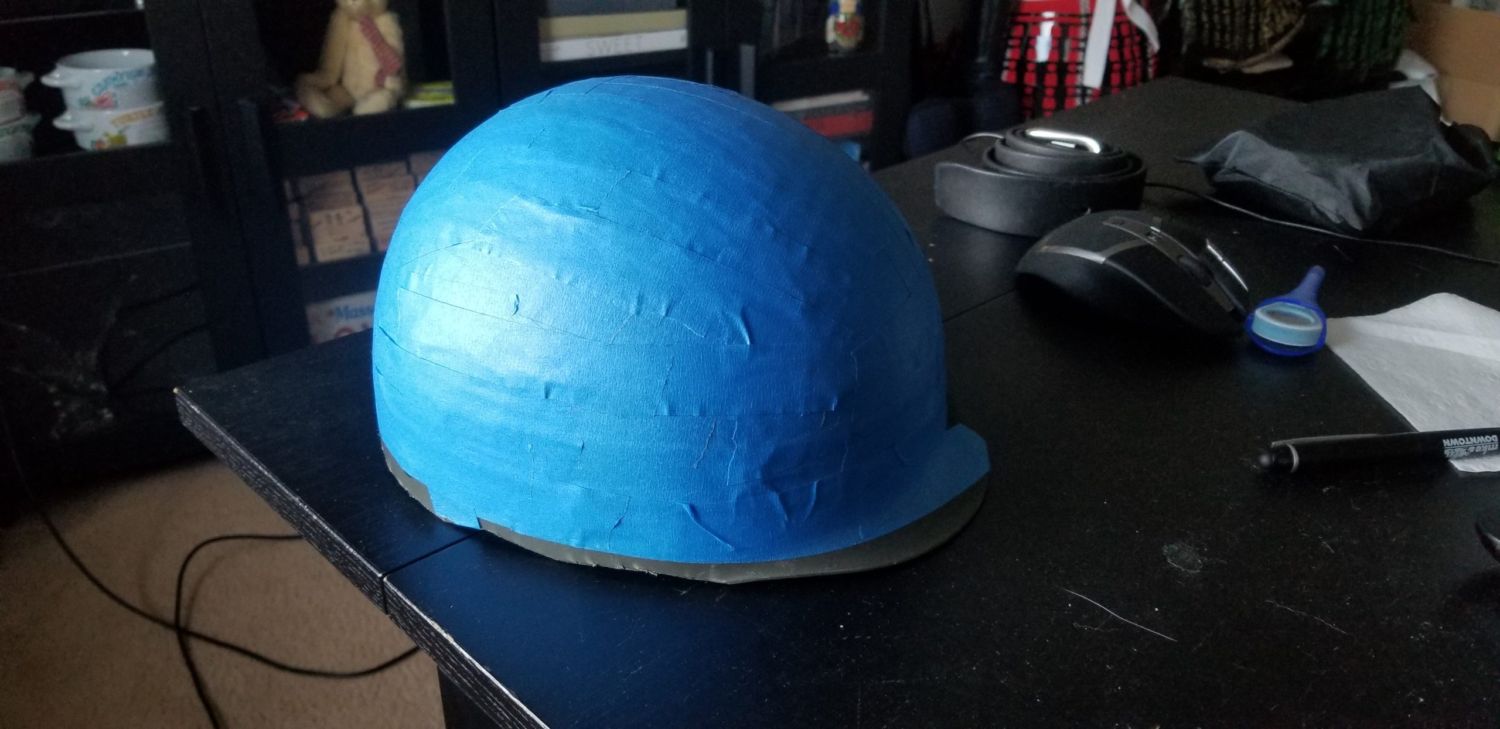
No single pattern can be followed if you want to have any hope of creating armor that fits and is comfortable. Everyone’s head is a different size, so rather than follow the pattern directly, I recommend taking Bryant’s advice and model your kabuto on an US Army M1 helmet. There is no reason to buy a full metal version as it will be way too large. What we are after is the plastic liner that fits inside the metal helmet. The liner contains the helmet suspension and thus should fit most adults nicely in all dimensions. From here you can begin to actually develop your custom patterns.
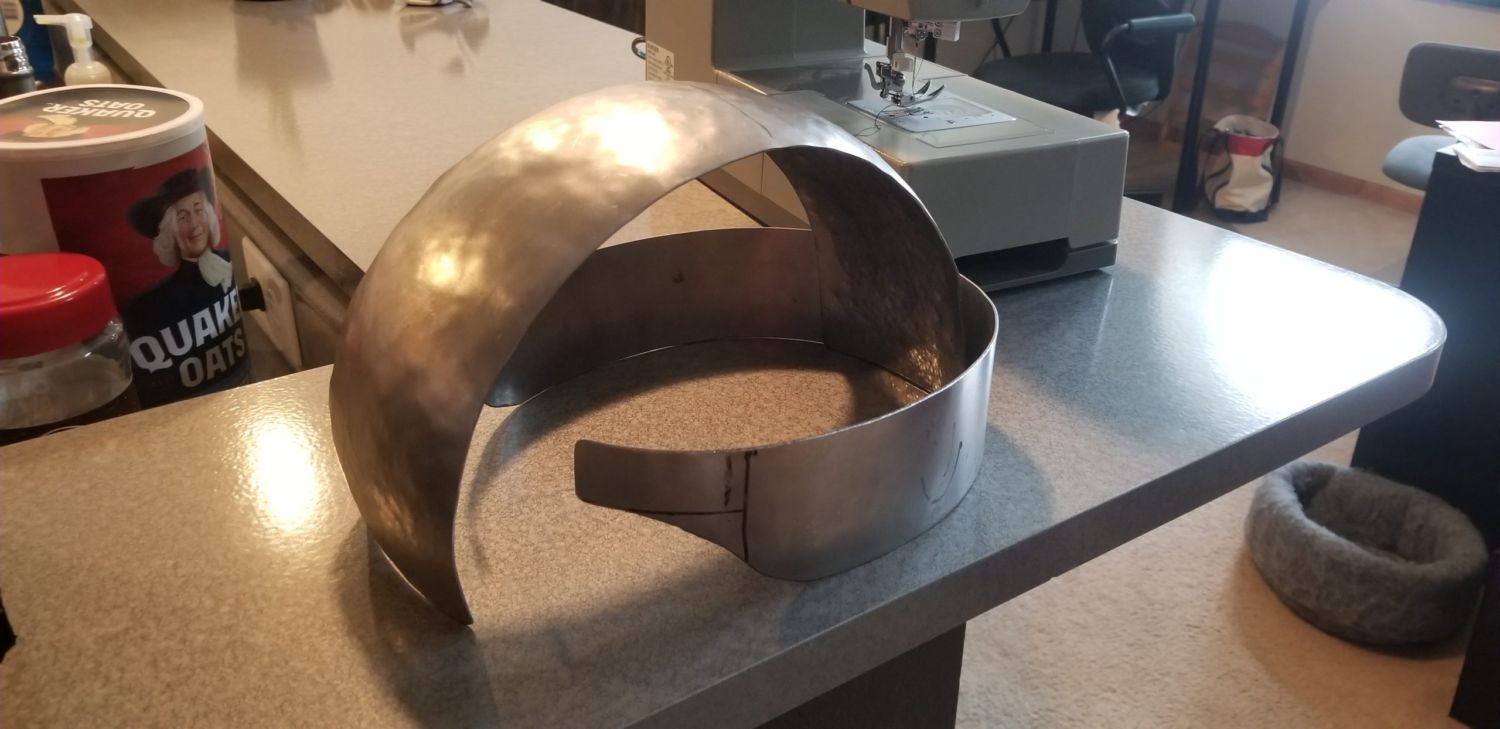
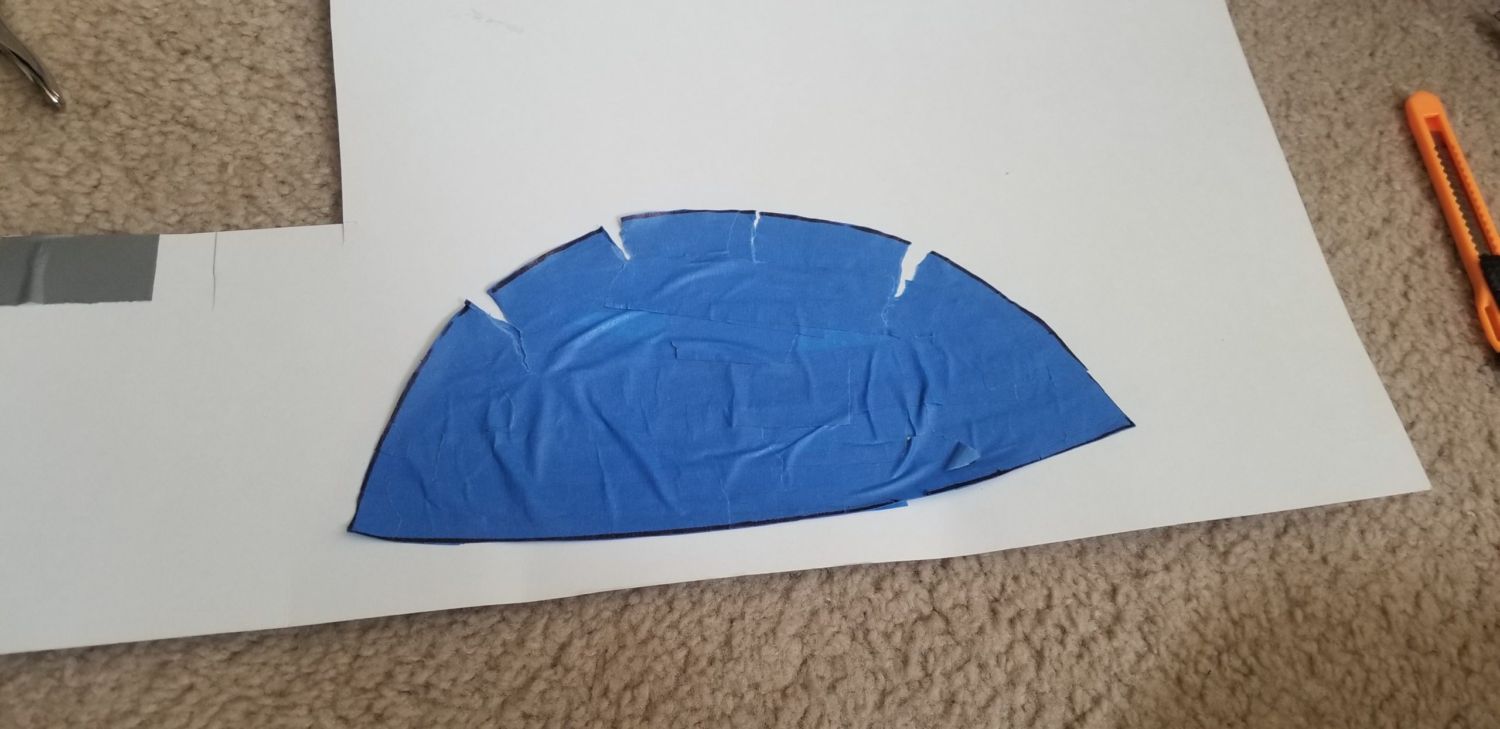
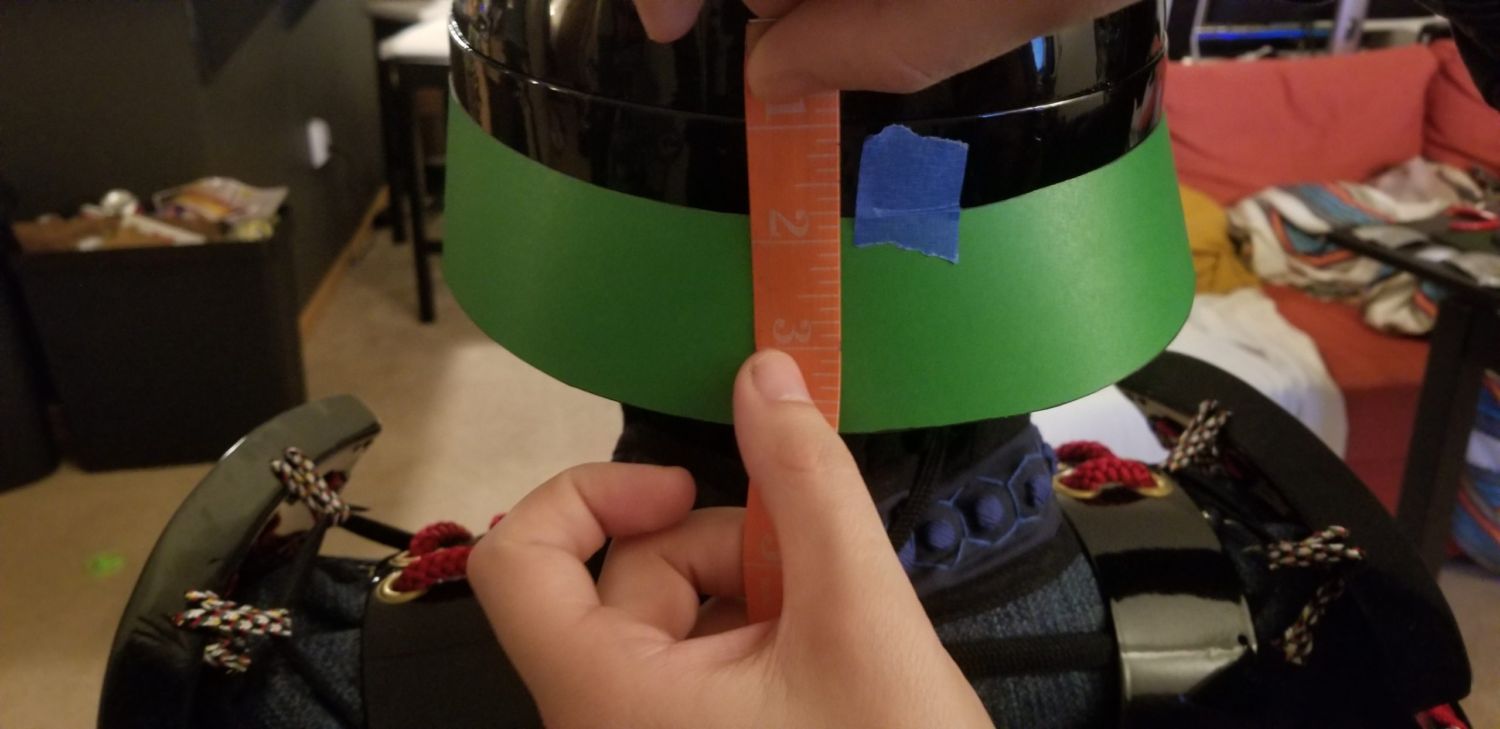
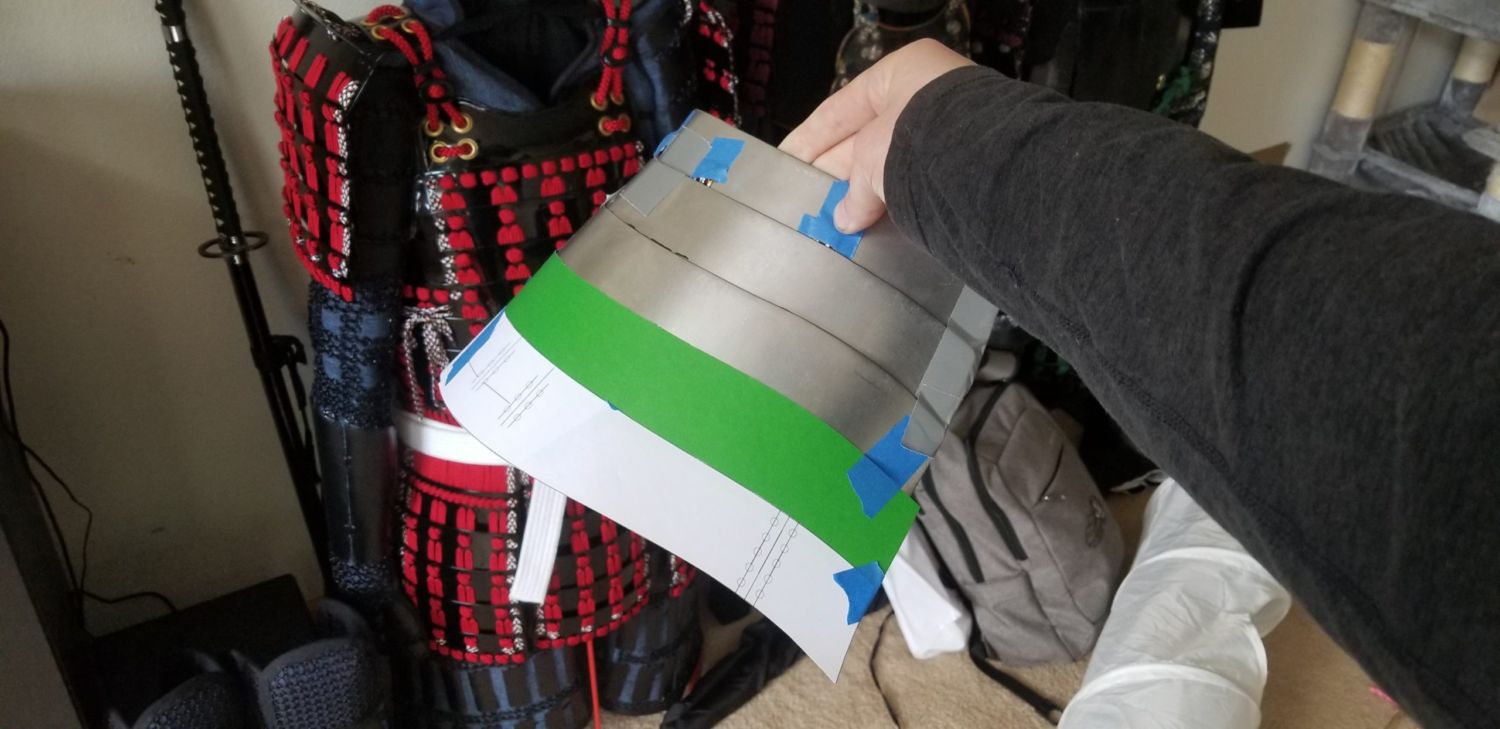
First is the koshimaki, and right away we are deviating from Bryant’s plan. The pattern is just a 2.5″-3″ rectangle that is 2″ or longer than the circumference of your head when measured around your eyebrows. You want this to be a few inches longer than your actual measurements as we will be trimming it to the correct length towards the end of assembly. This allows for errors to be addressed without having to create whole new pieces. Additionally, I made a more a historically aligned kabuto, which is not lined with any sort of padding. So my head measurement was relatively close fitting to my actual head measurement. If you are building a kabuto for fighting, then you may need to leave a 1/2″ all around to allow room for padding.
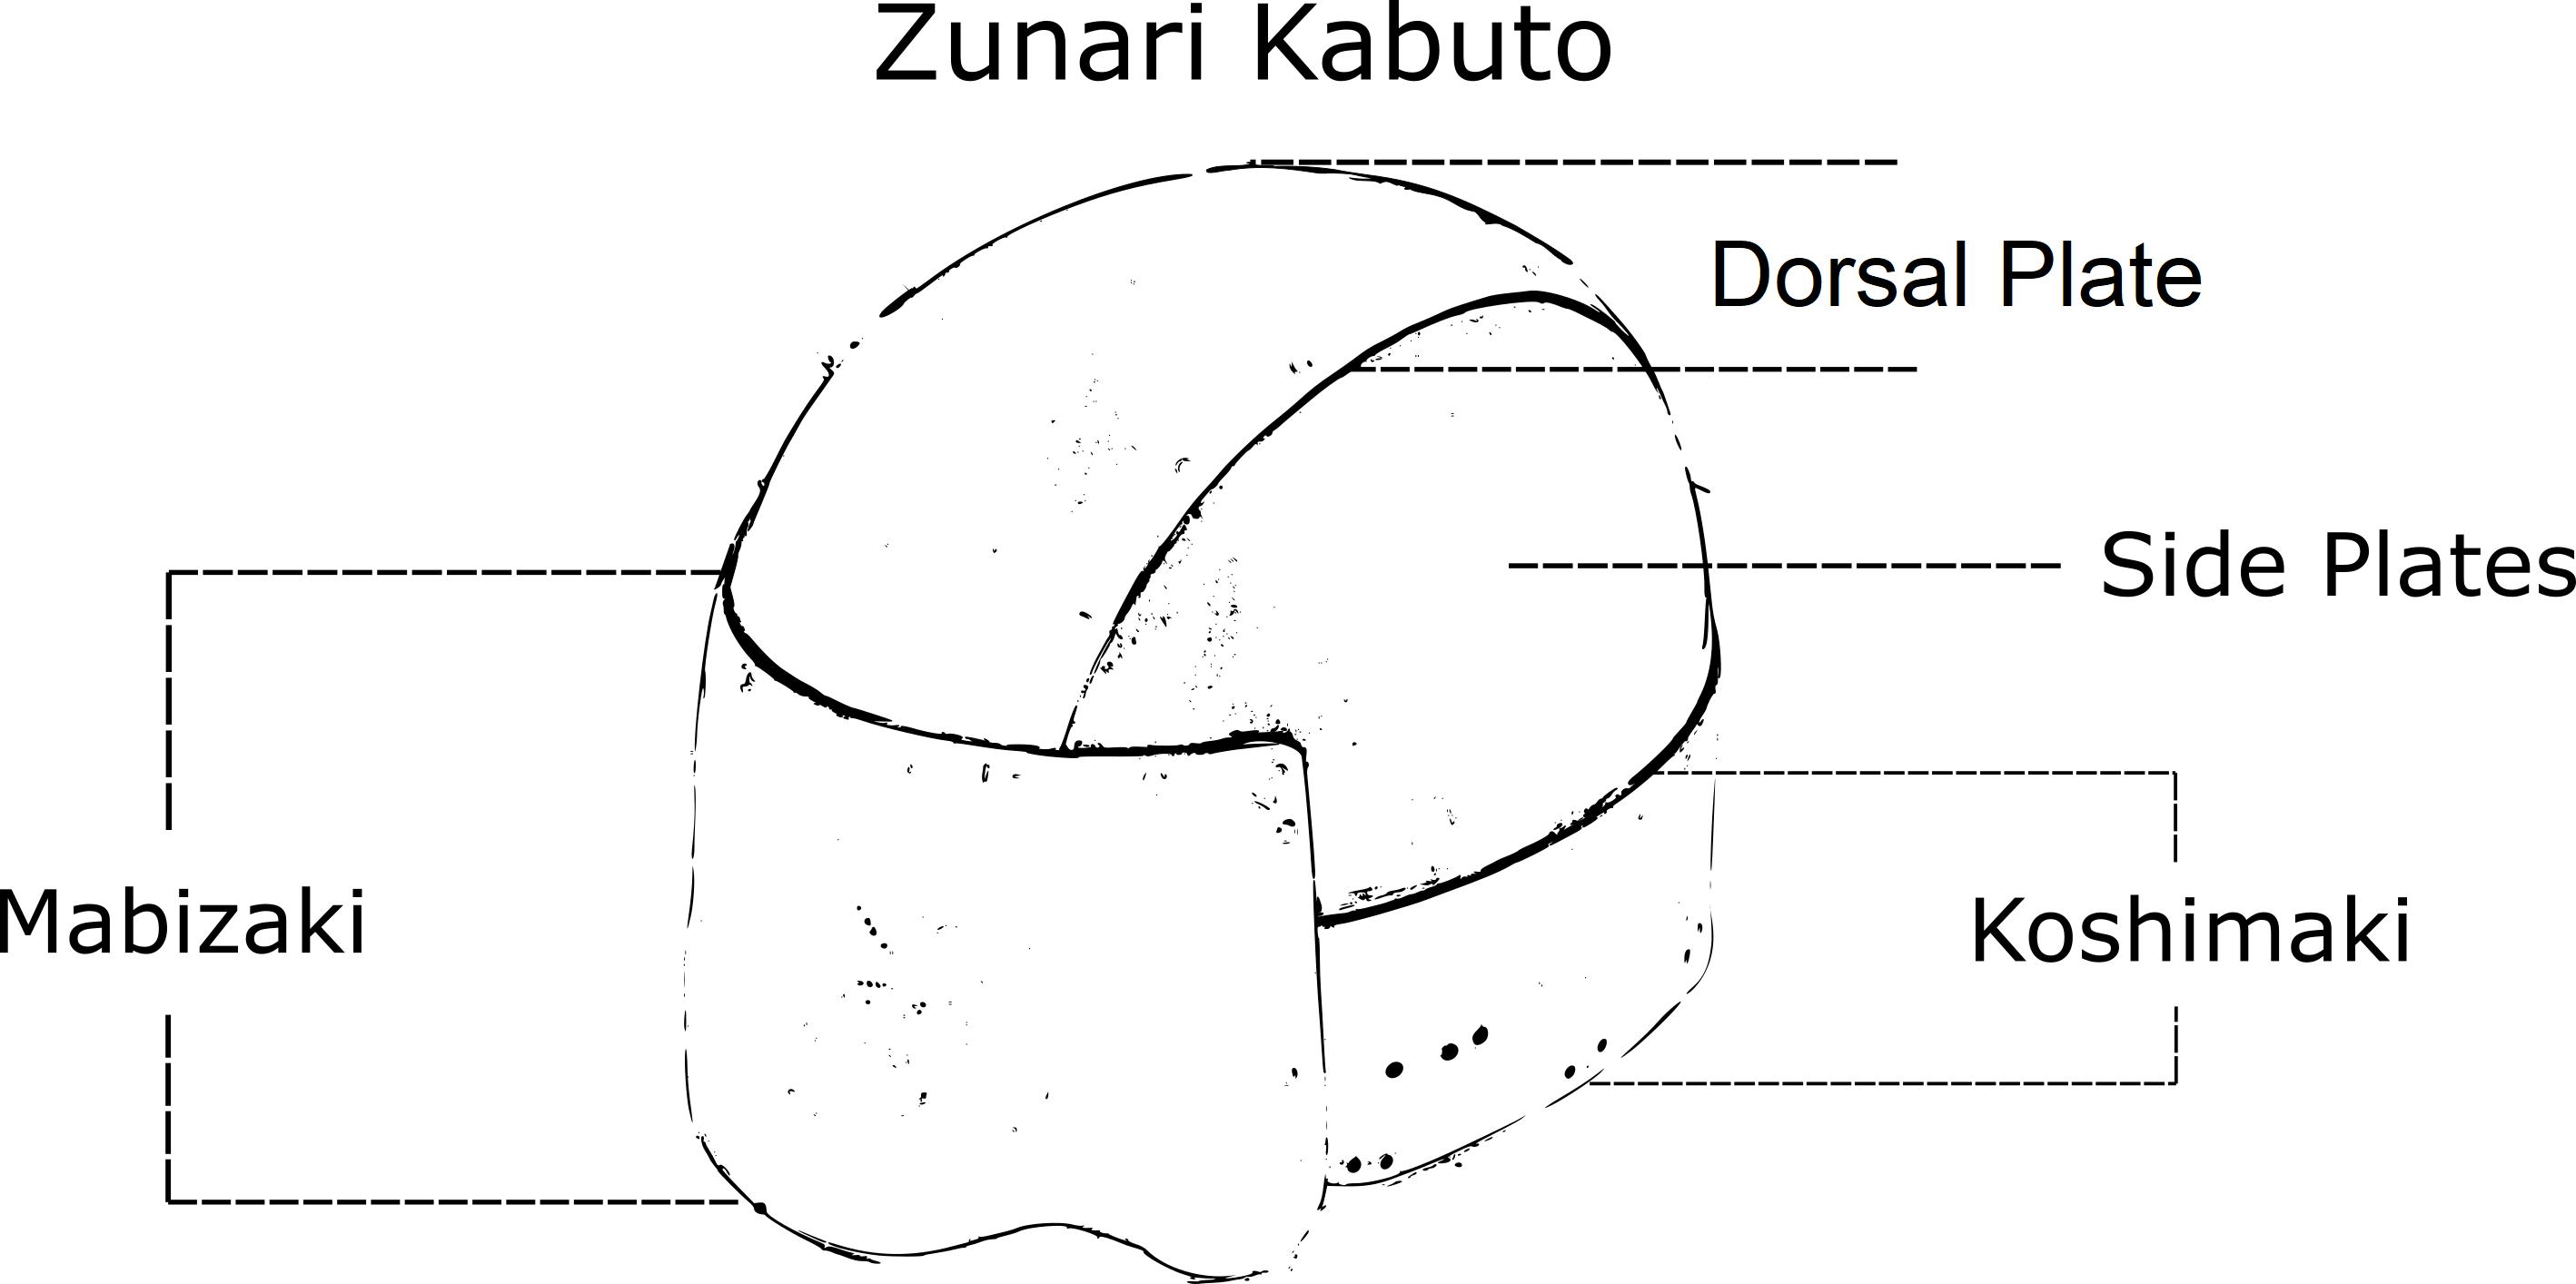
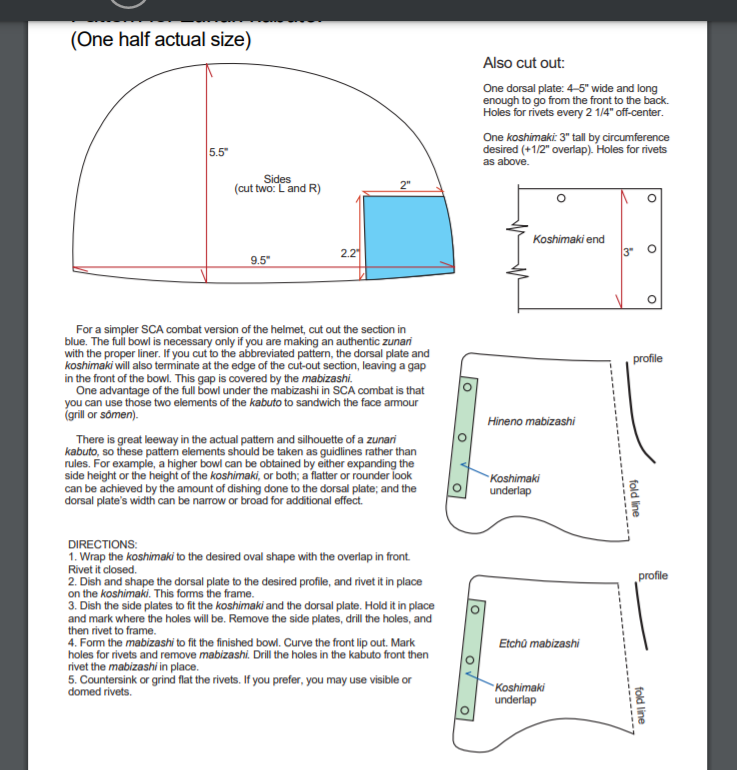
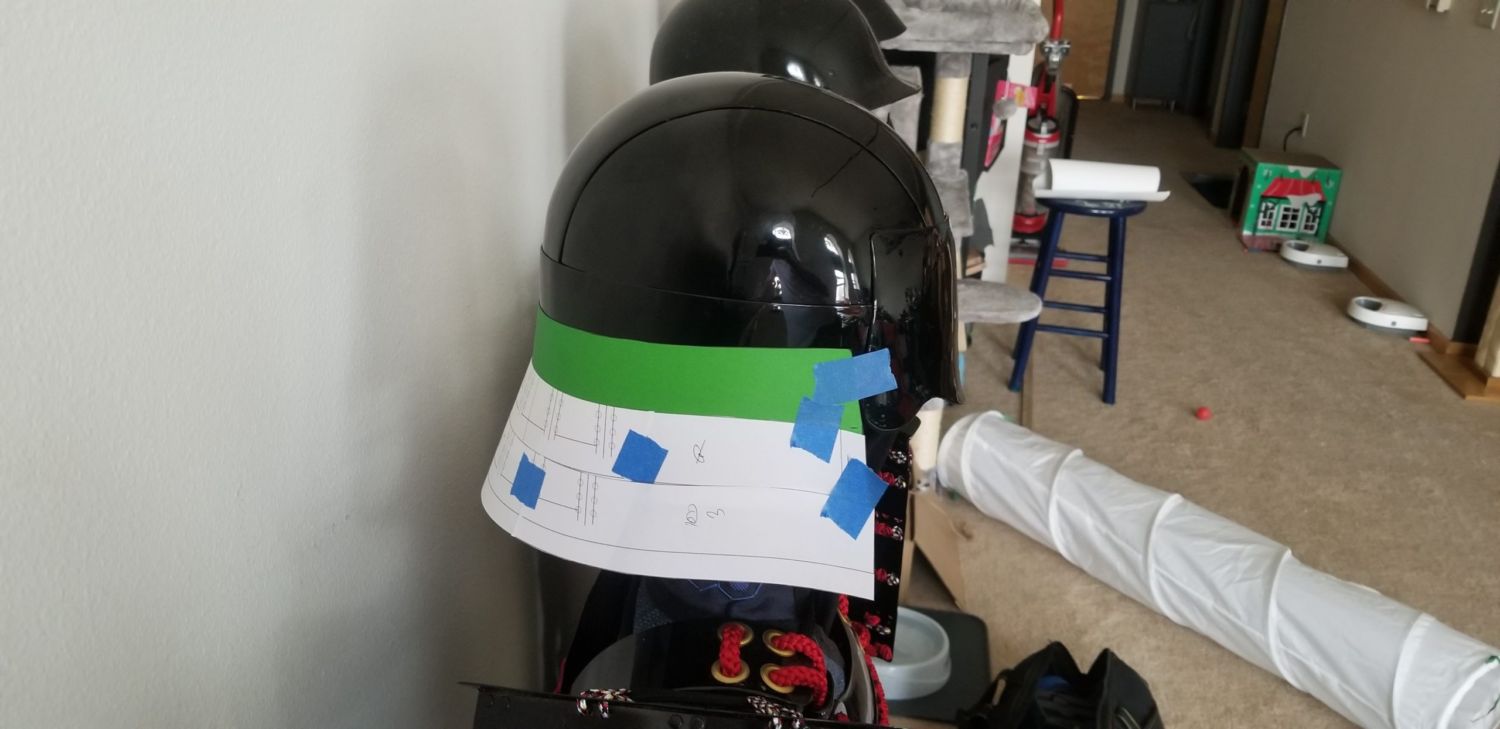
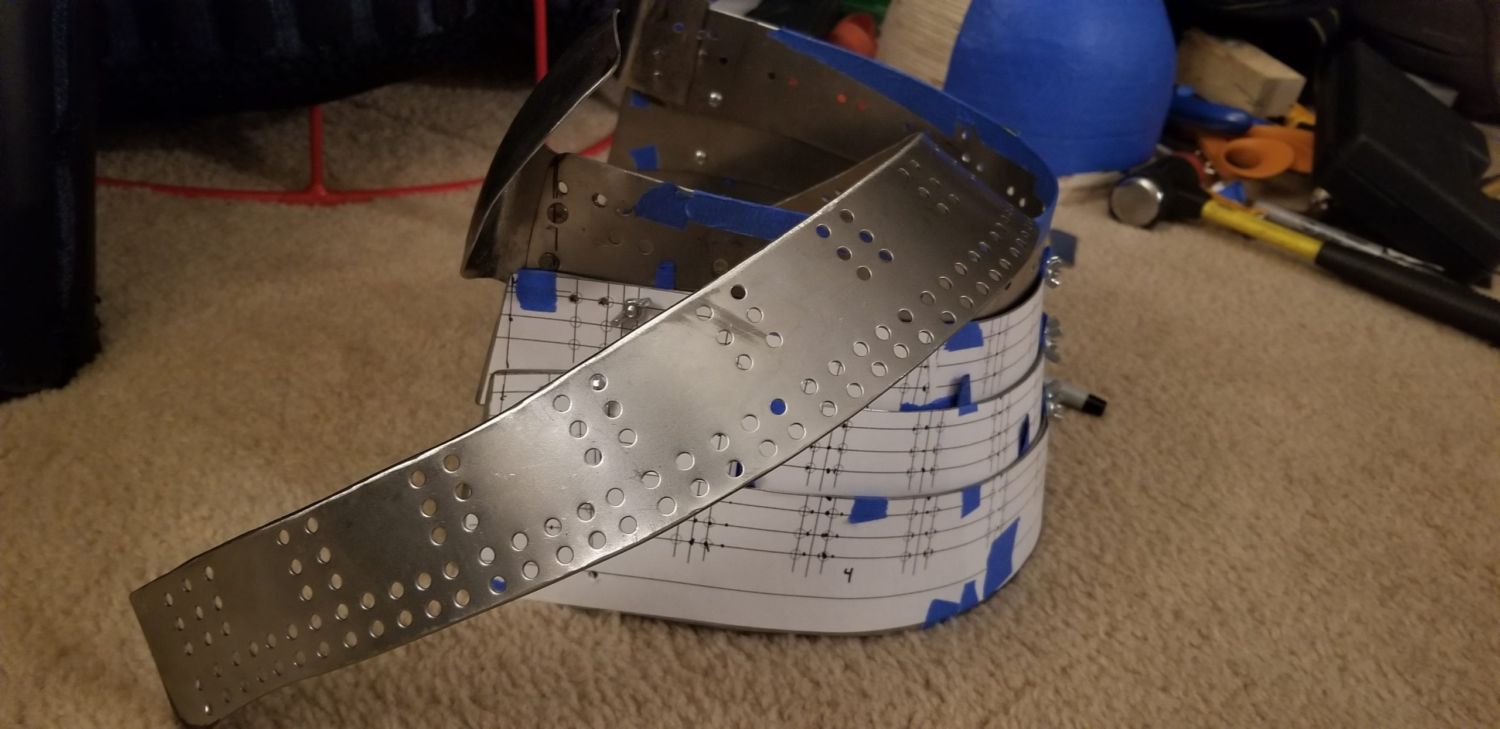
Next, for the dorsal plate. The process for creating the pattern is exactly the same as above. The pattern is just a rectangle is that 3.5″-5″ wide by the distance from your eyebrows to the bottom of the back of your head. Once again, make the pattern longer than needed to account for error and padding as we’ll be trimming it to fit precisely at the end. The width is really just based on aesthetic, which is why it is important to select an existing kabuto to copy.
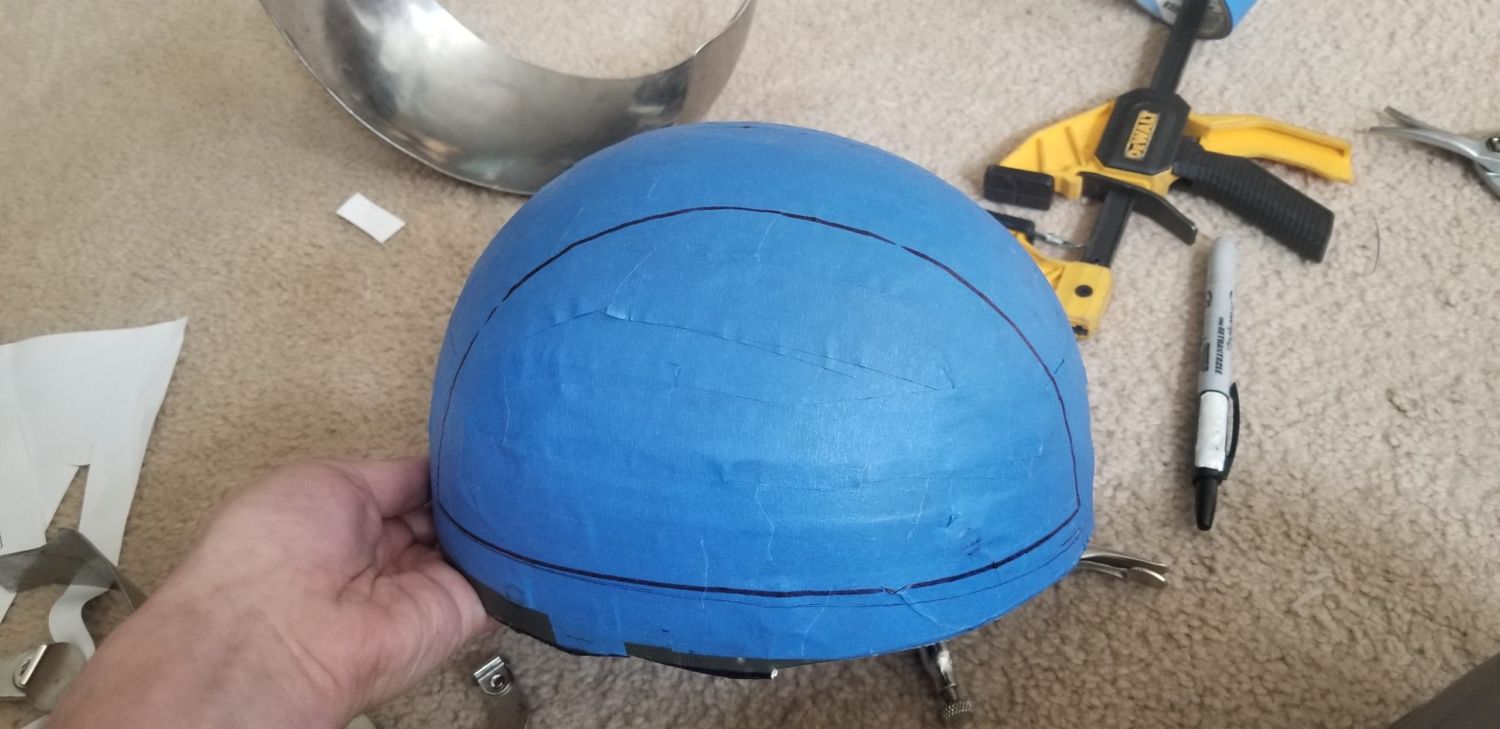
For the side plates I recommend waiting to create the pattern since it needs to fit the void created by the dorsal and koshimaki plates. I also recommend to ahead and cut the bottom lip/flared edge off the plastic liner so that the koshimaki can fit flush against the sides.
Selecting and Cutting Steel
There is no way around it; working with steel requires a bit of an investment in tools, materials, and space. The following lists and advice are just my opinions and what what I recommend. There is no absolutely correct way to do any of this, and the ability to get creative and innovate within your own capabilities and budget is a huge part of a successful build.
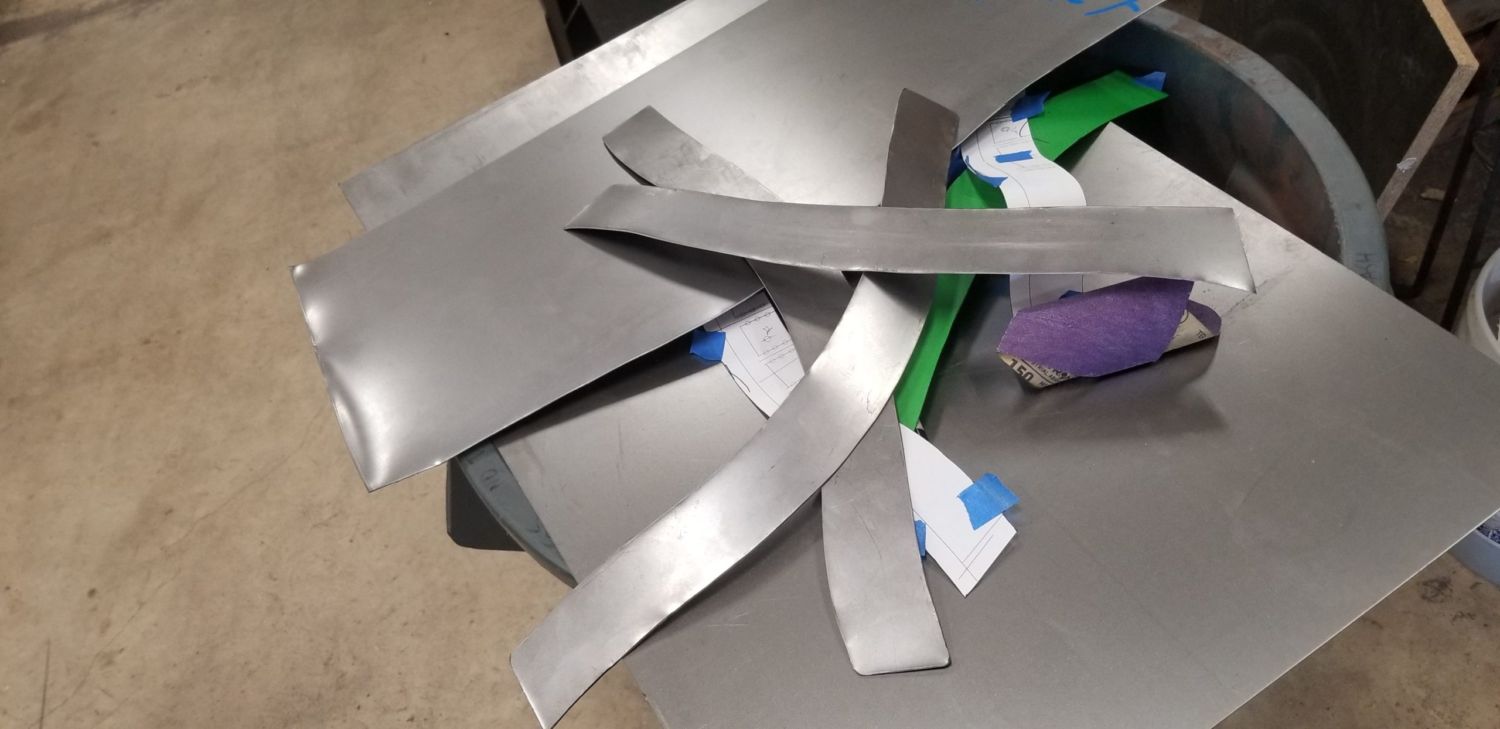
For a zunari kabuto, even when just starting out, I recommend using cold rolled mild 16ga (1.6mm) steel (you can read more about period materials here). I understand that it seems counter intuitive, but working with thicker steel can actually be easier in the long run. 18ga (1.2mm) can be used but I absolutely would not go any thinner. I don’t recommend purchasing steel from retail stores, such as Home Depot. Not only are the prices too high, but it also seems like the steel is not annealed (softened) properly for forming. Try to find a local metal supplier to purchase directly from. Uusually these companies will often cut the sheets for a small fee. Onlinemetals.com is a good source for steel if there is no supplier in your area. I typically order steel from them cut into shapes close to the final piece, such as really long 2″ strips for use in other armor parts, like sode.
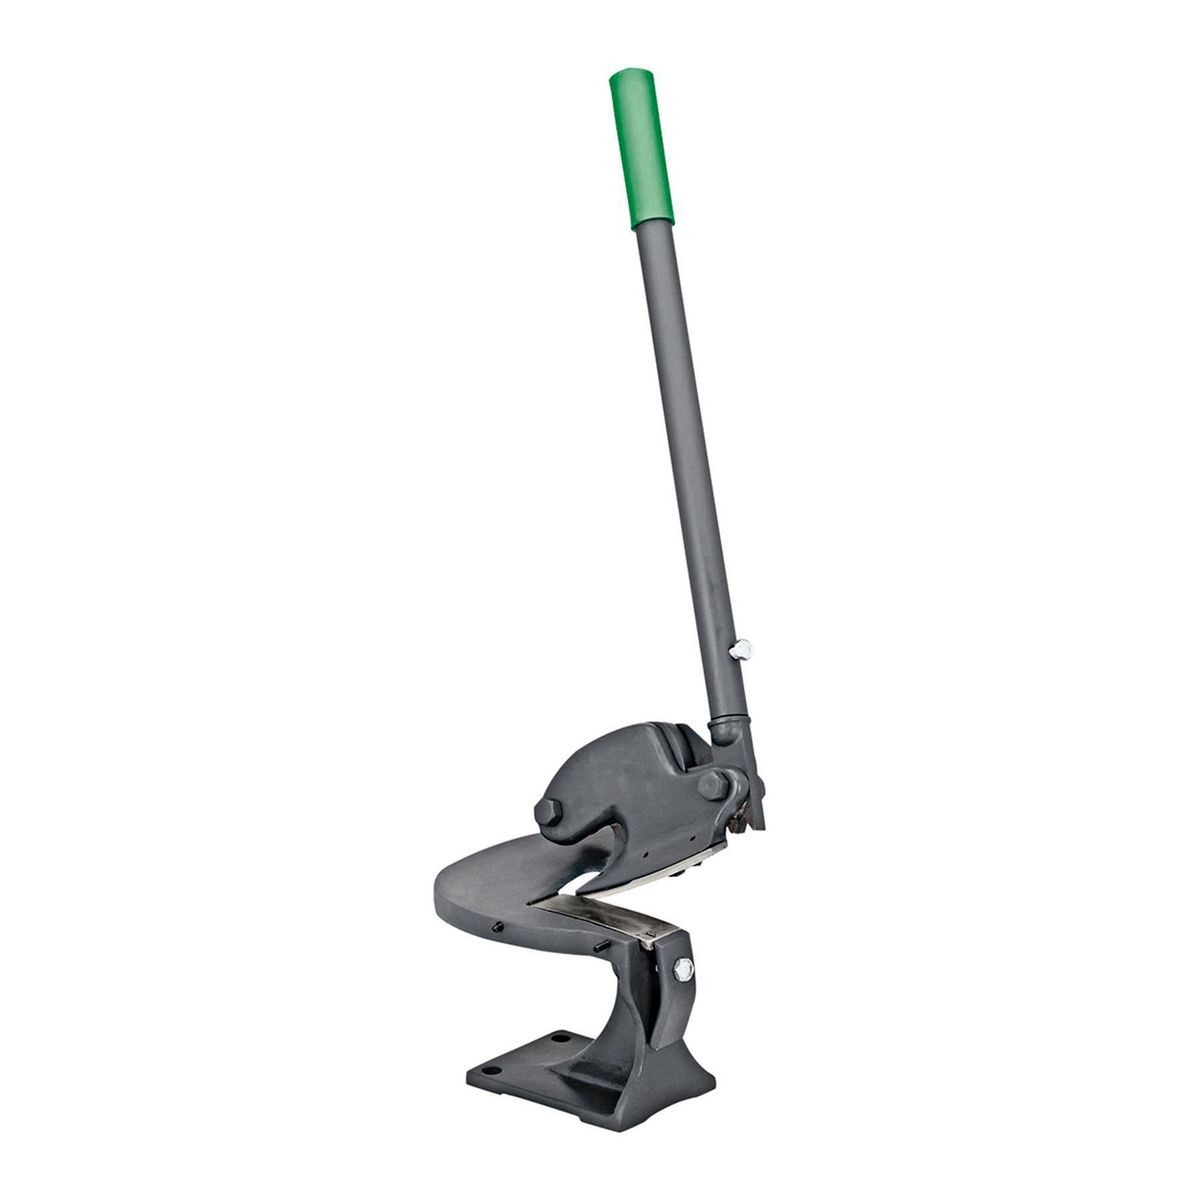
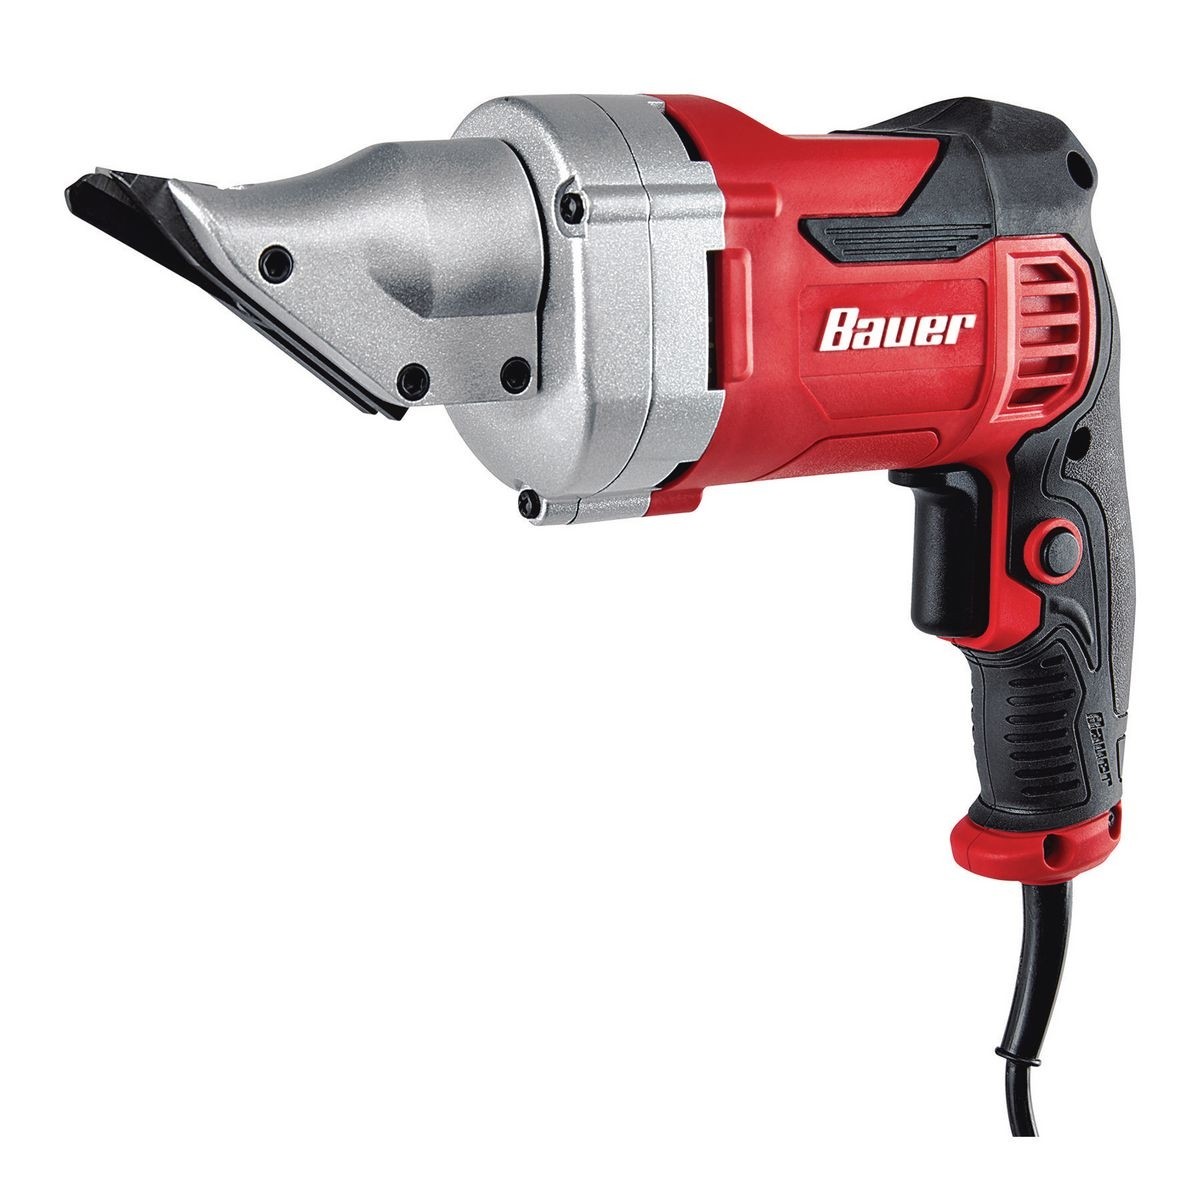
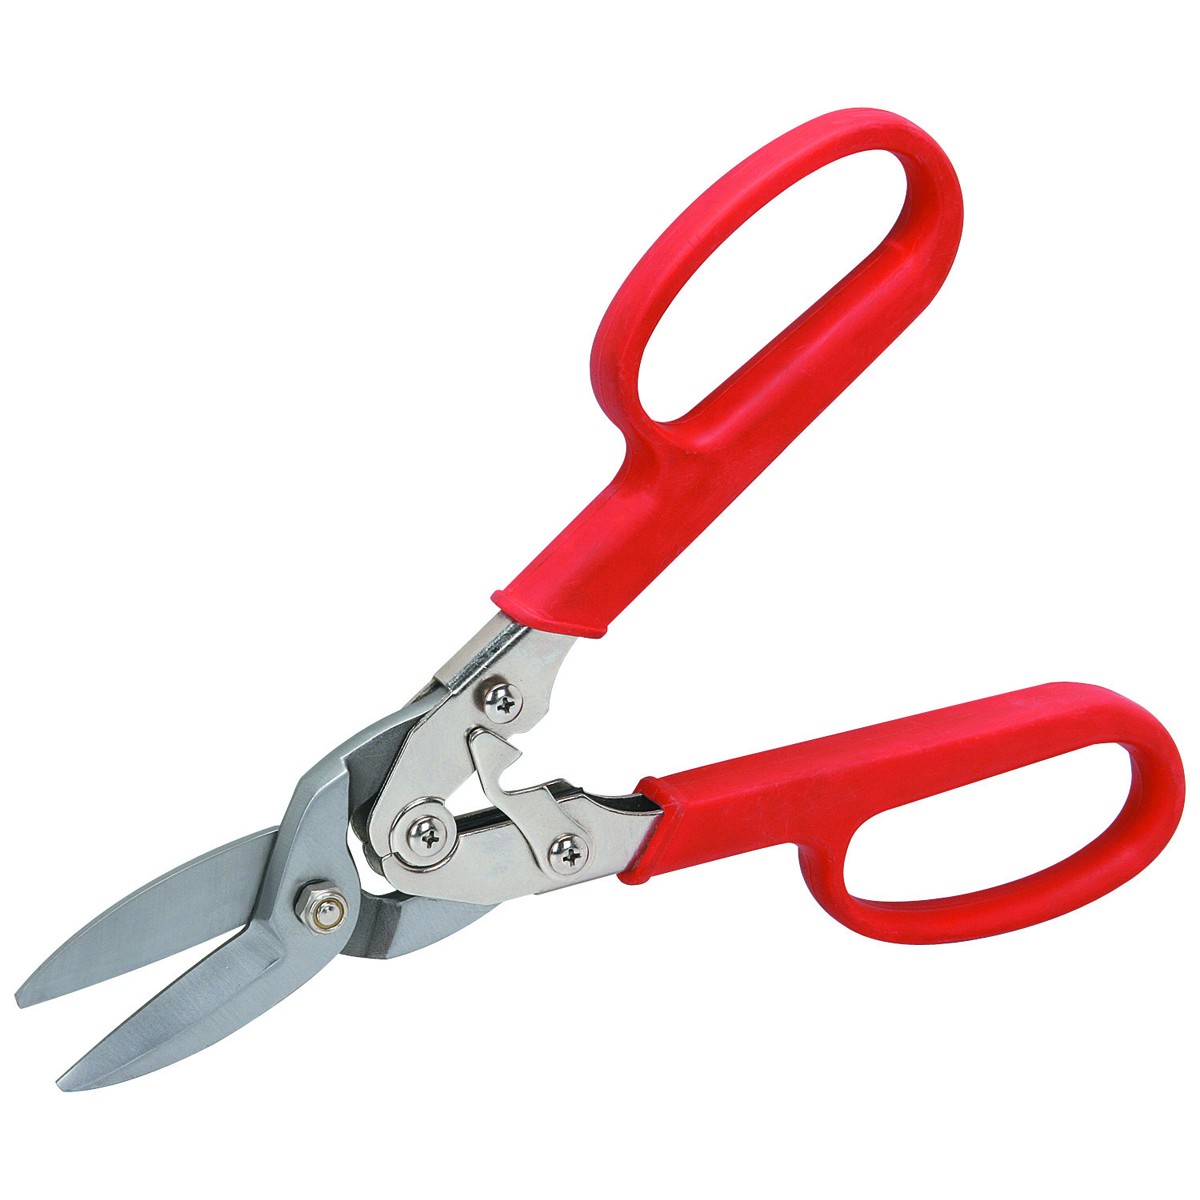
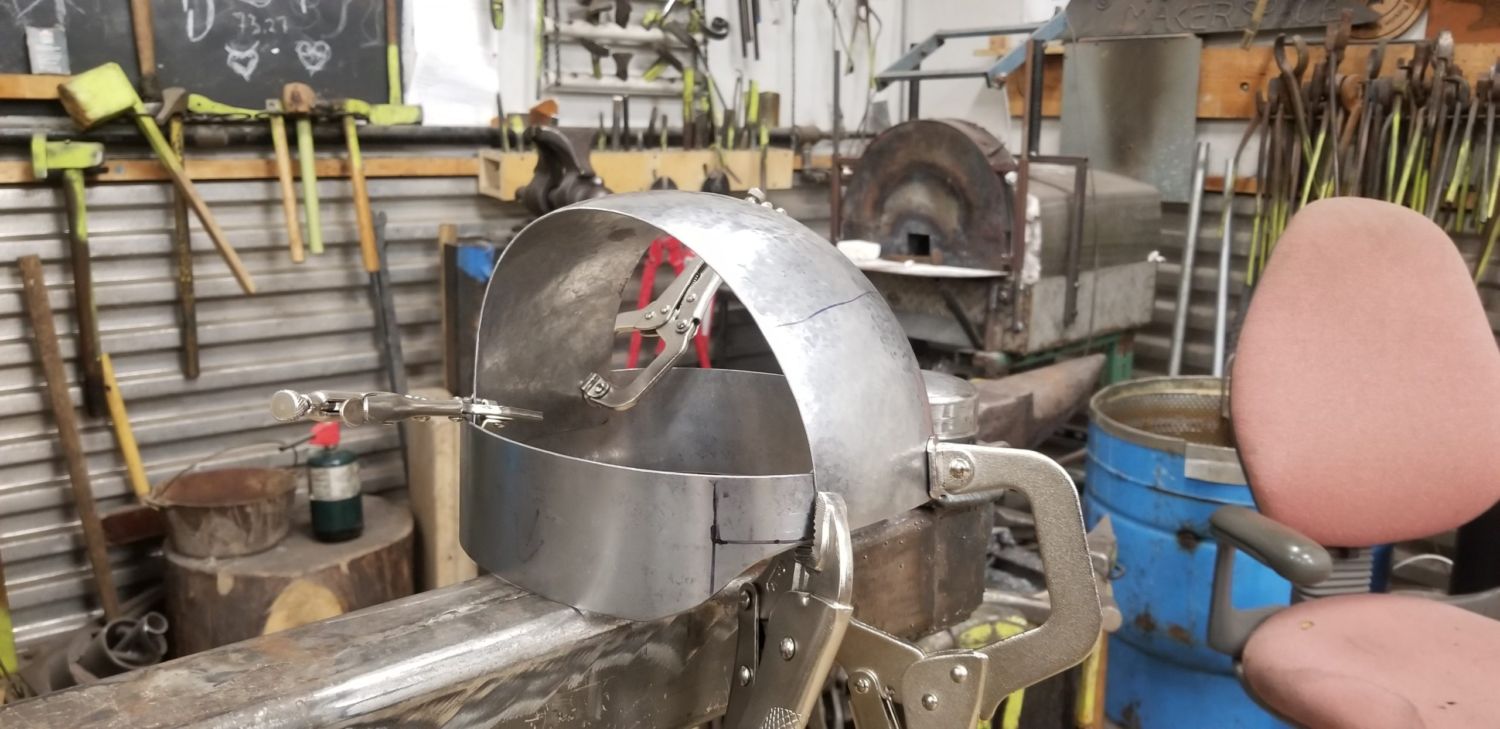
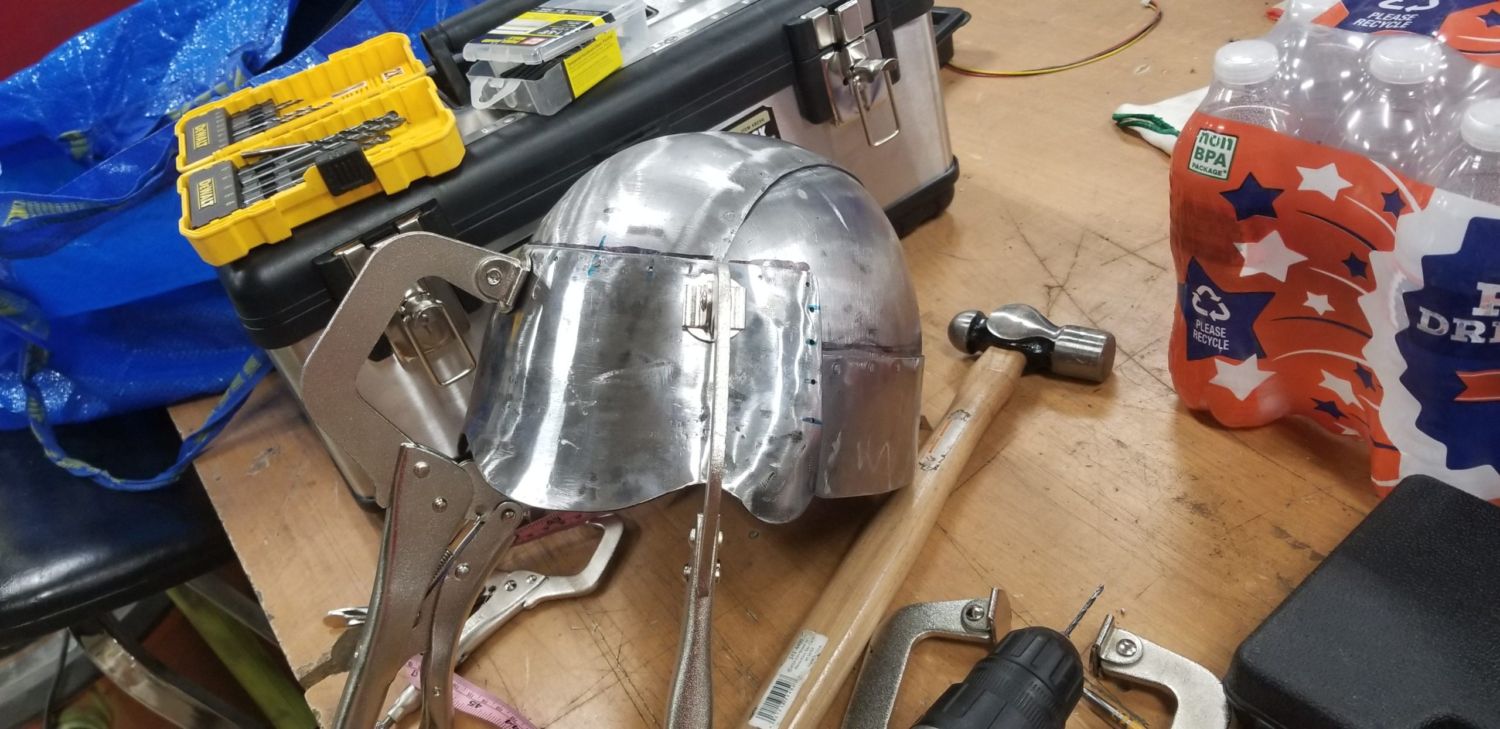
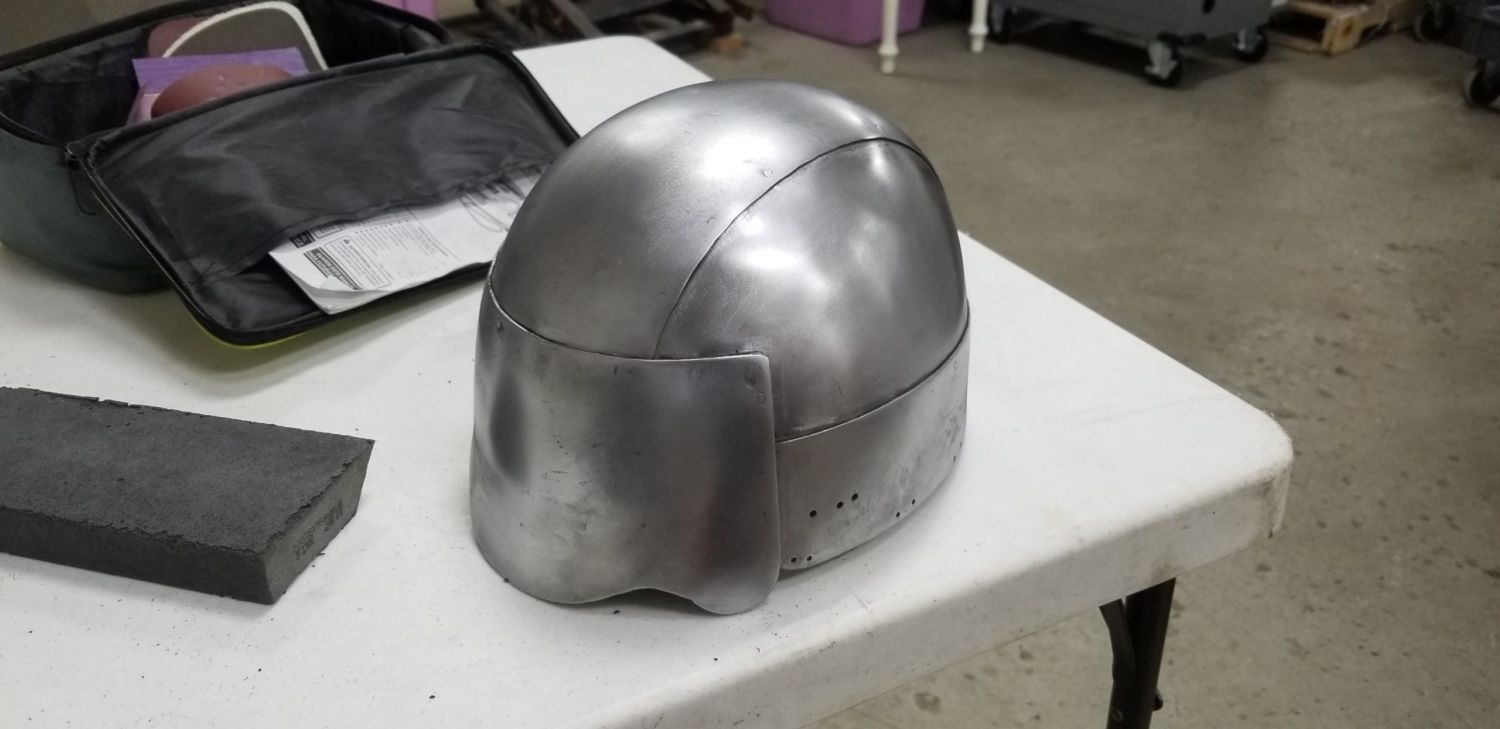
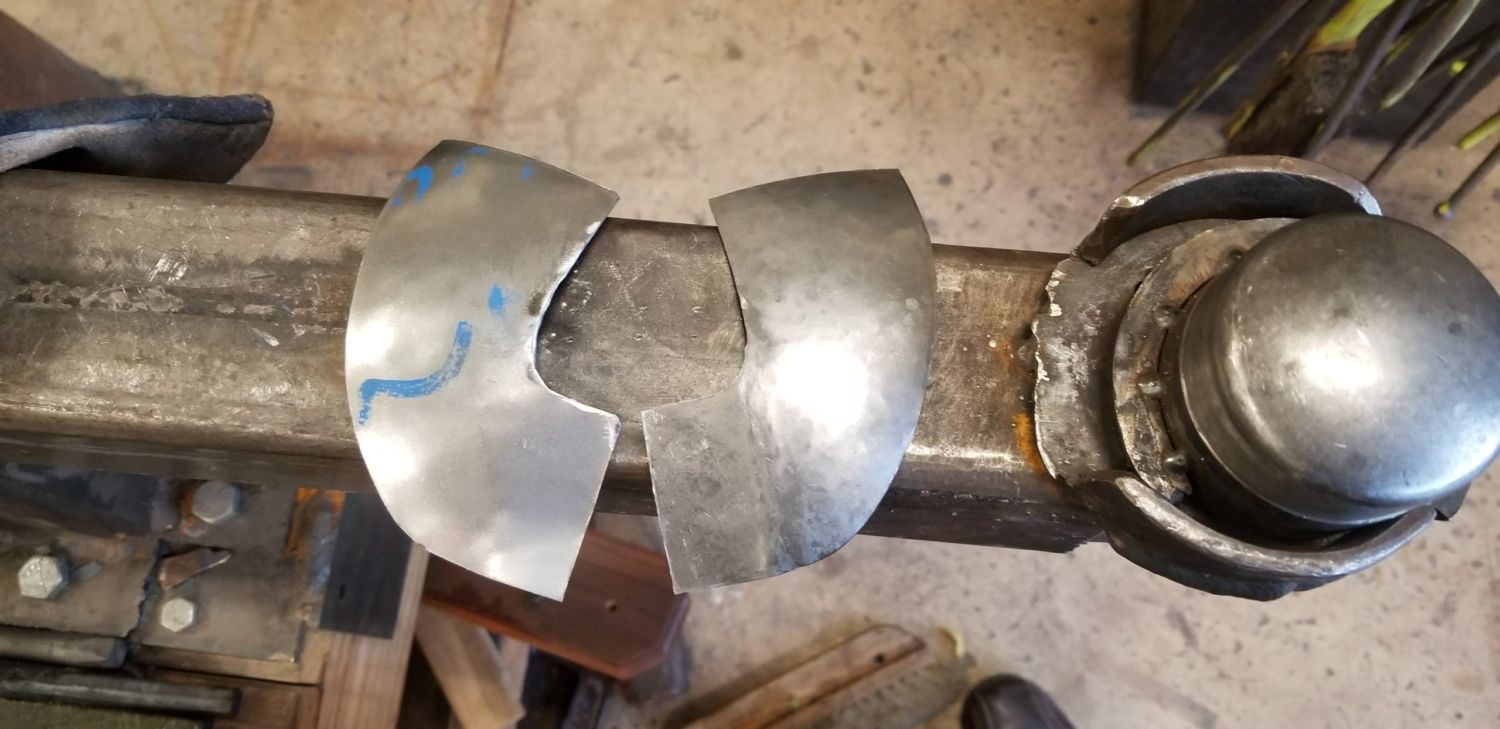
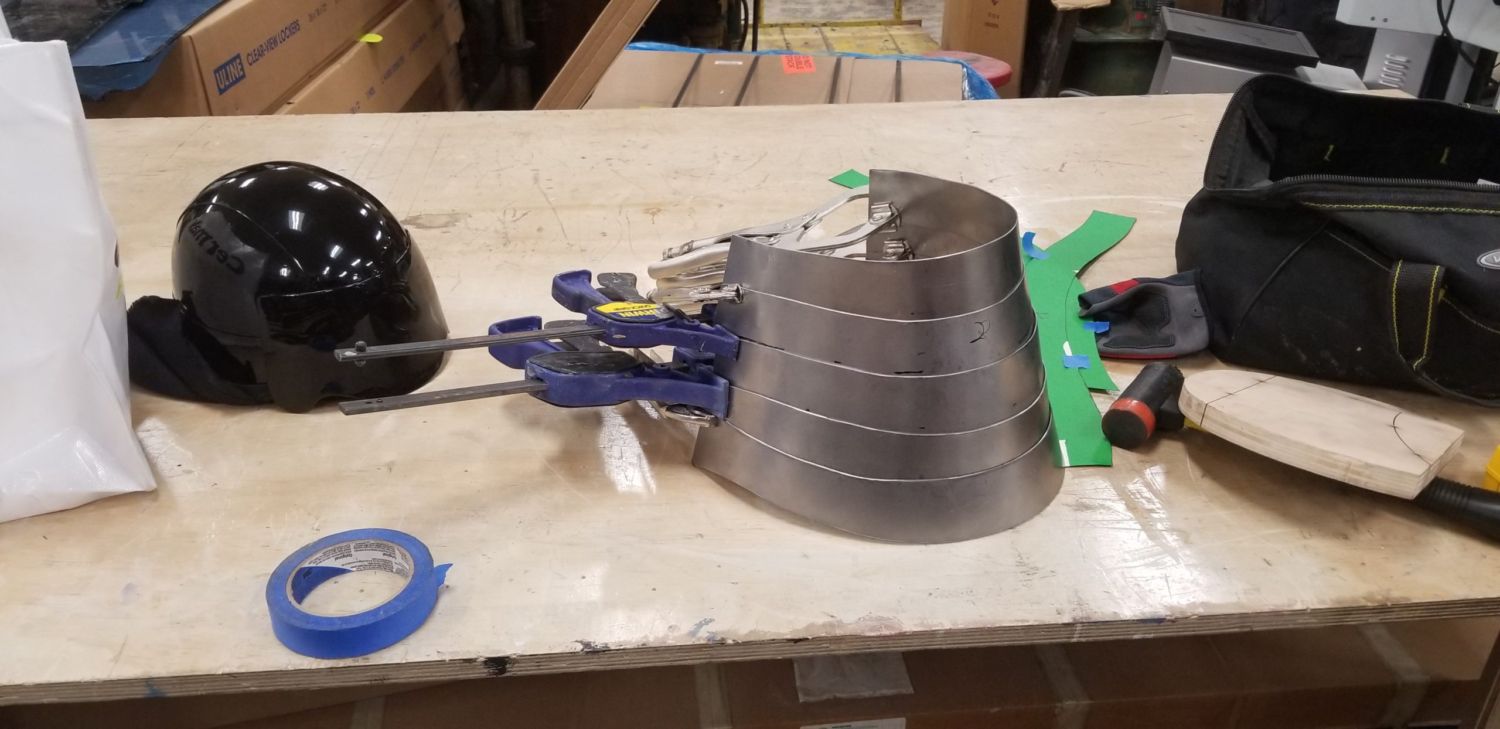
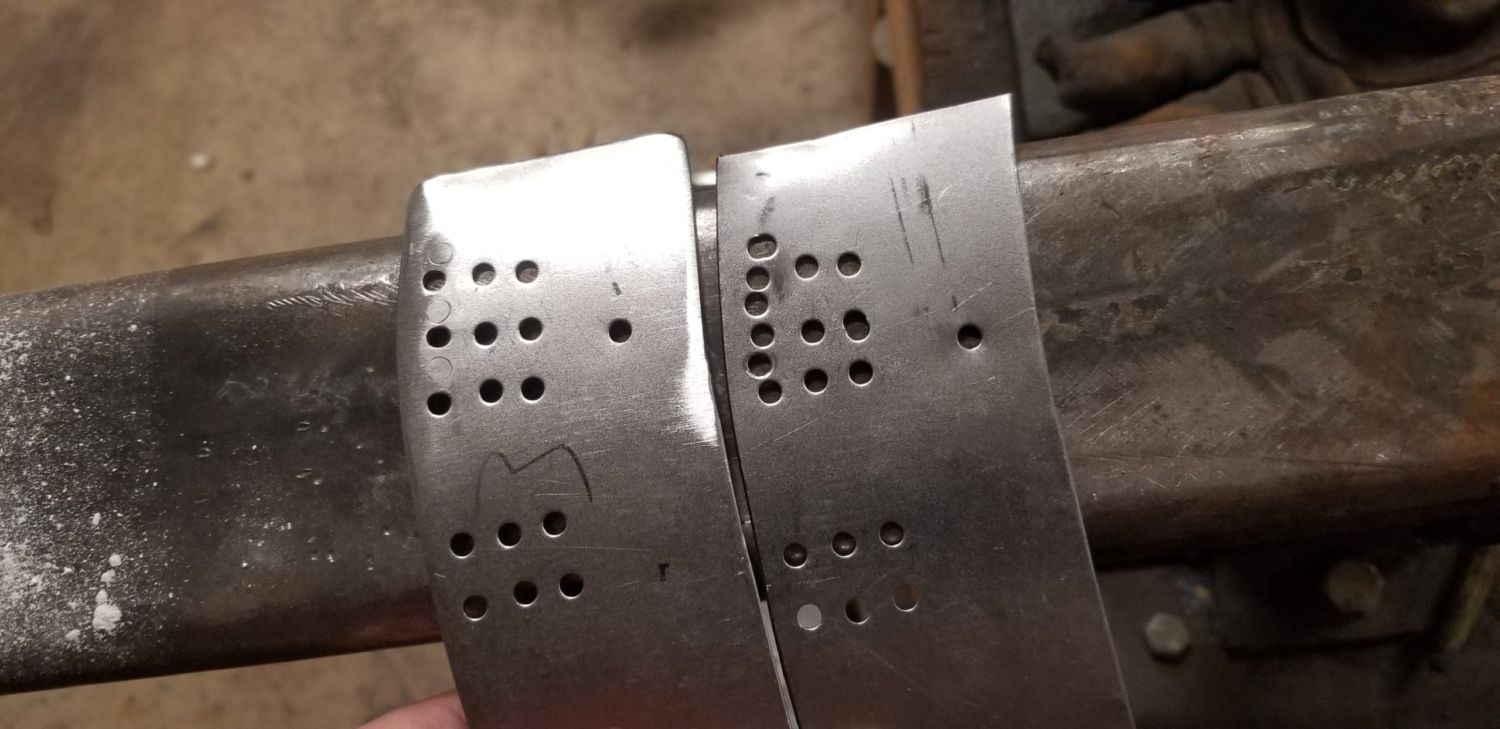
When it comes to cutting steel for armoring, I find the best tool is a throatless shear (Pictured above). Harbor freight (a budget hardware store in the USA) sells a cheaper one that works just fine, and is well worth the investment. Powered sheet metal shears are another good option when on a stricter budget. The next step down in quality of cut ease of use would be an orbital jigsaw with the appropriate blades. Finally, if none of the other tools can’t be used for whatever reason, there are hand shears/snips. I don’t recommend these for thicker steel as the required muscle, sweat, blood, and tears aren’t worth the mediocre cut obtained. Safety tip when cutting; Be sure to always wear eye/ear protection and follow up any cuts with a bit of sanding to remove any razor sharp edges.
Building the Frame
I’d first like to discuss the equipment required for forming sheet steel. Initial sourcing of some of these items might be the most time consuming and expensive part of this entire process. Here are the essentials:
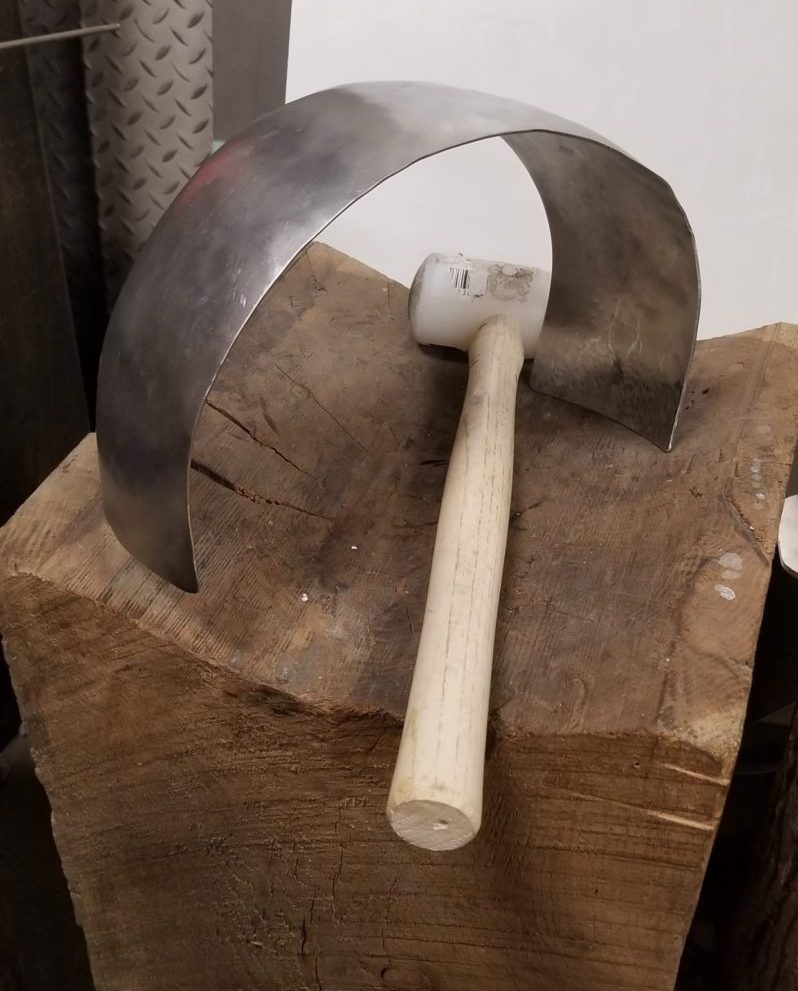
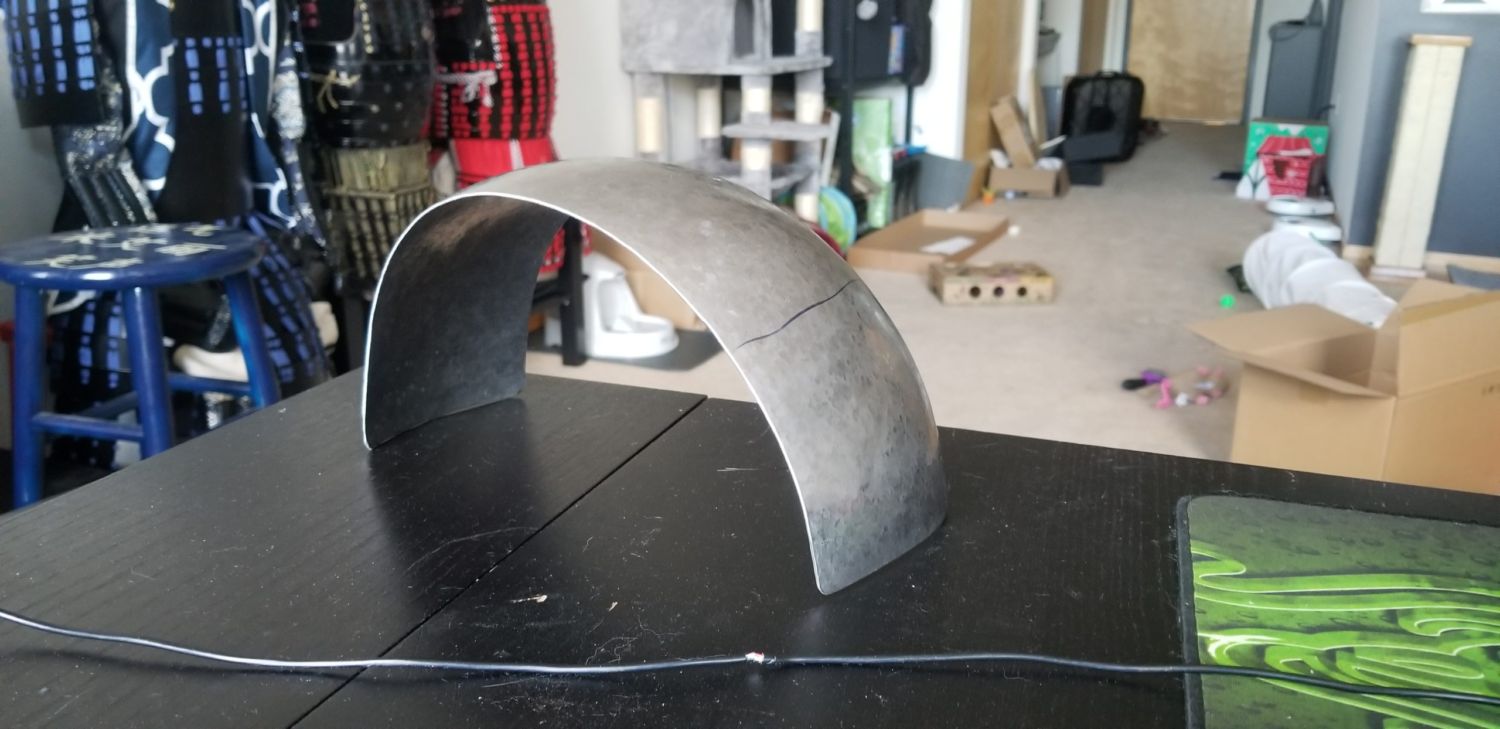
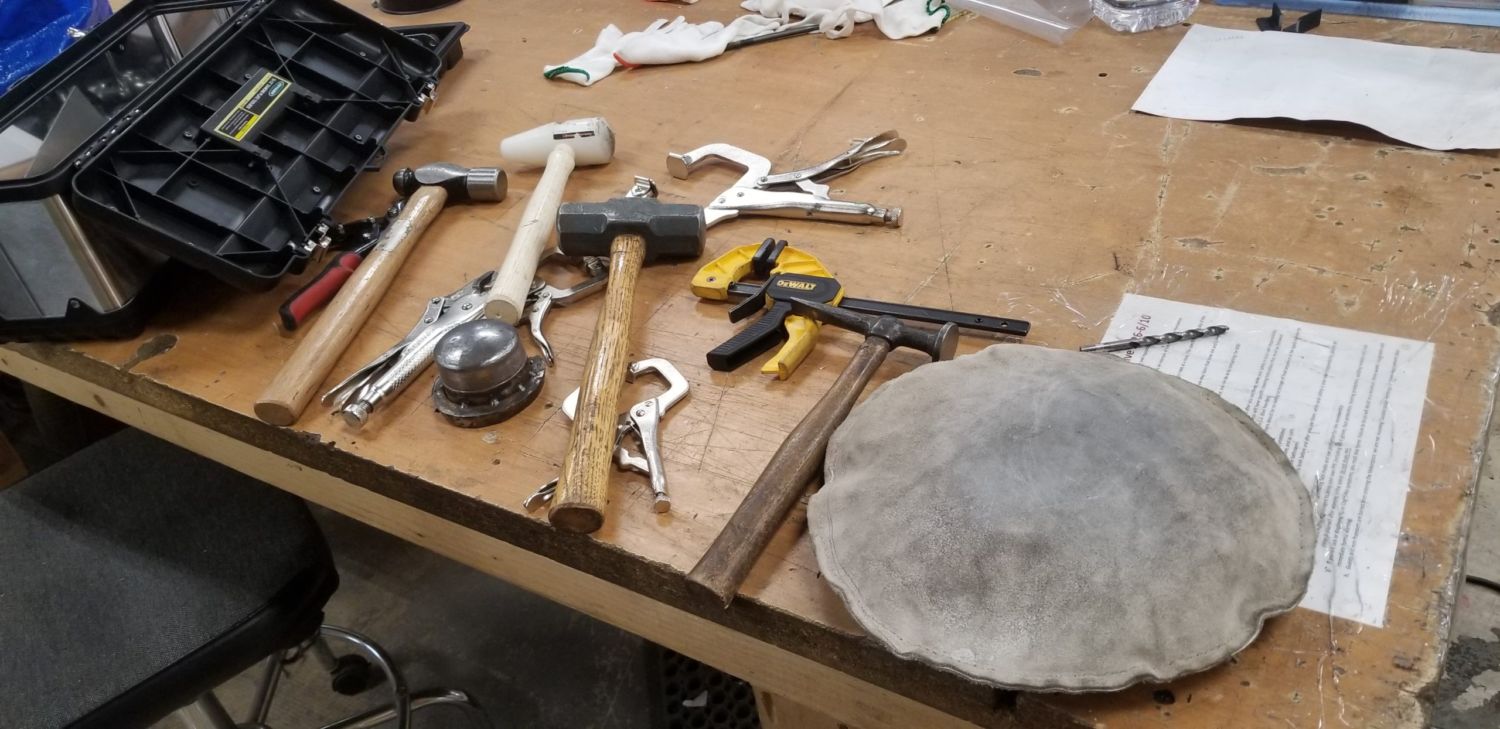
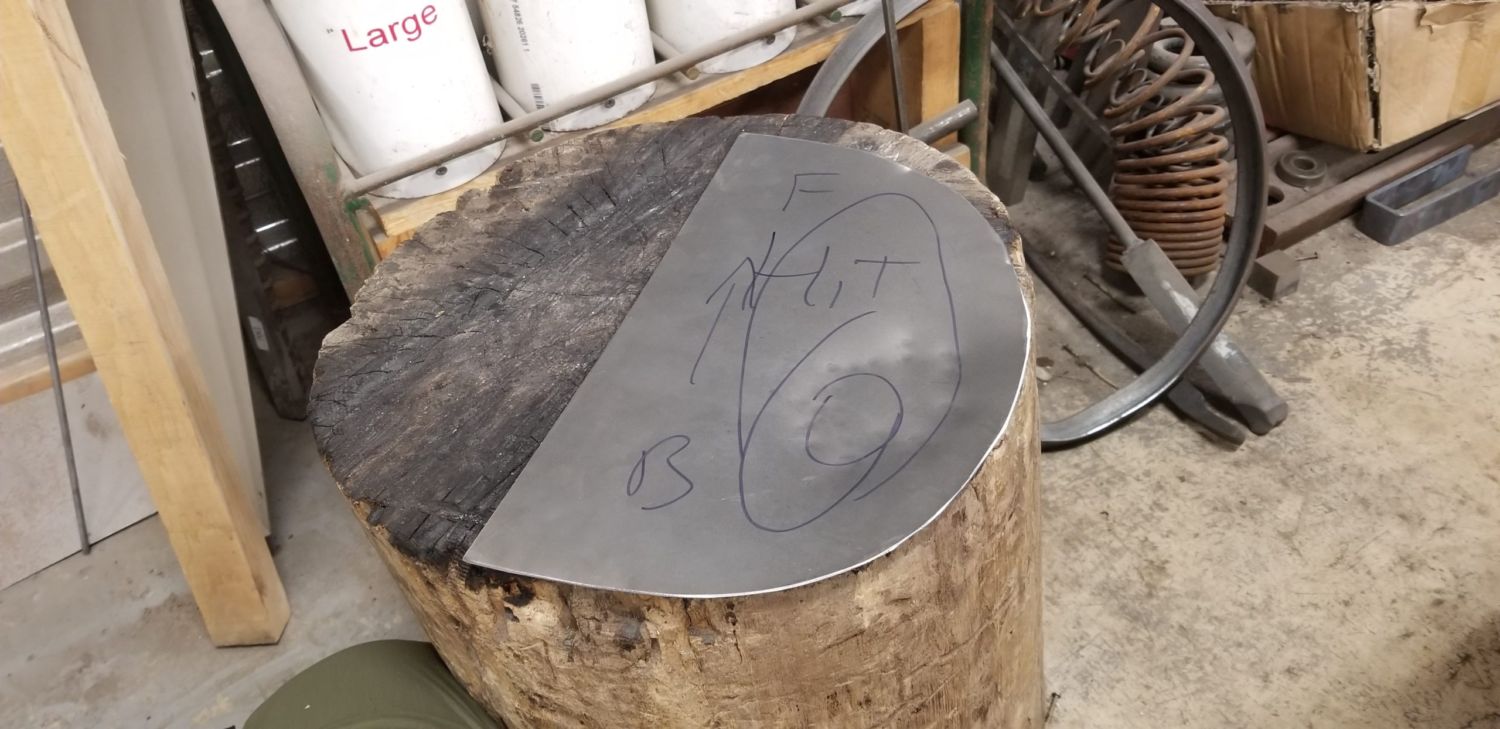
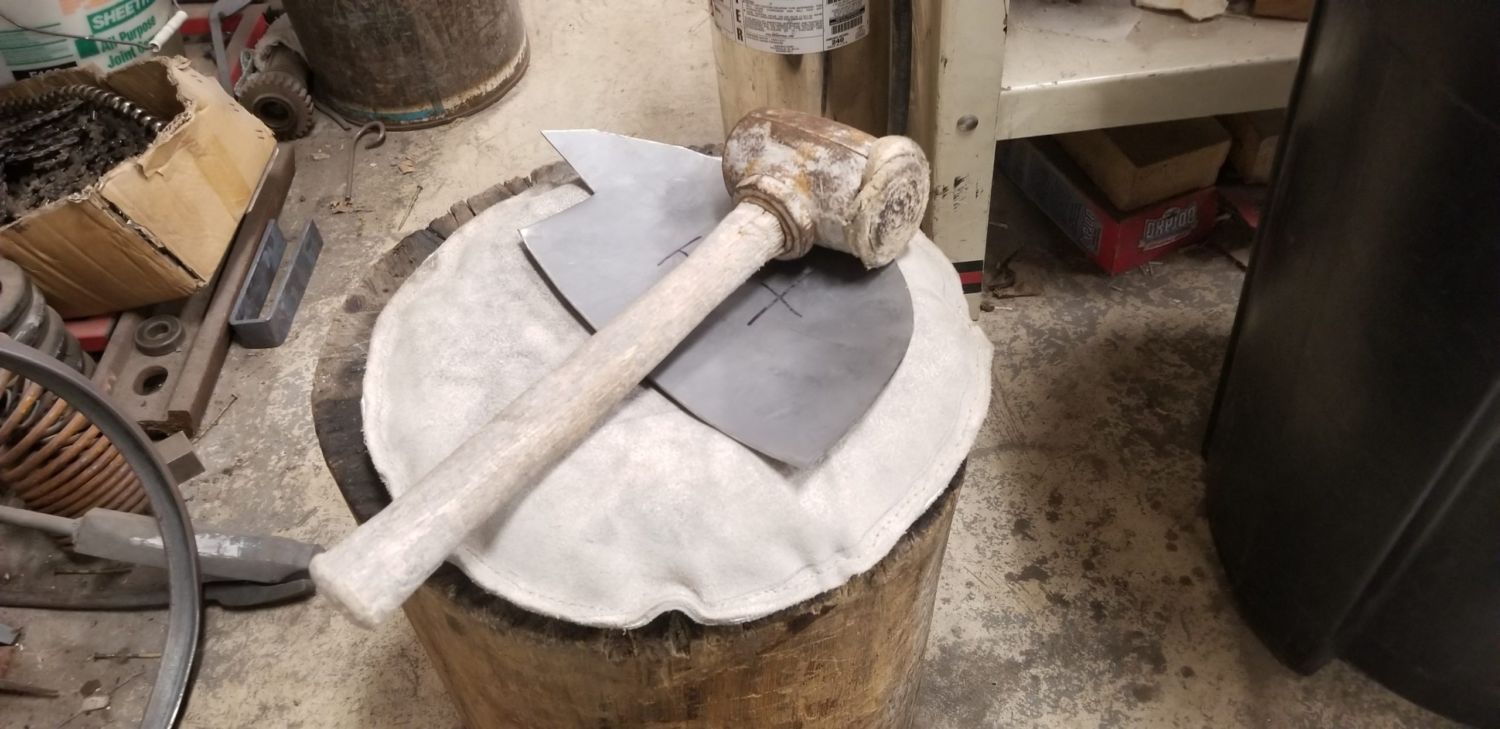
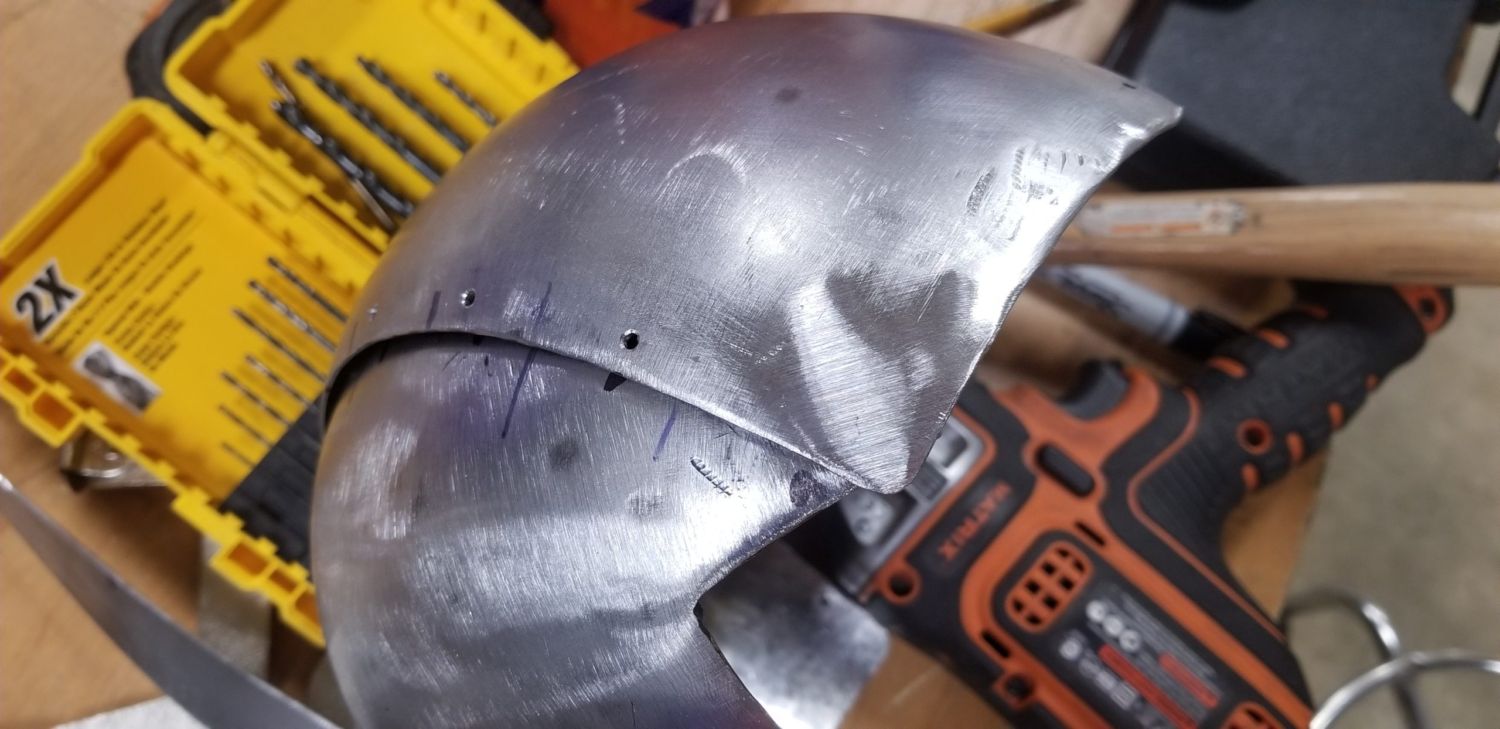
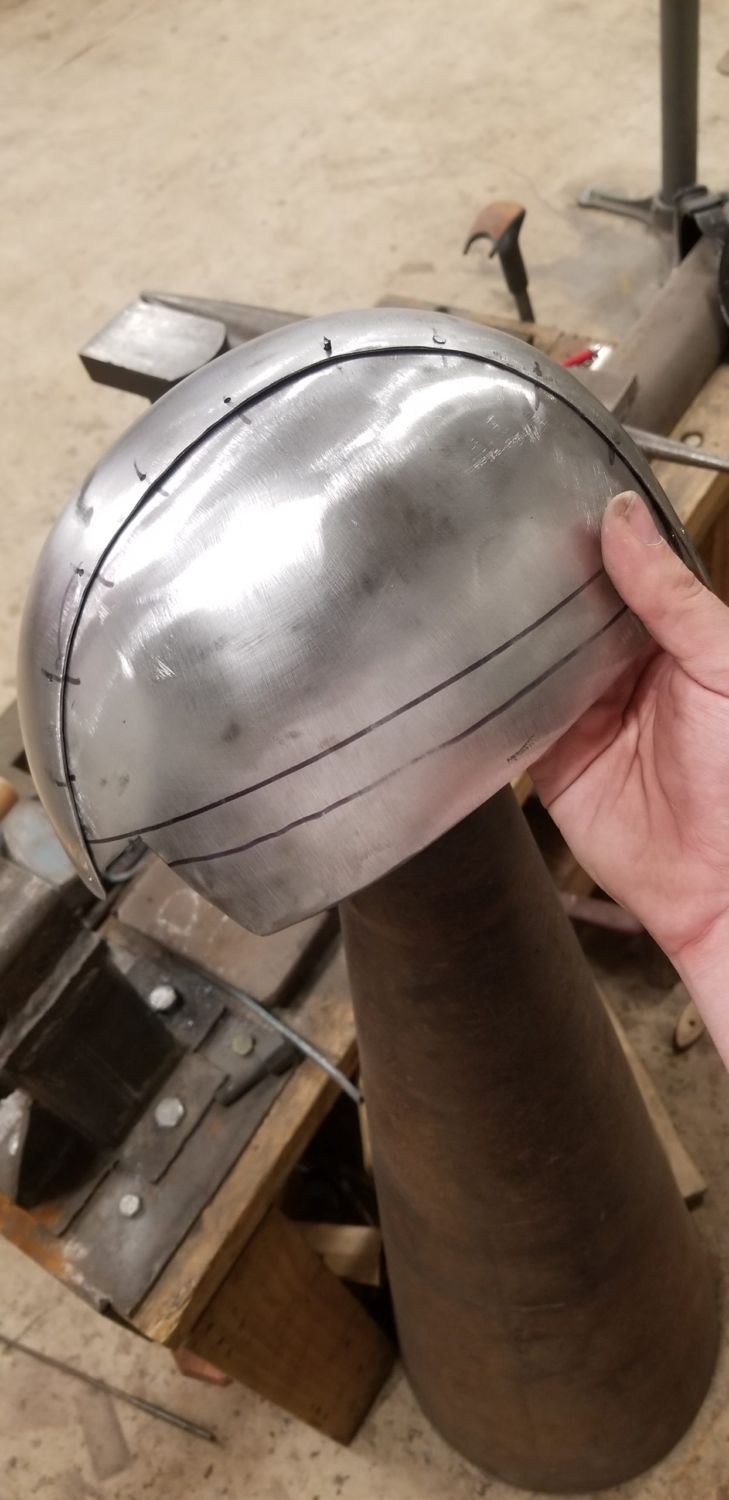
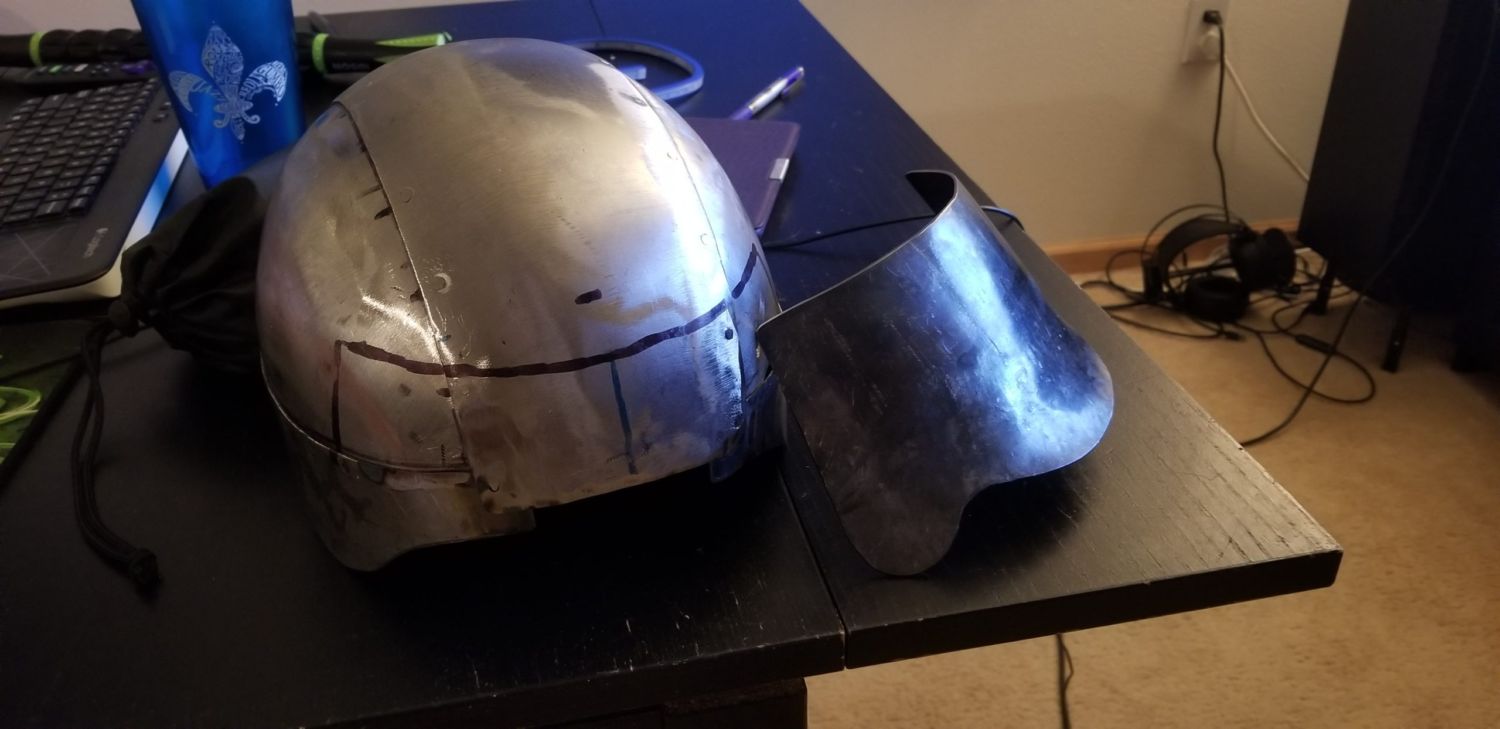
Dishing equipment – A helmet is obviously head shaped and you need some way to stretch a flat pattern of steel into a dome. This guy has an excellent beginner guide to dishing: Sheet Metal Shaping: Noob with a Sandbag, Shrinking Stump, and Planishing Anvil. Yes, he is using thin aluminum and a wooden mallet, but the process and tools are the exact same for thicker metal. Its more important to understand the concept, then you can brainstorm creative ways to solve the problem. For now, what is needed is a soft face hammer, a large domed face metal hammer, and then something to whack the metal into; most commonly a wooden stump with a bowl carved into it. There are a plethora of guides out there for this process. Also check out my own metal forming guide as well as this demonstration.
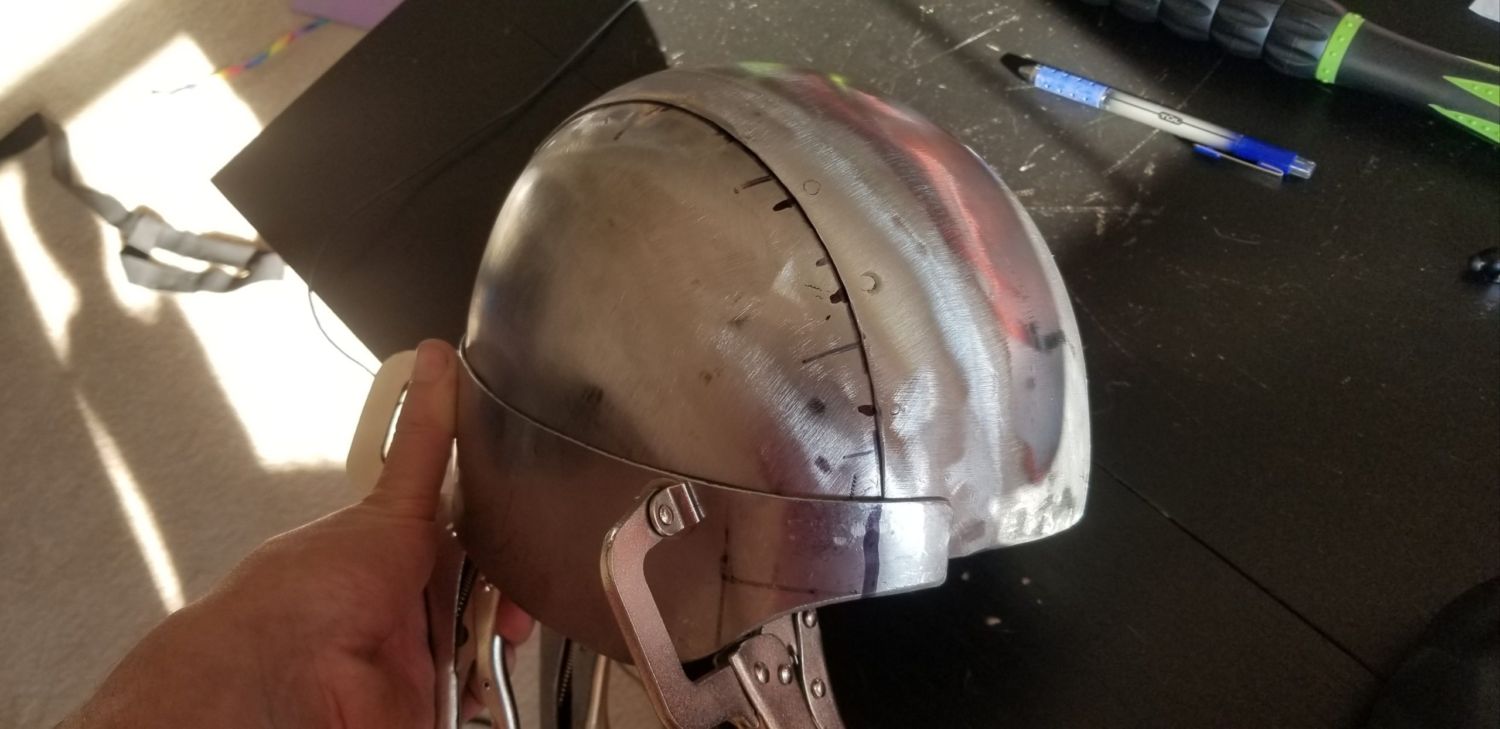
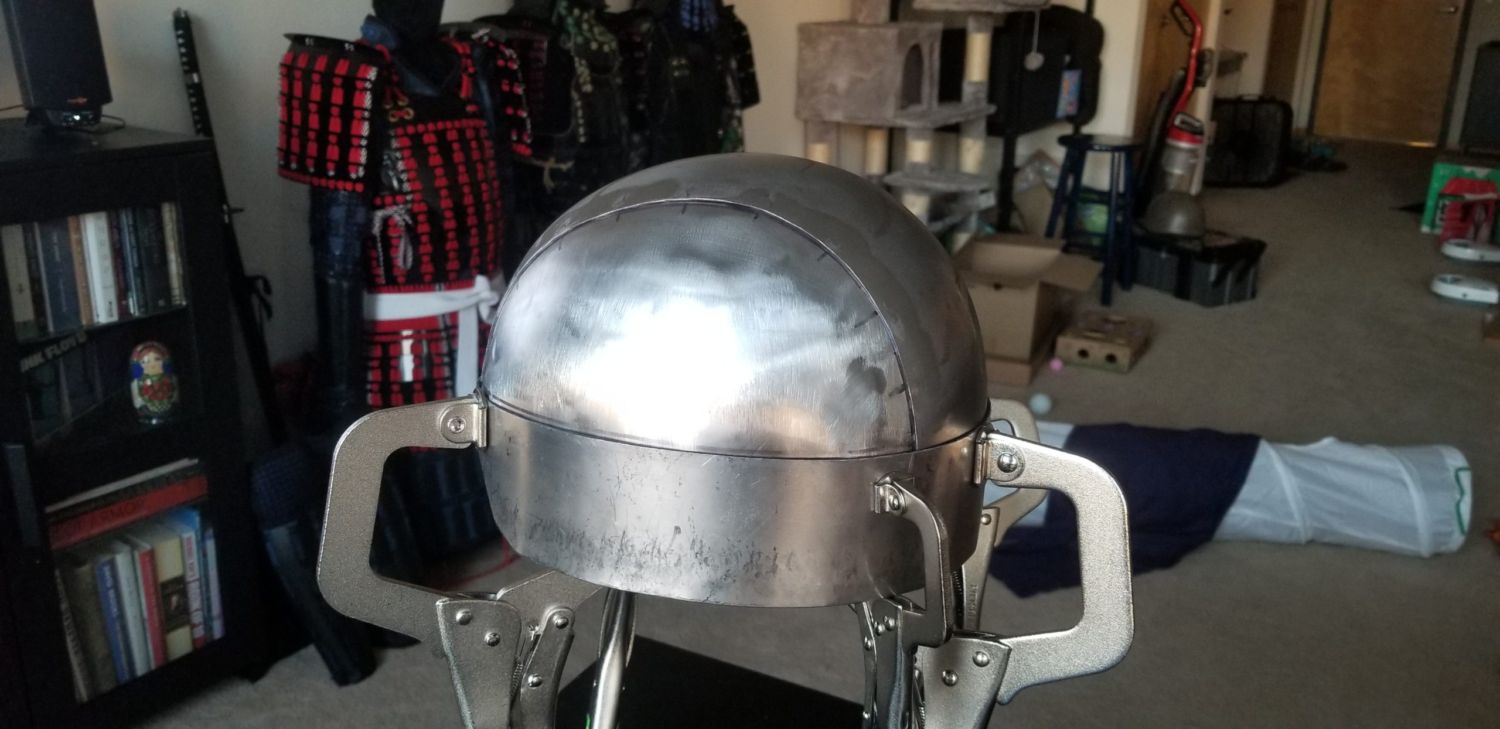
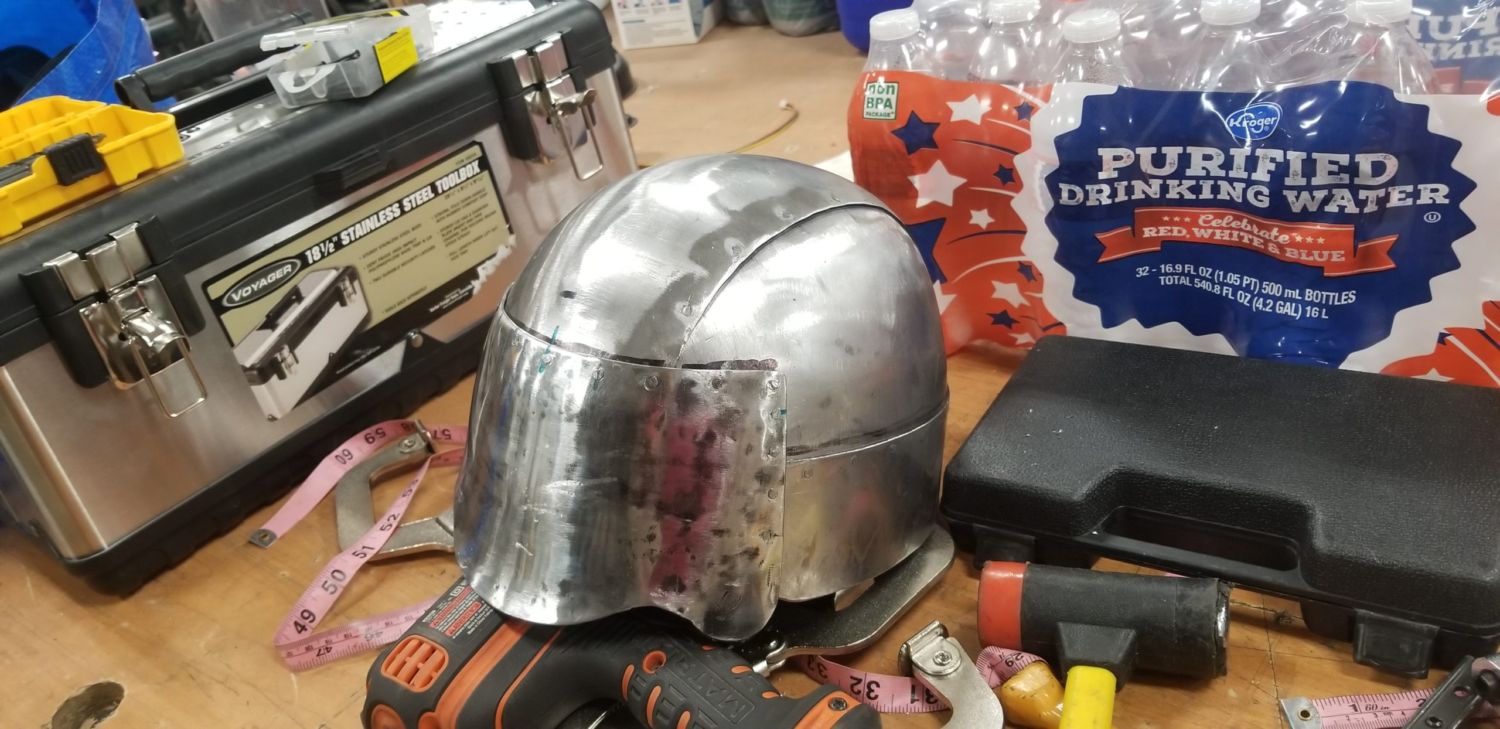
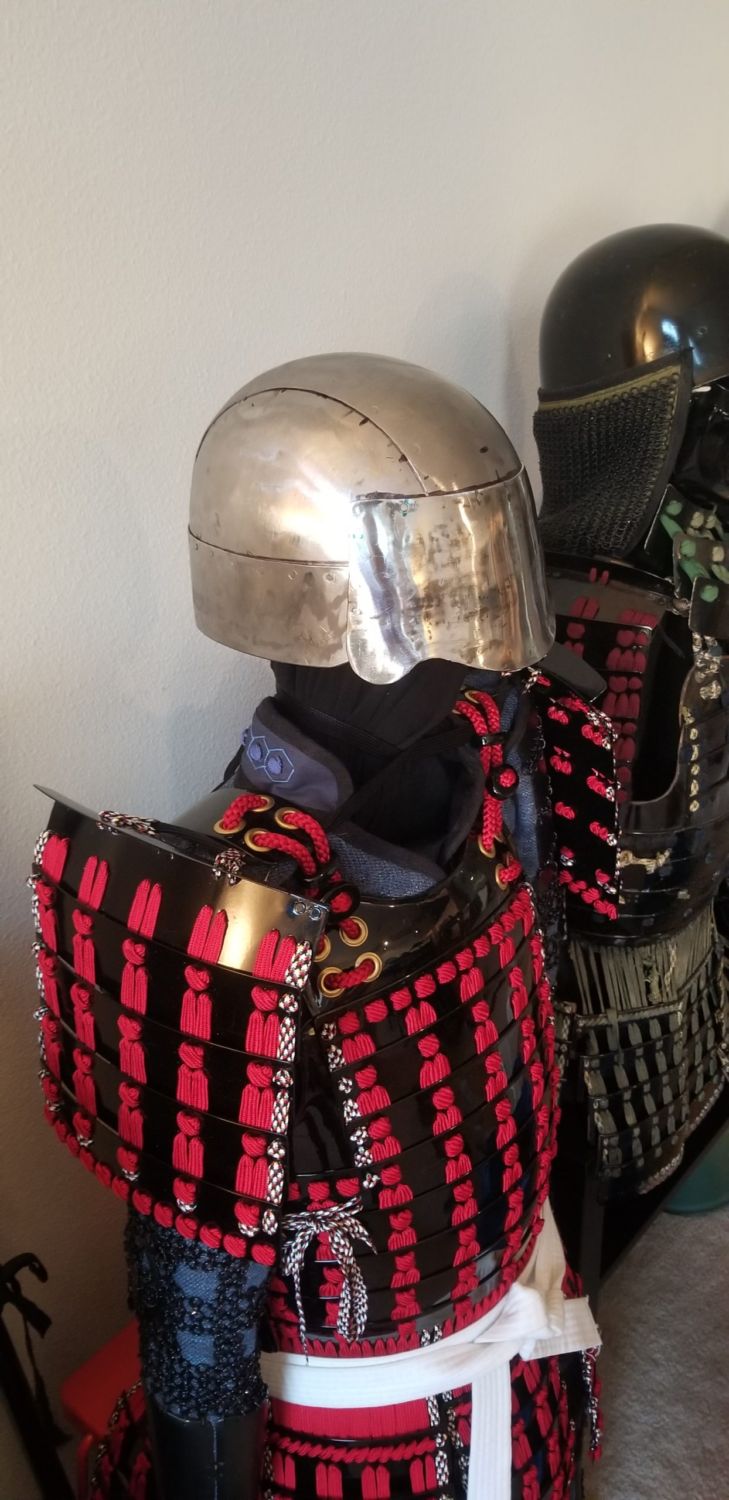
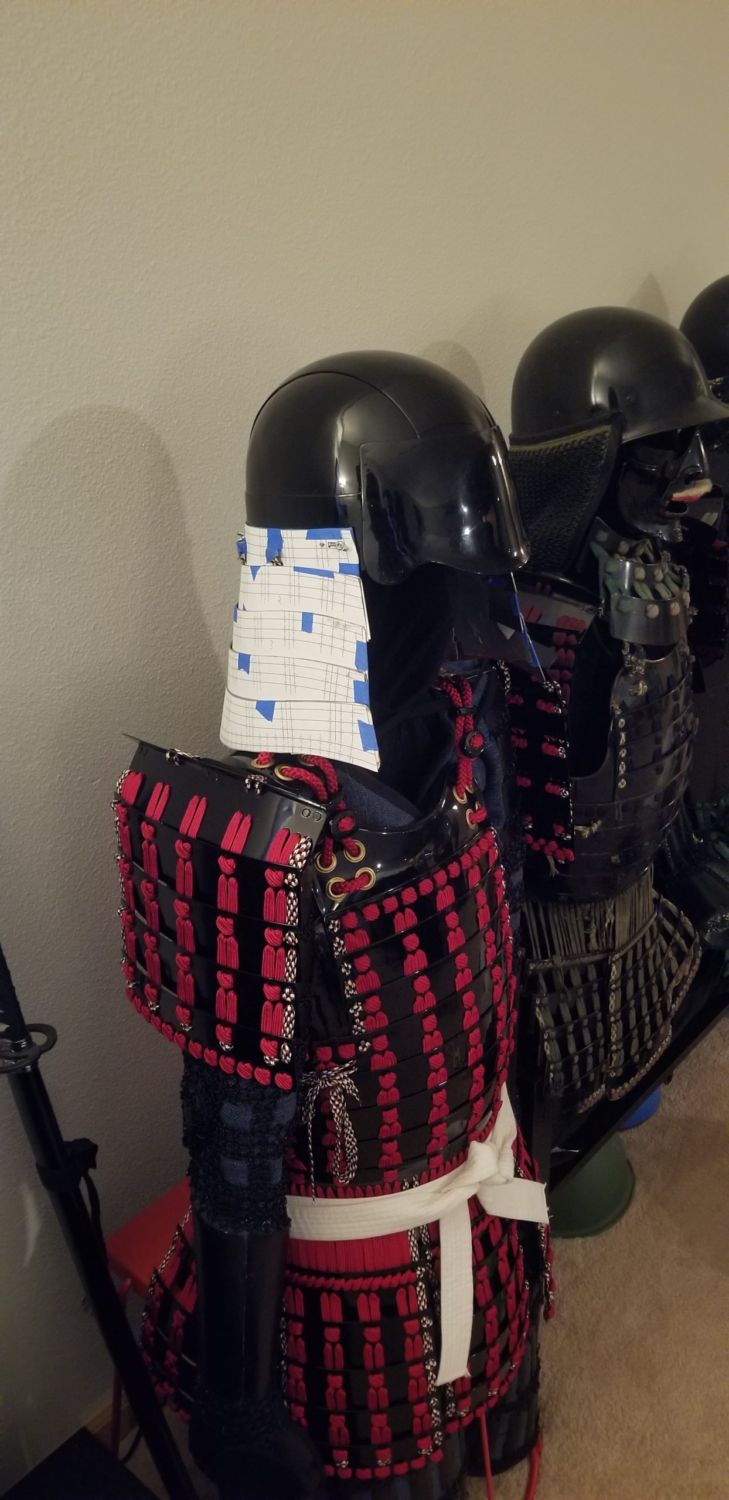
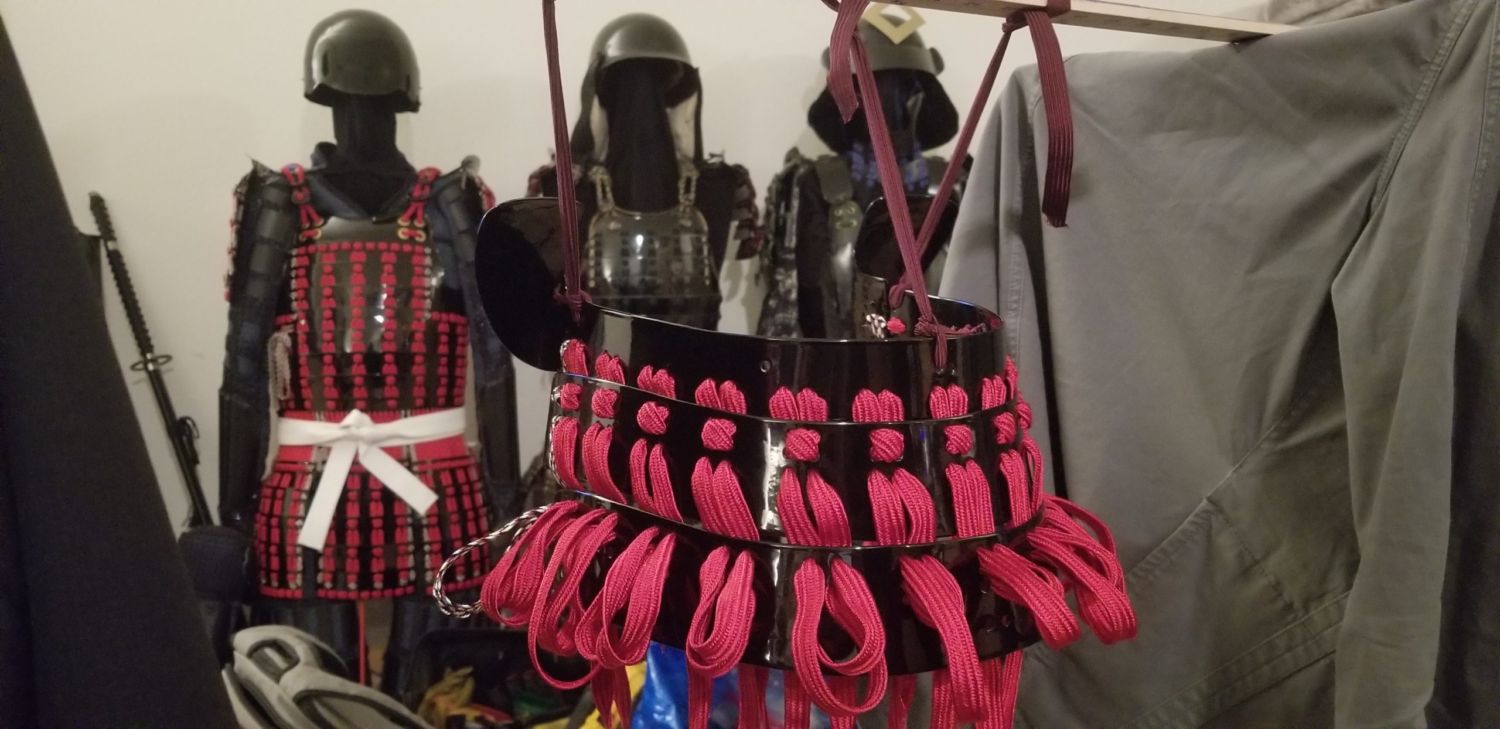
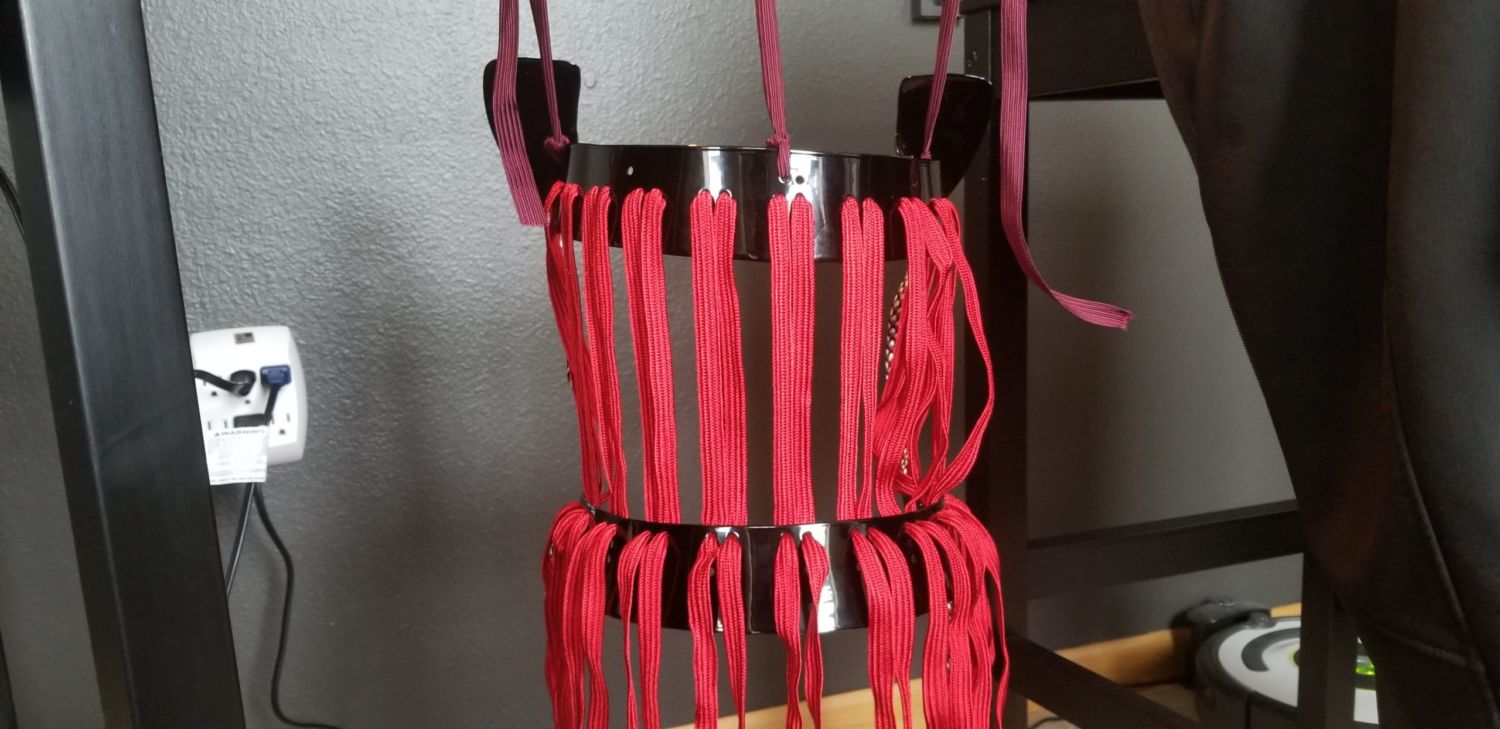
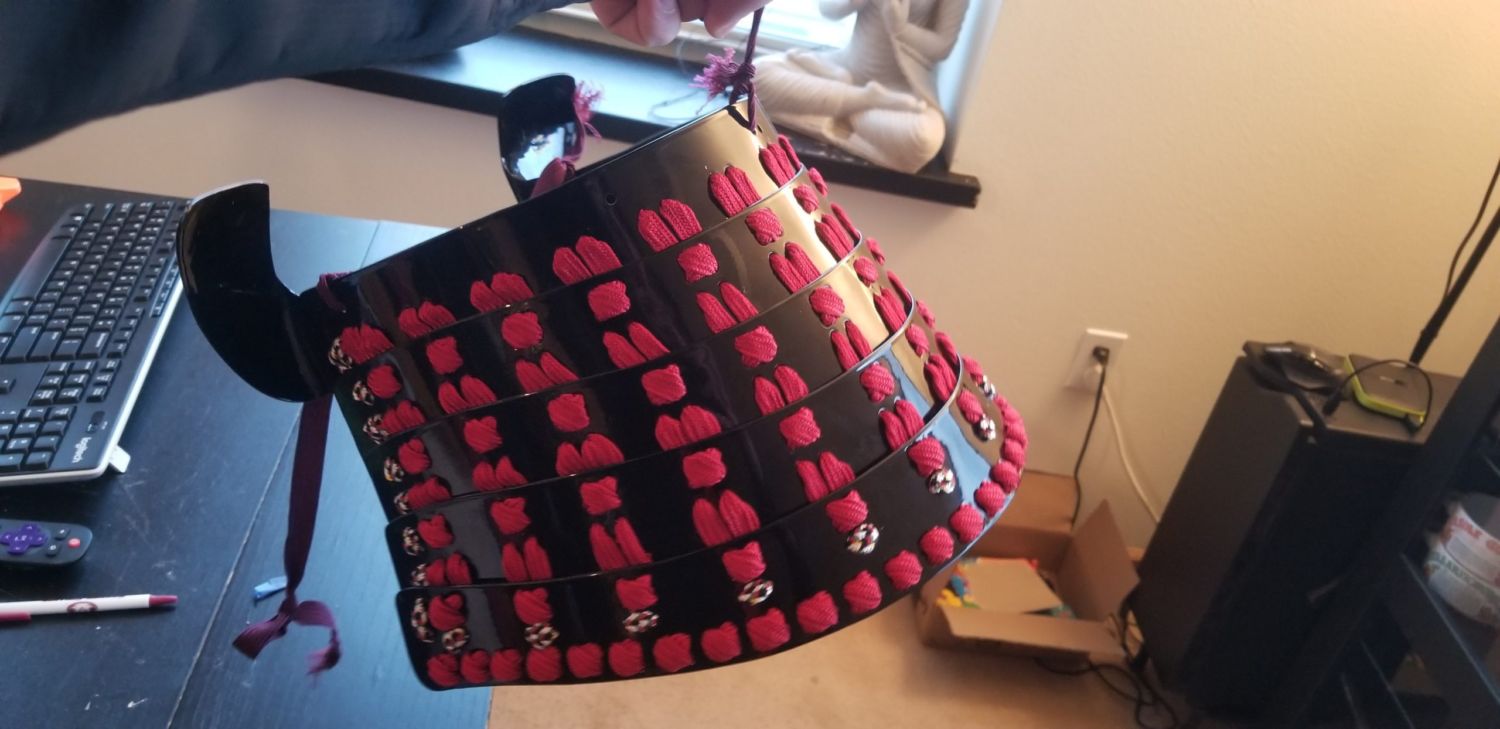
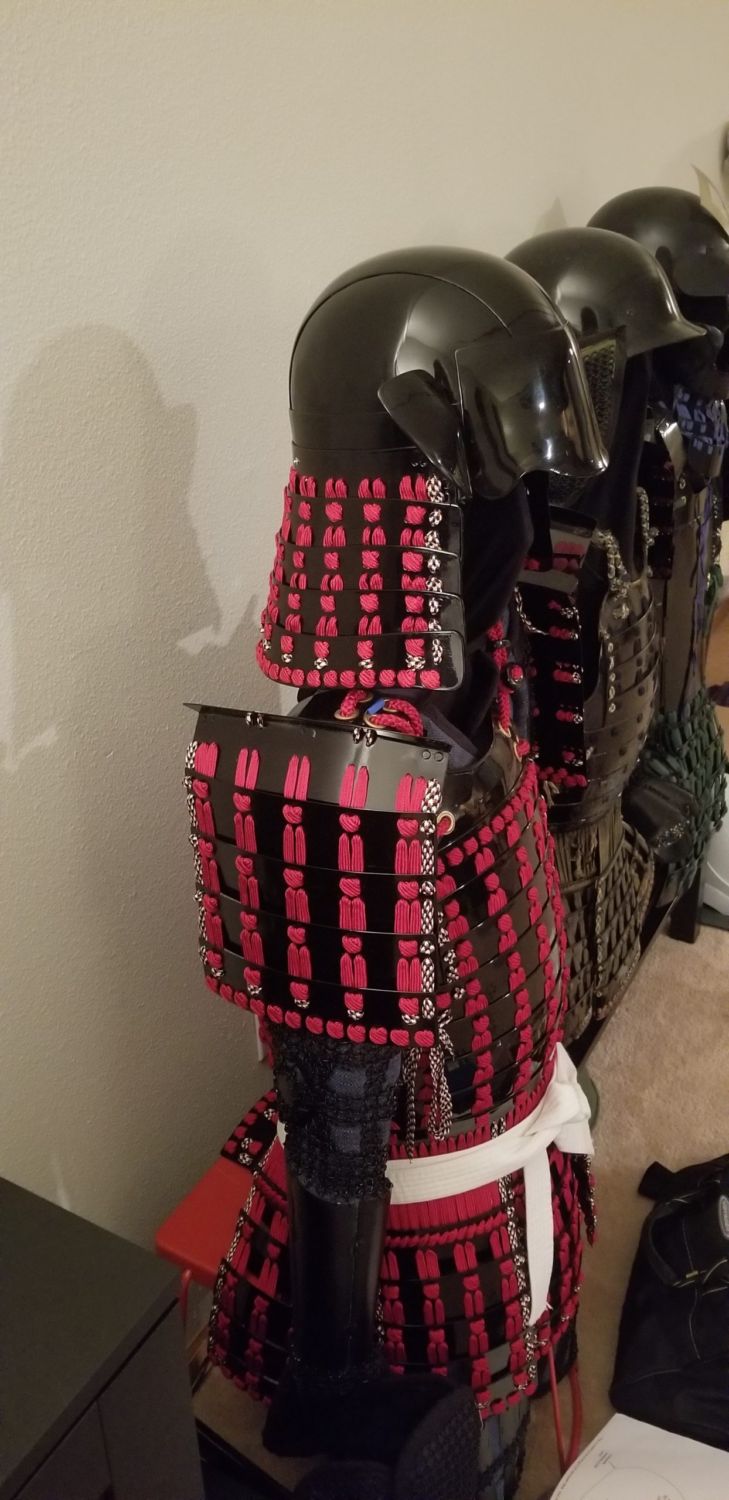
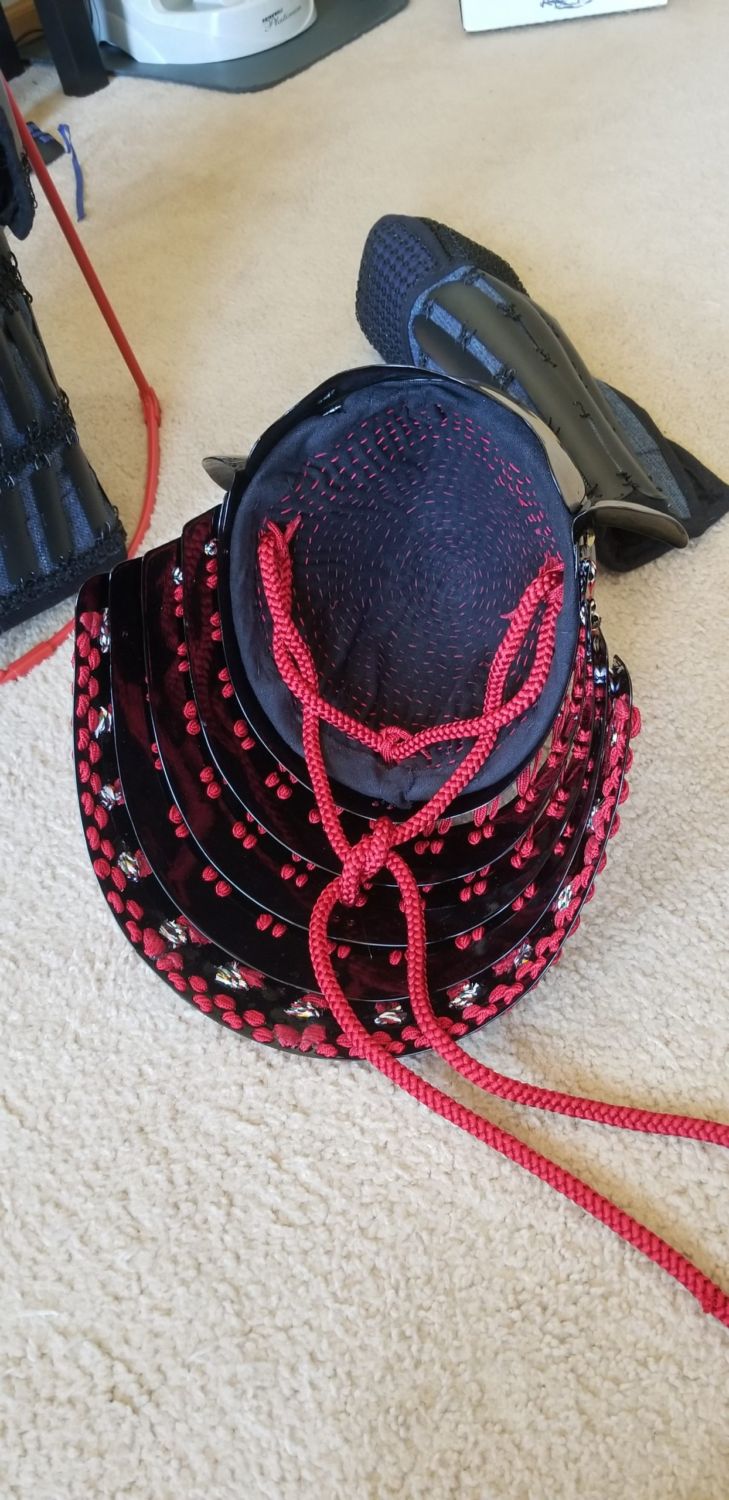
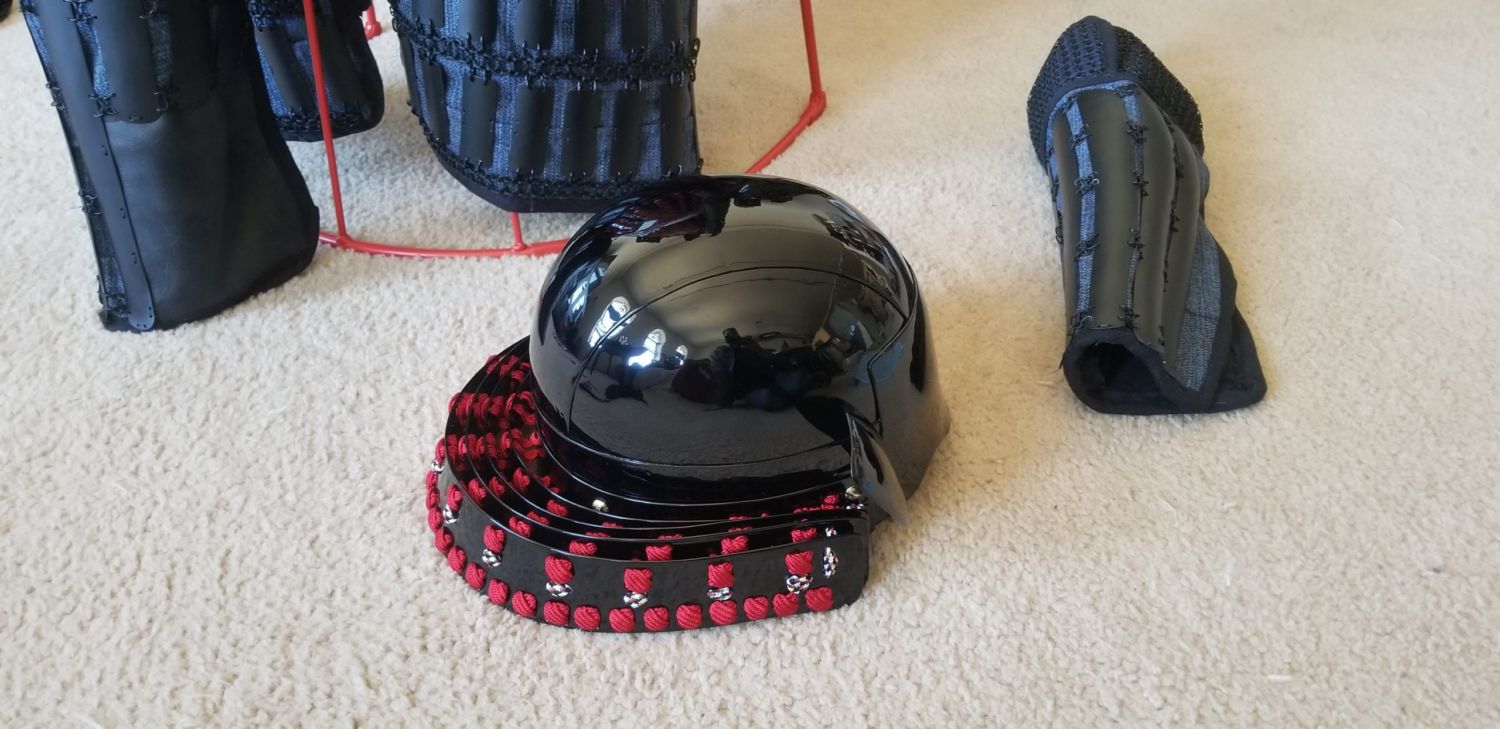
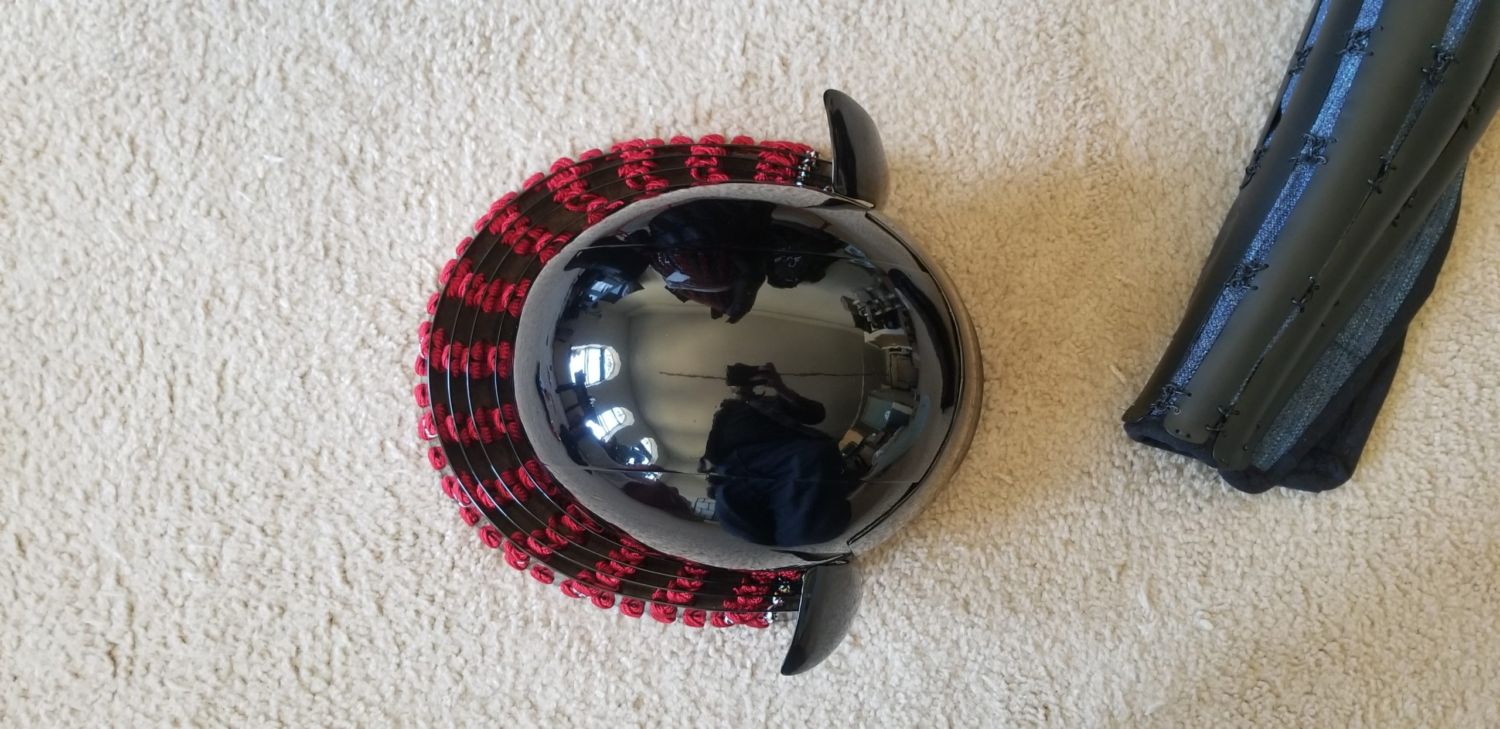
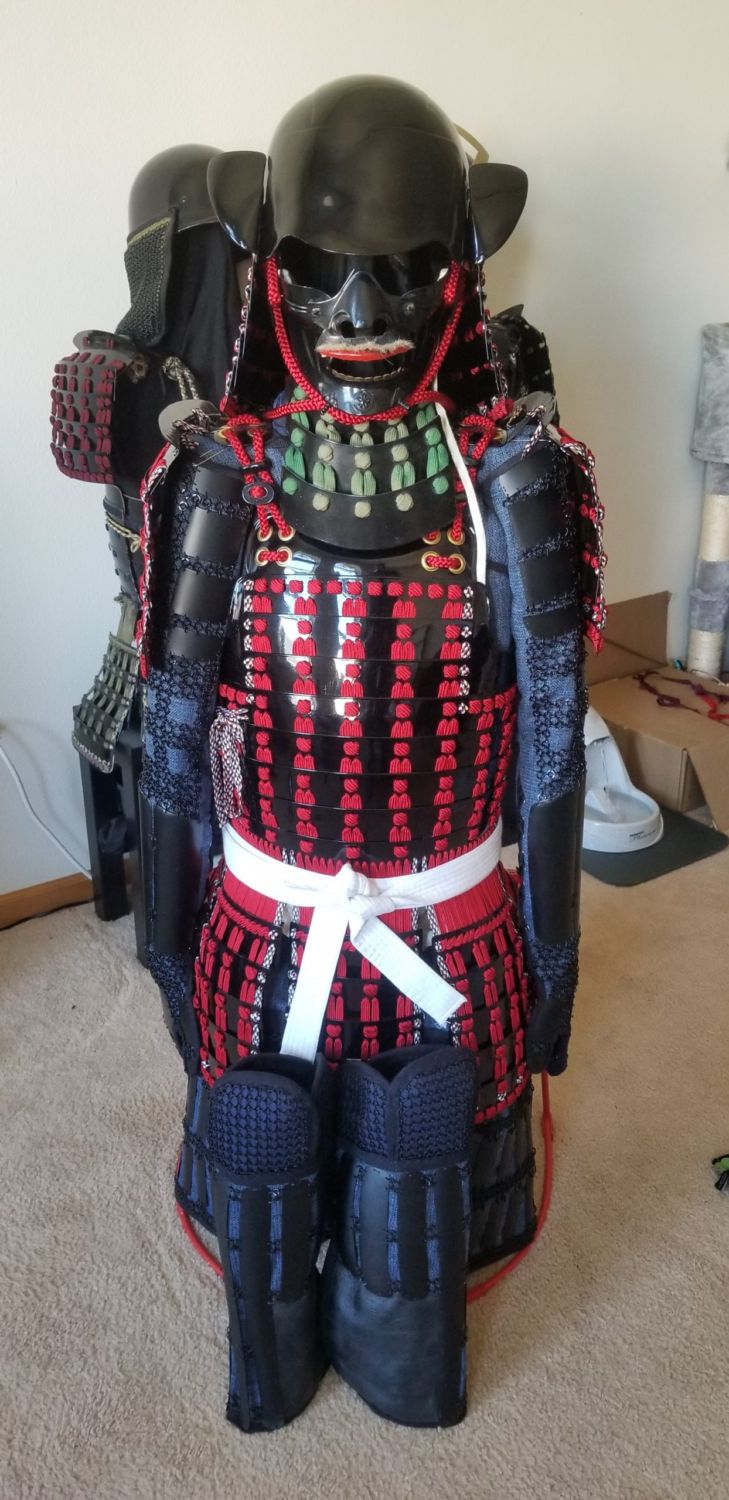
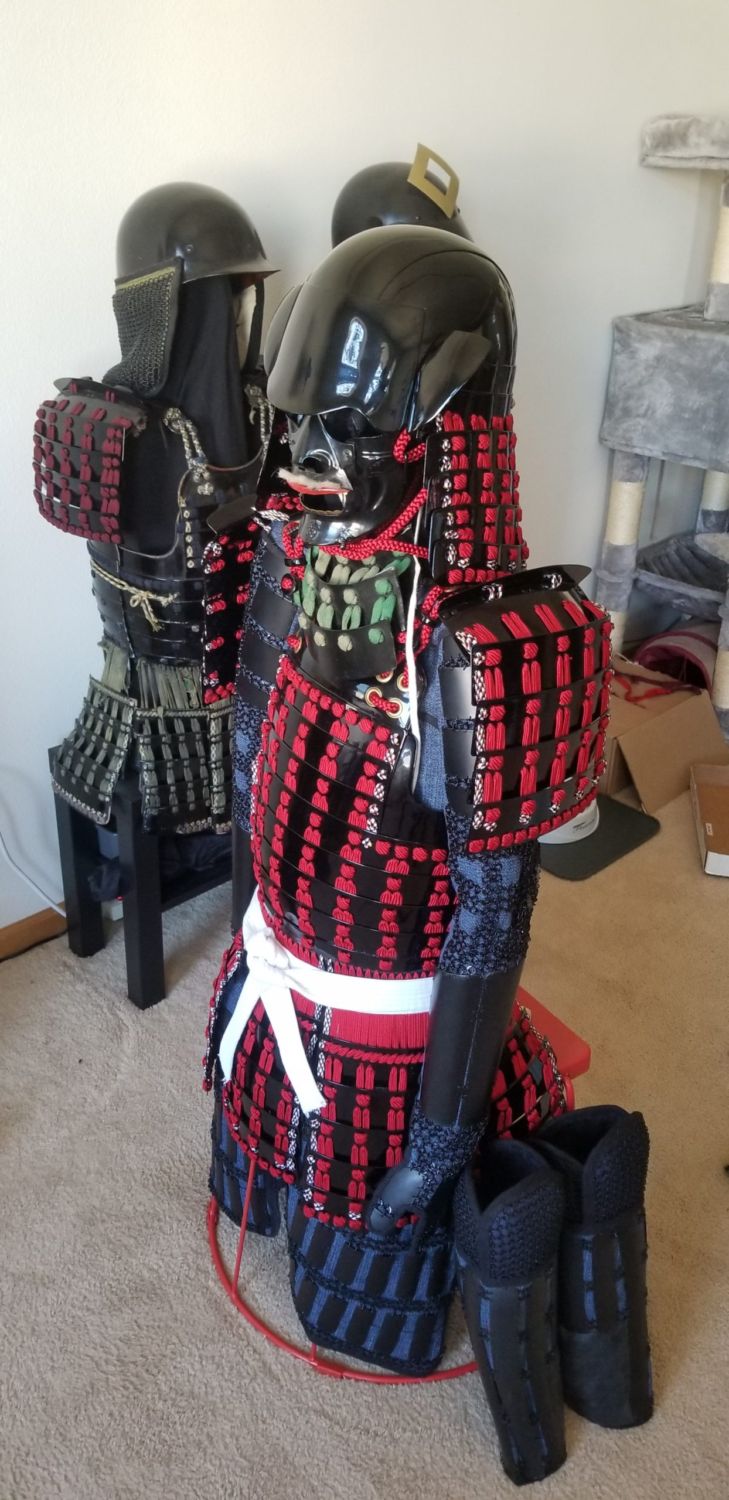
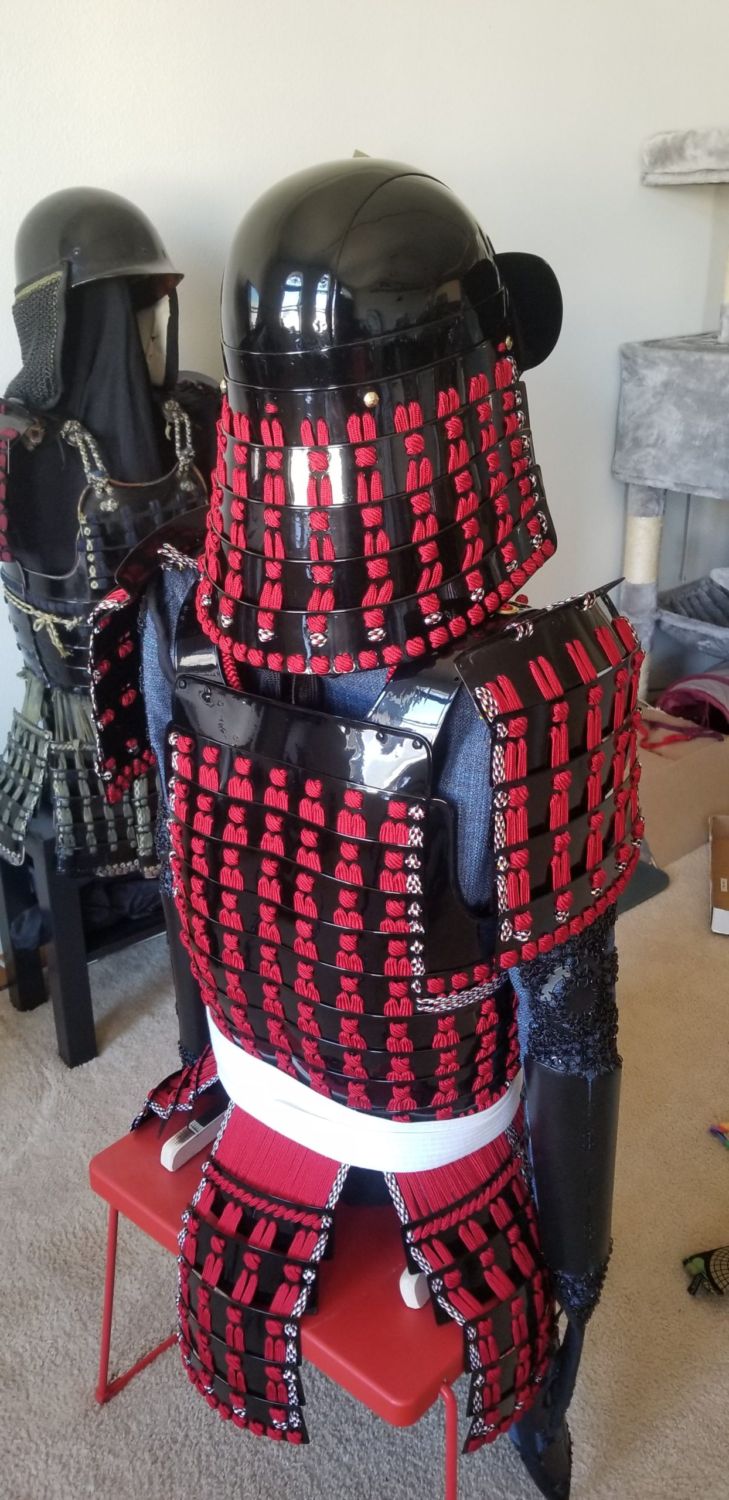
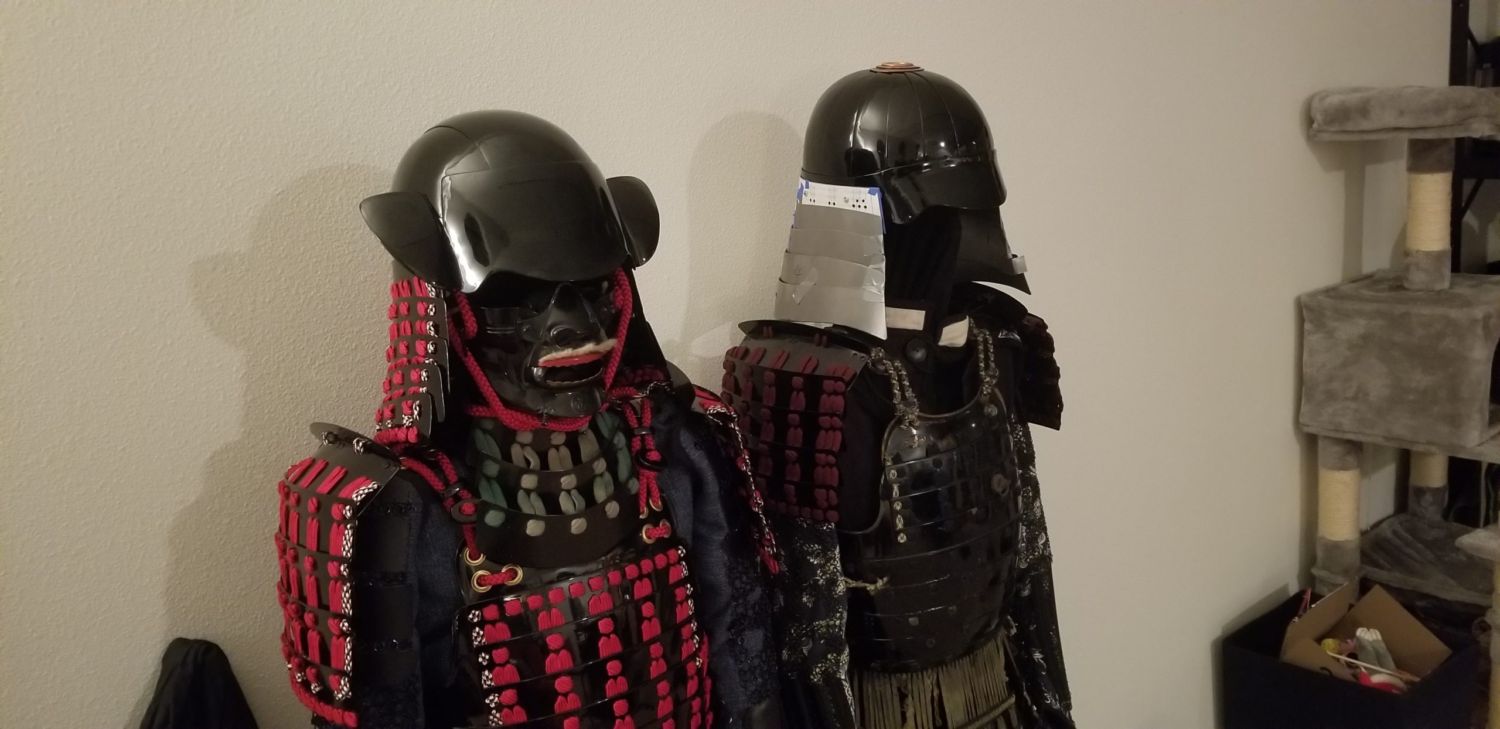
Temporary Gallery