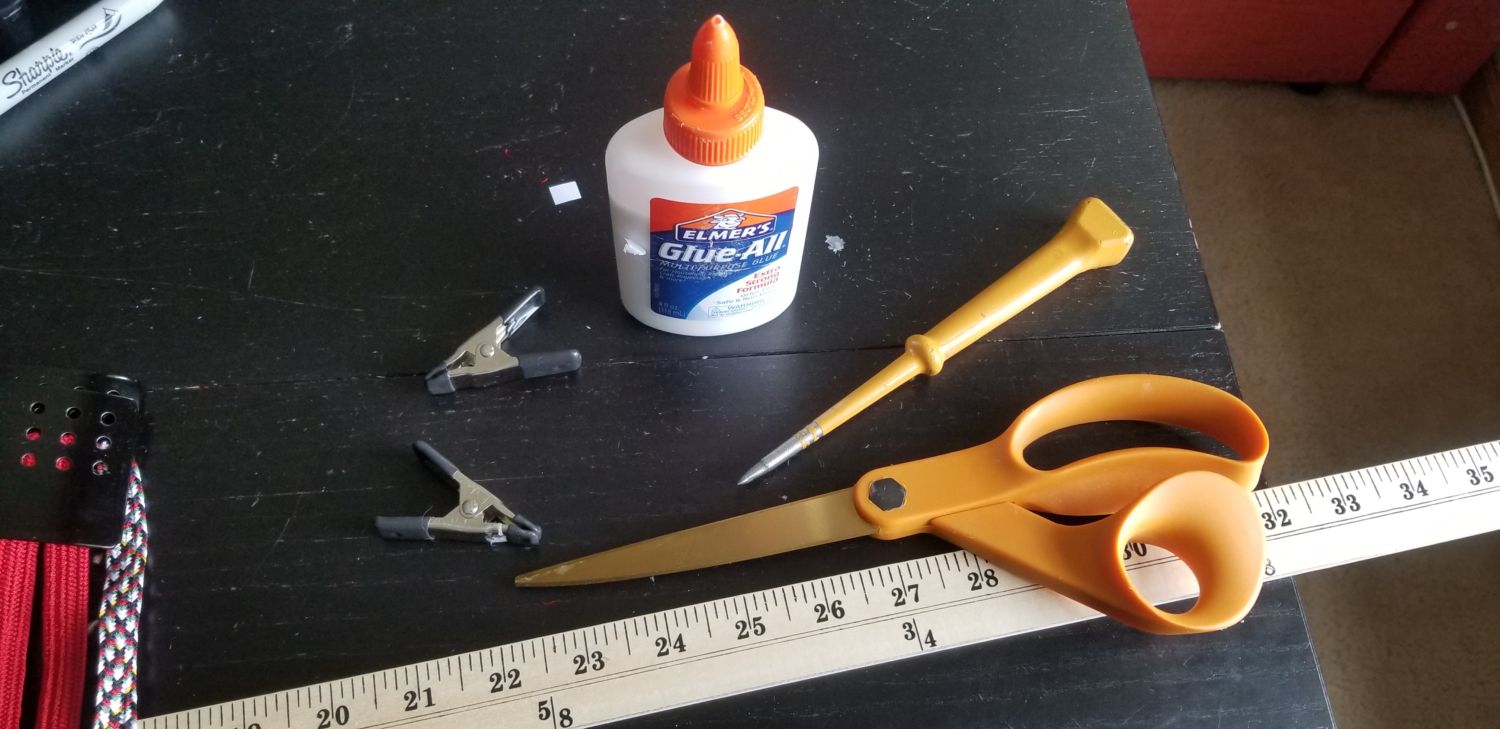
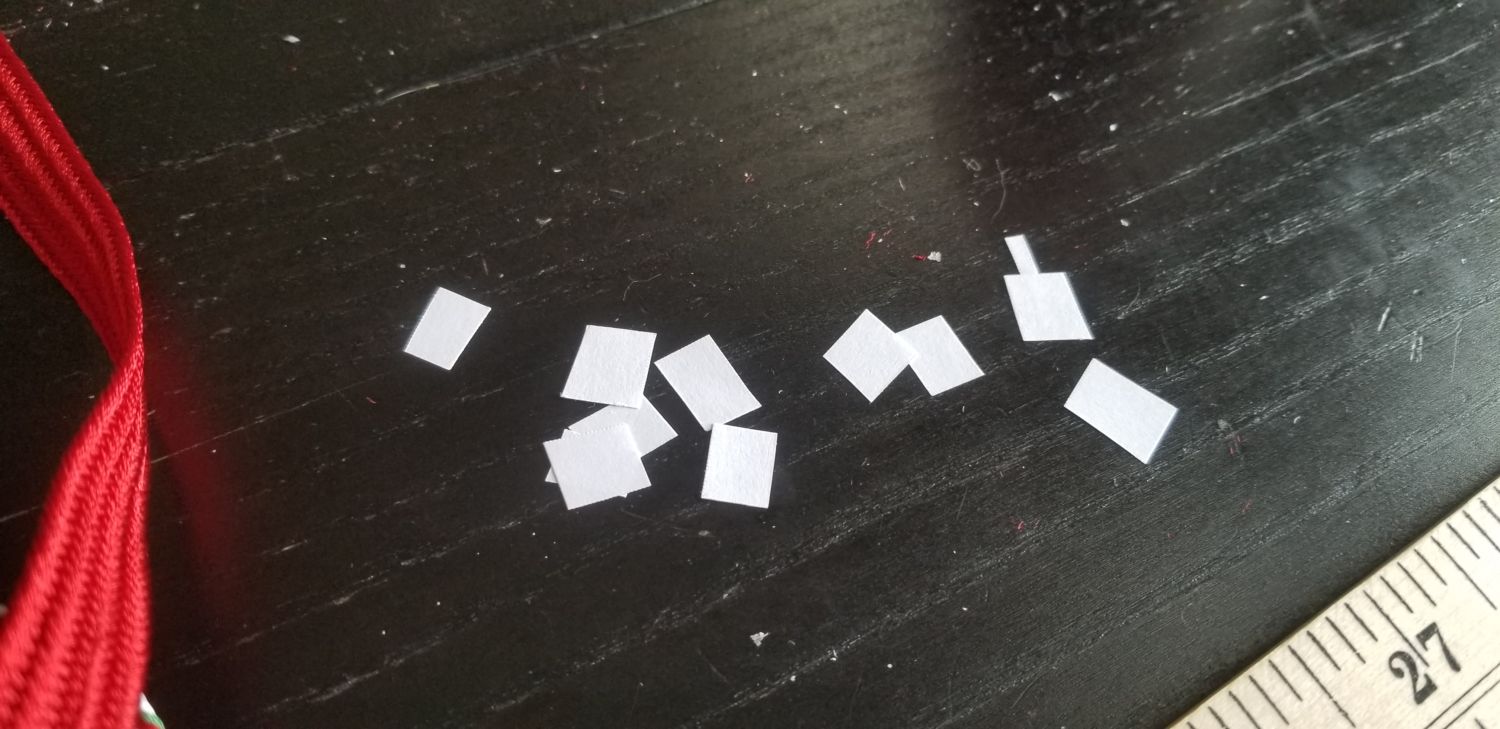
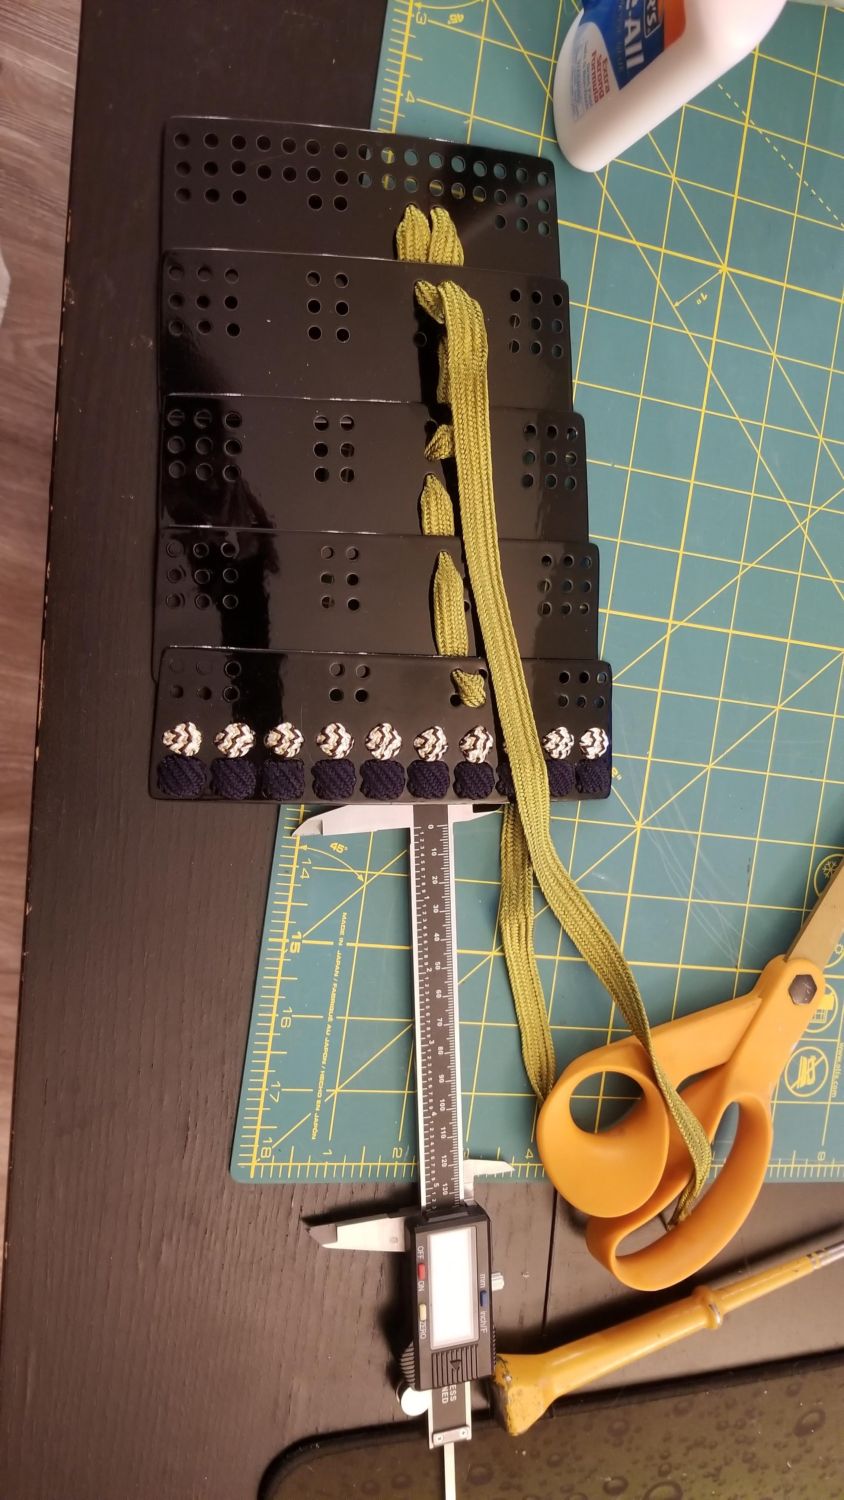
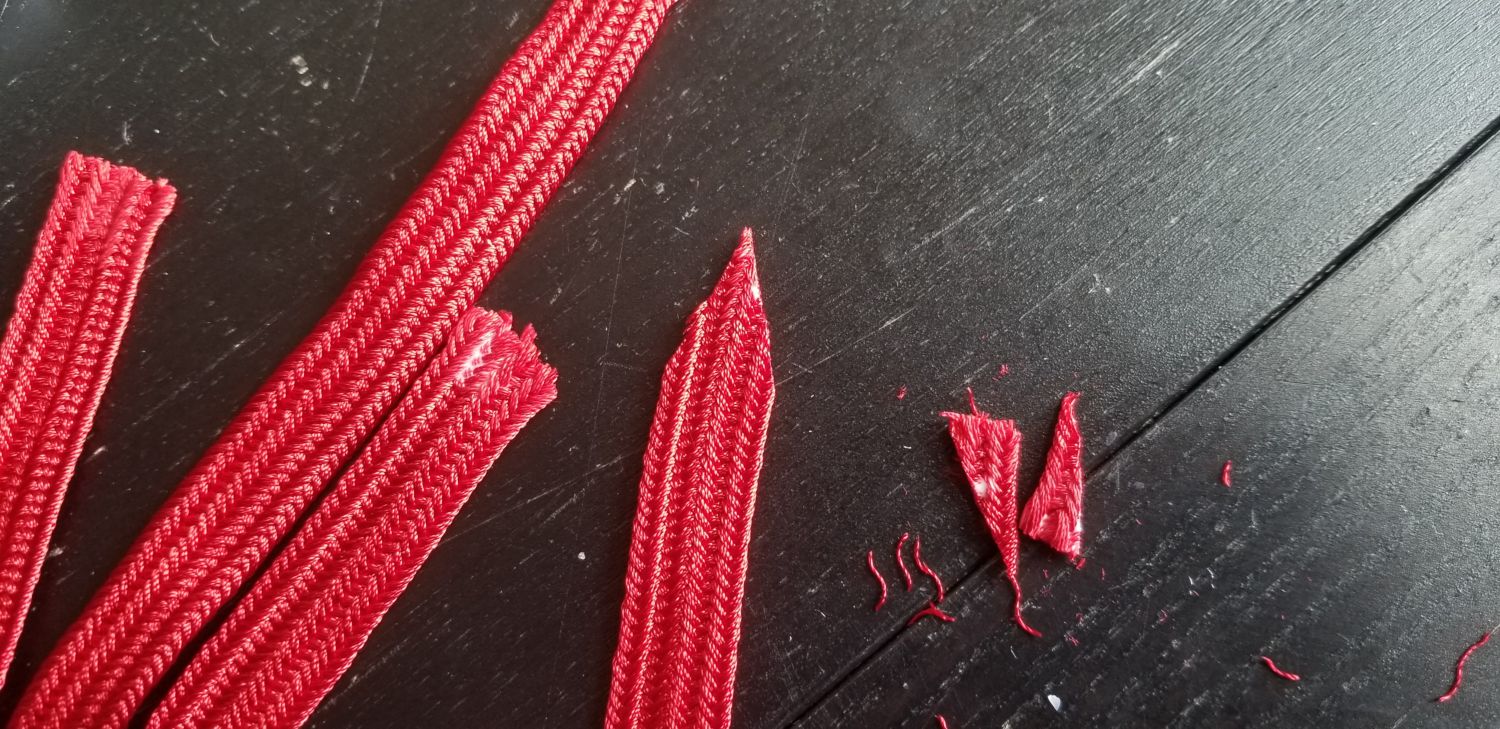
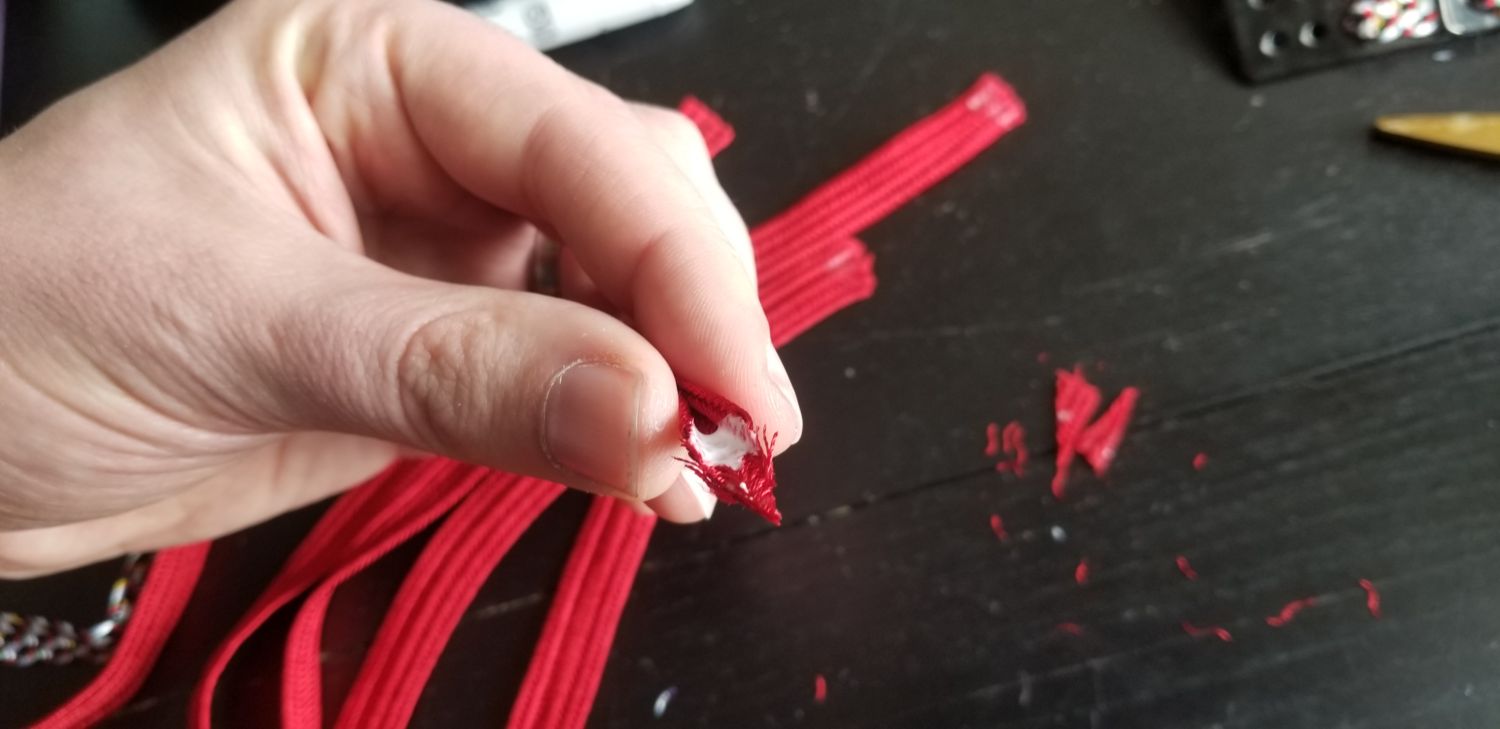
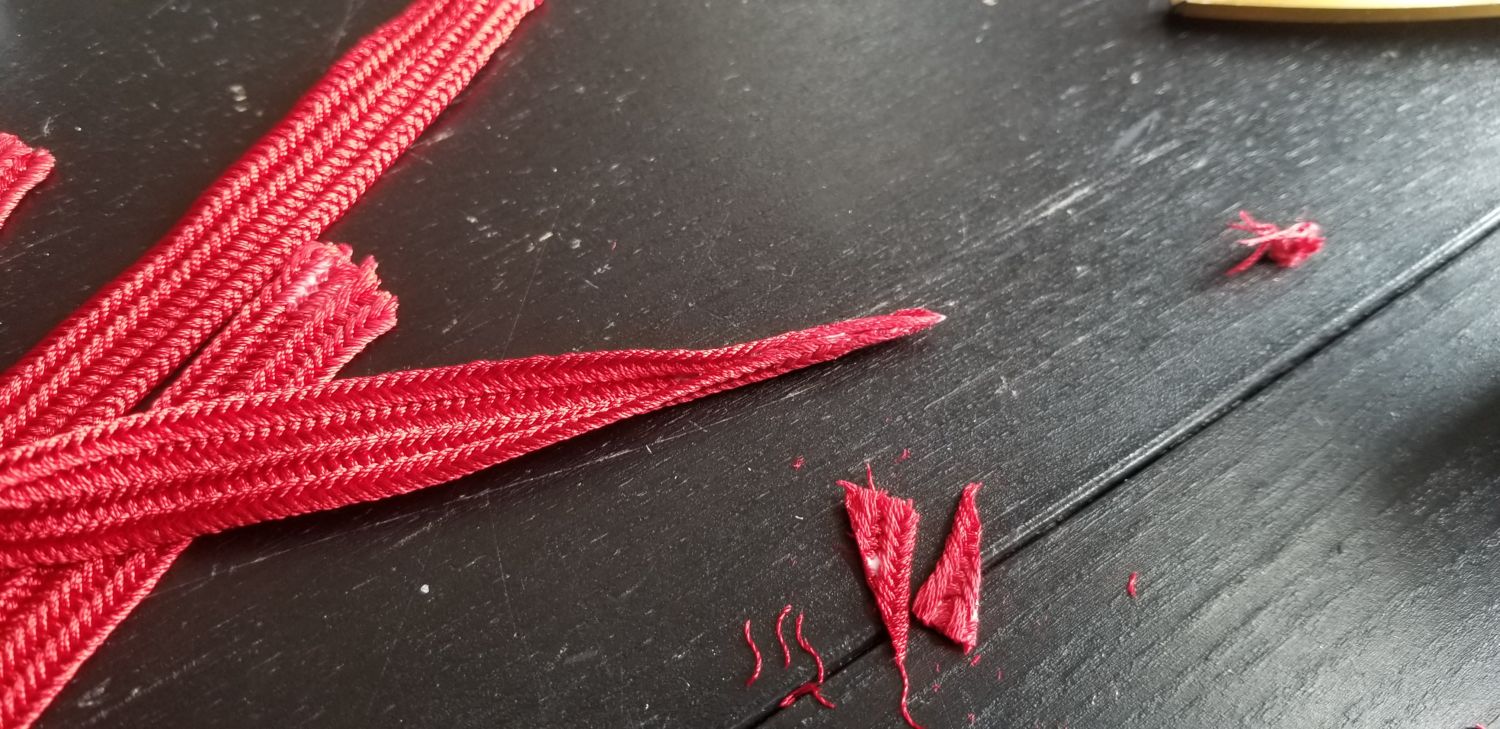
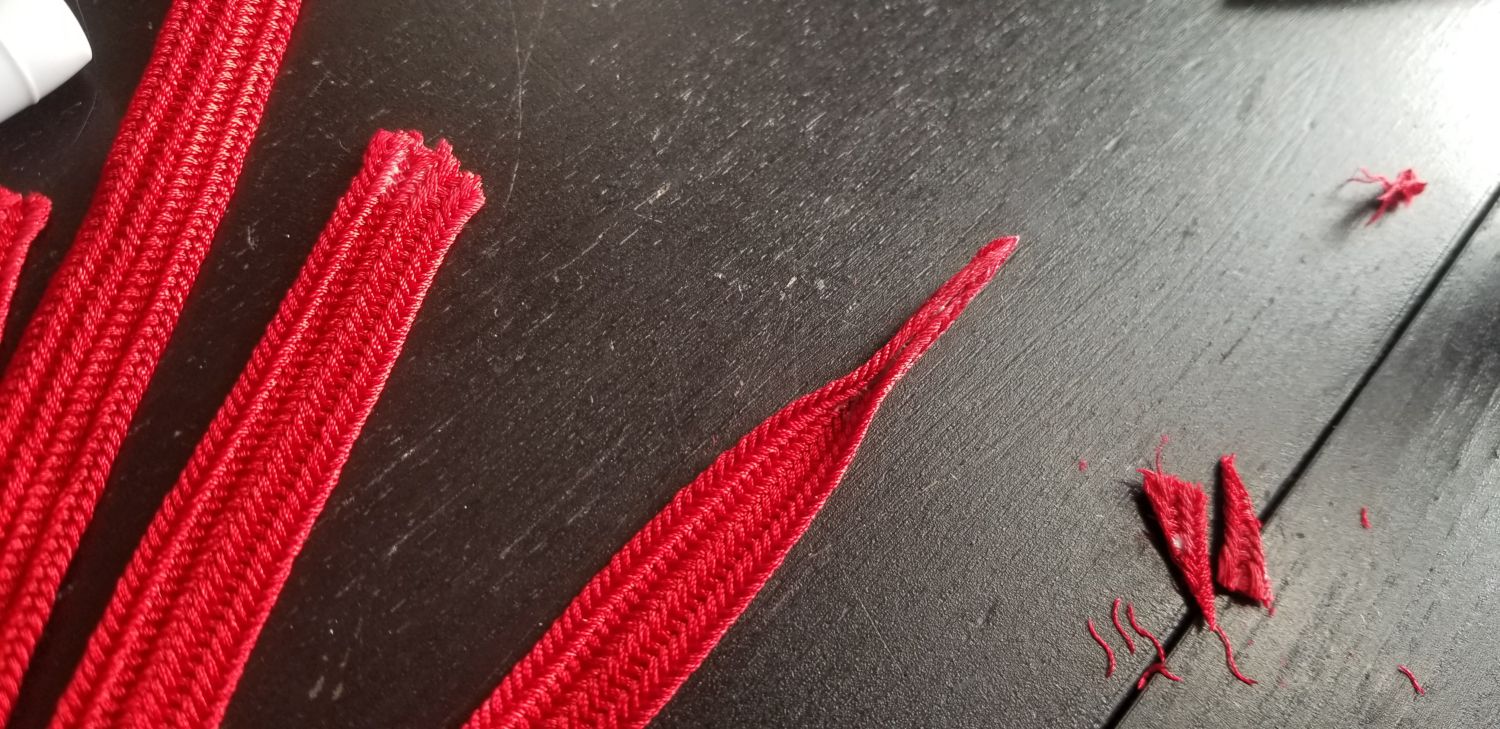
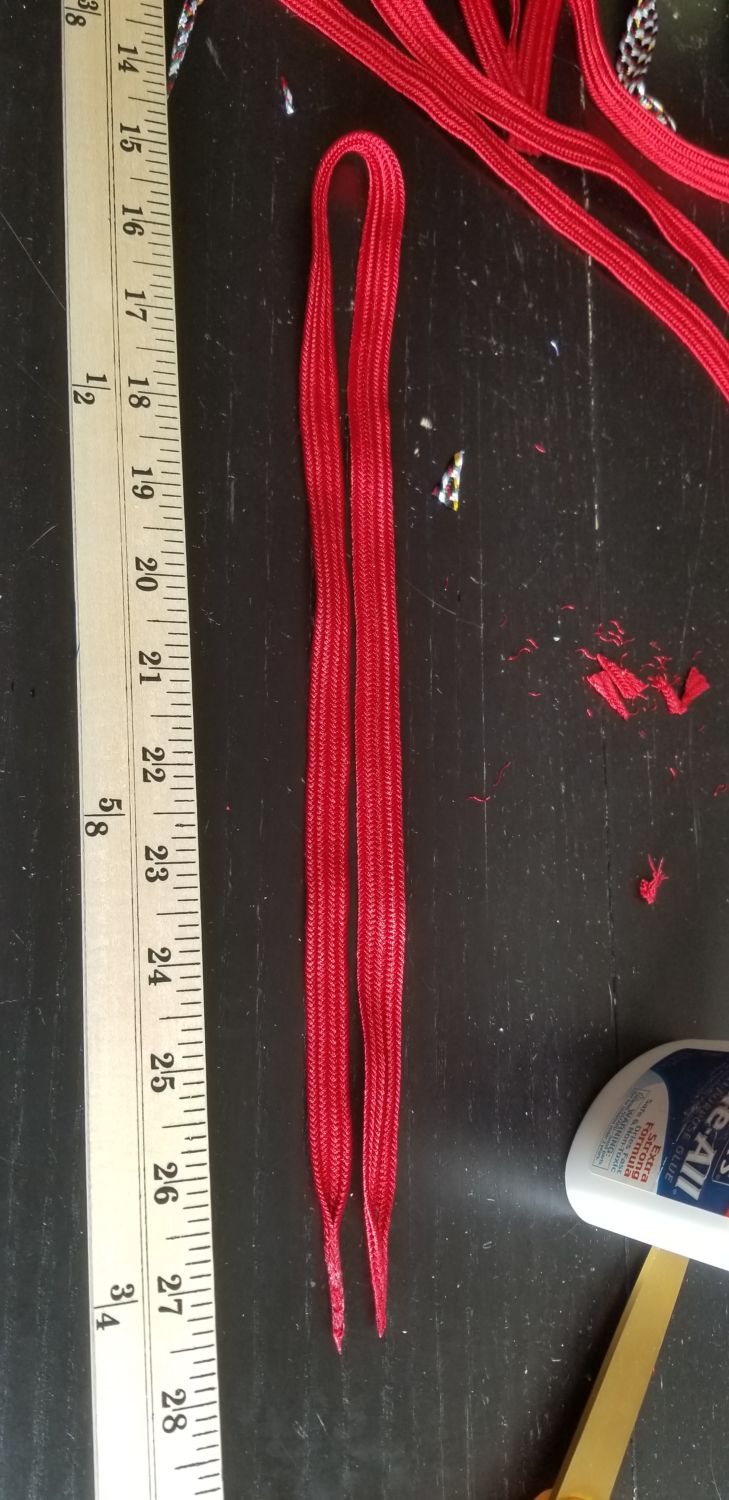
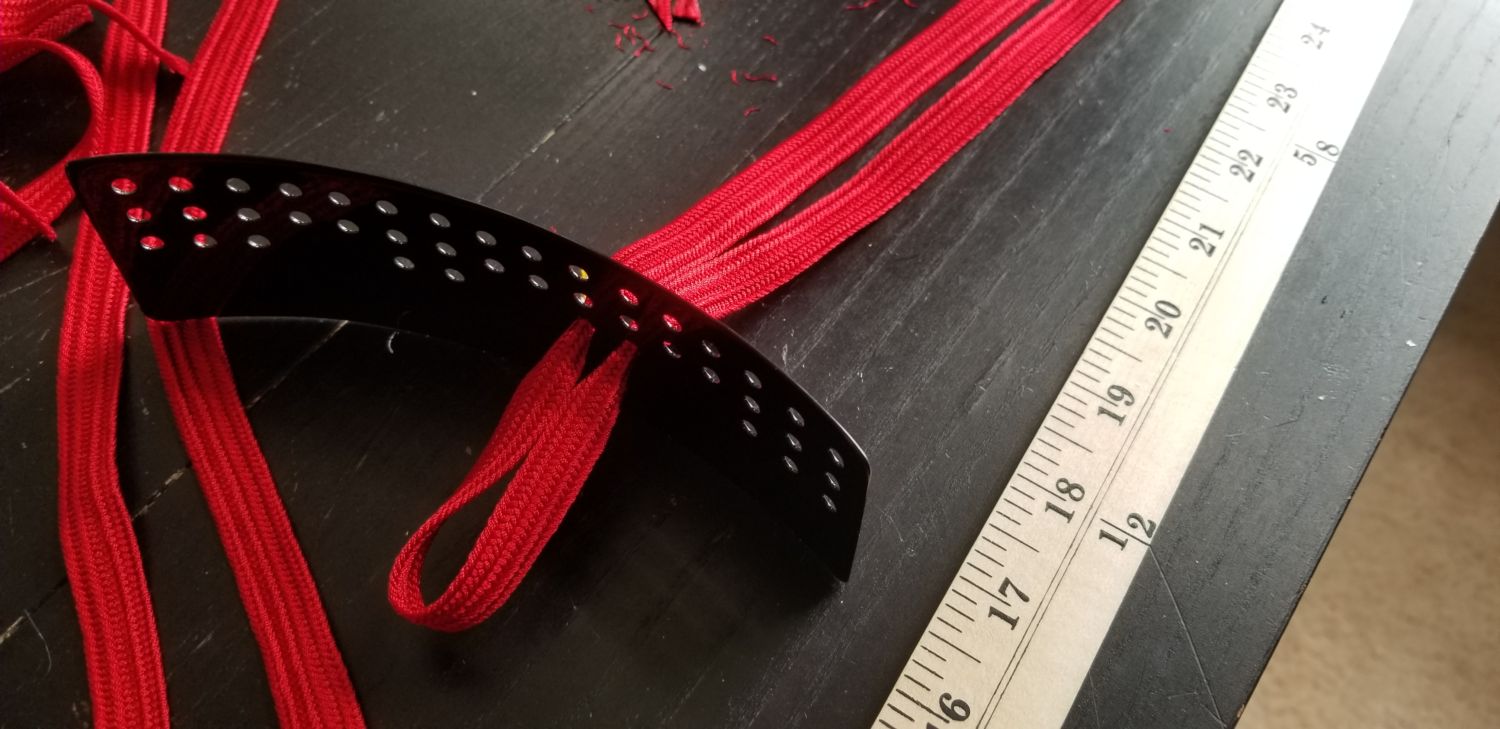
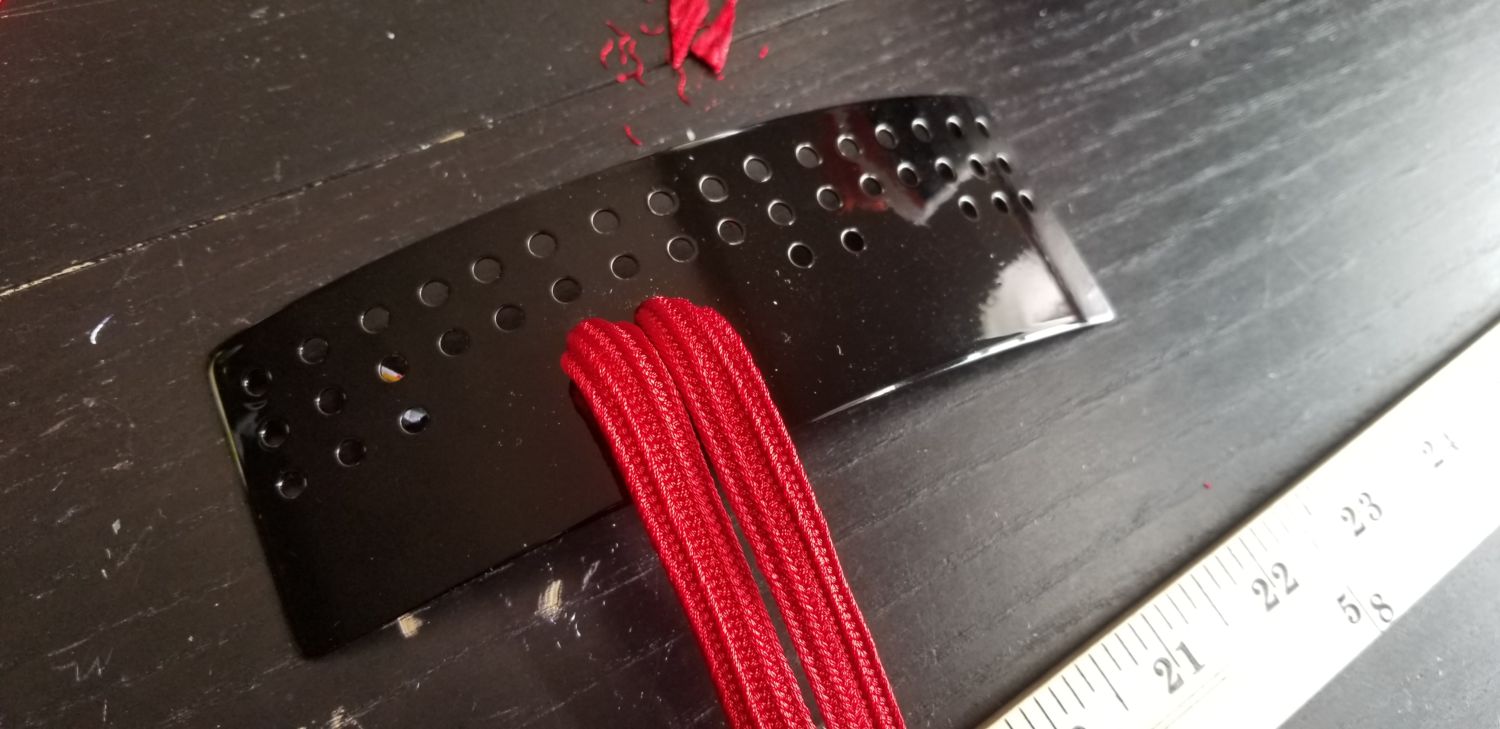
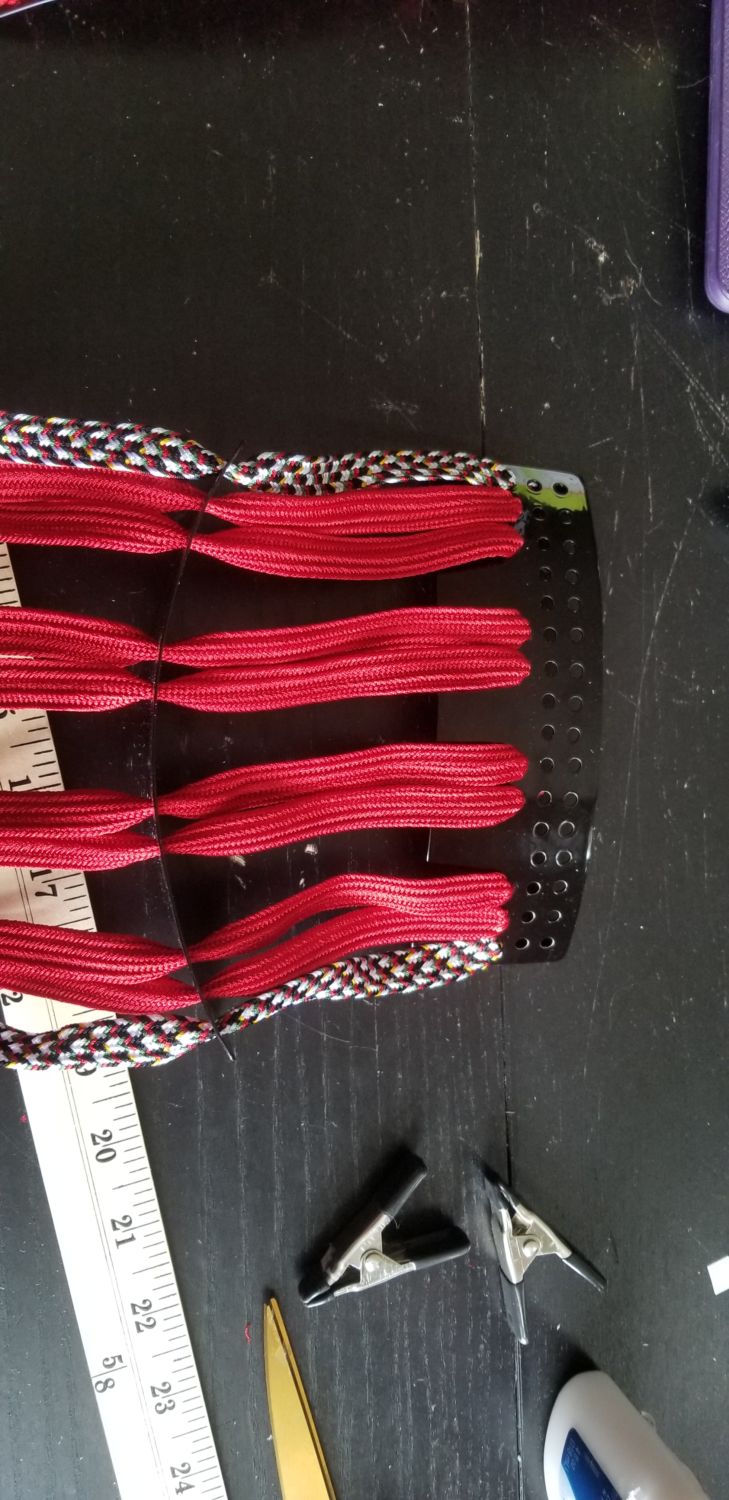
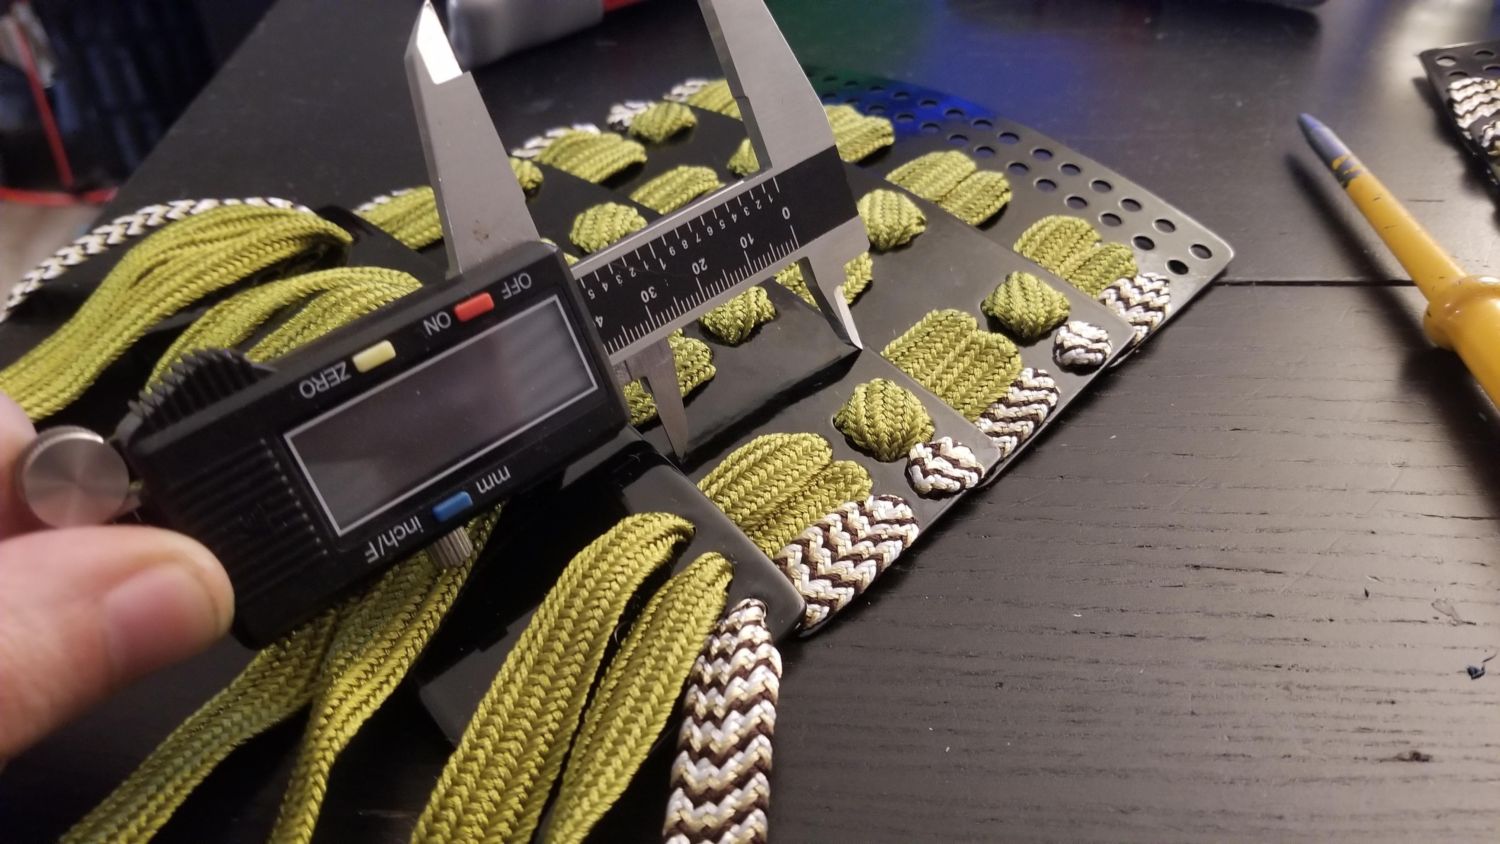
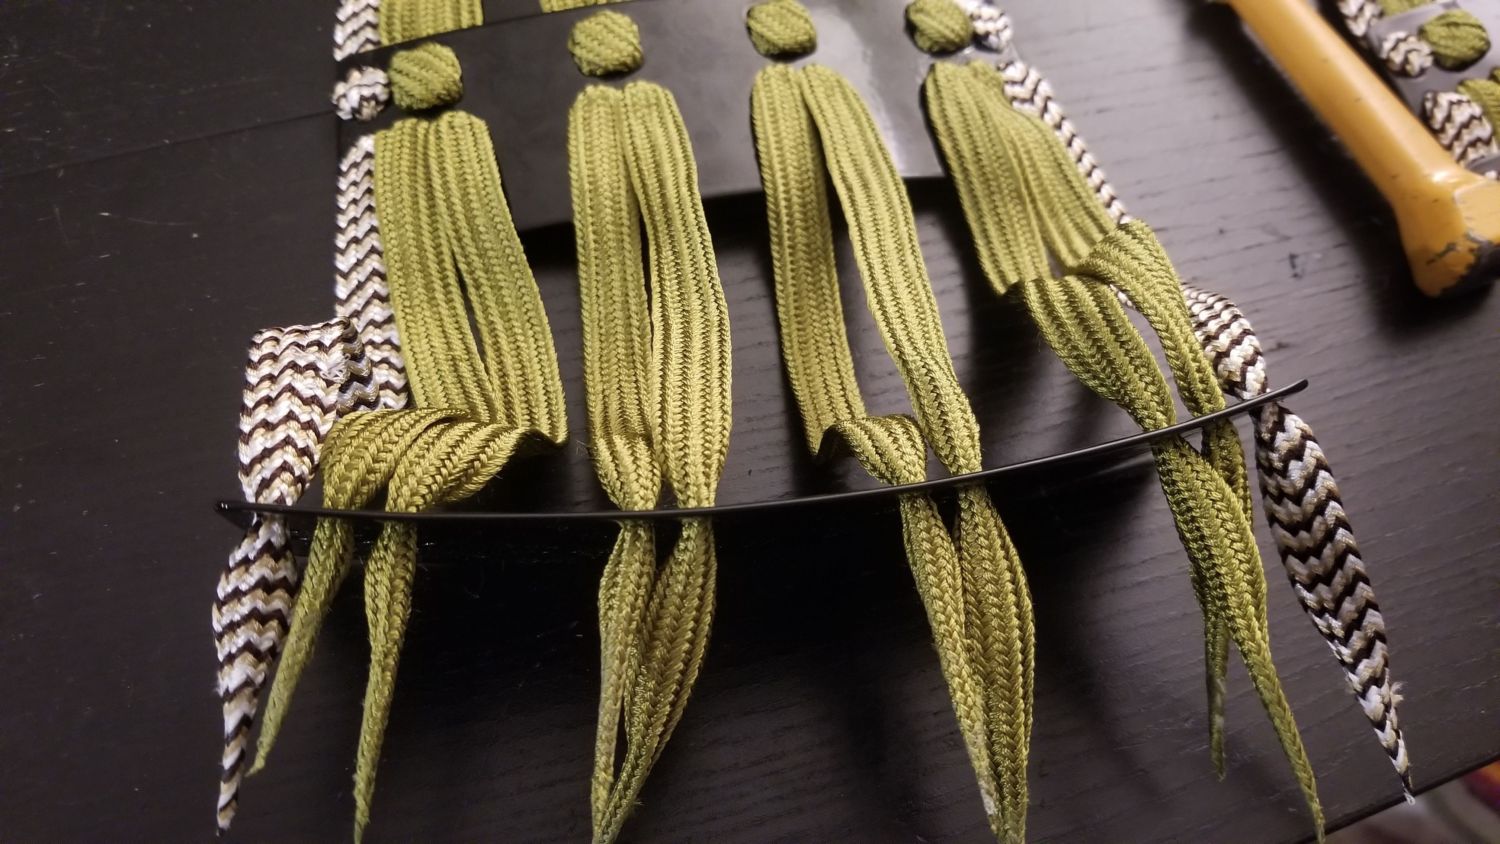
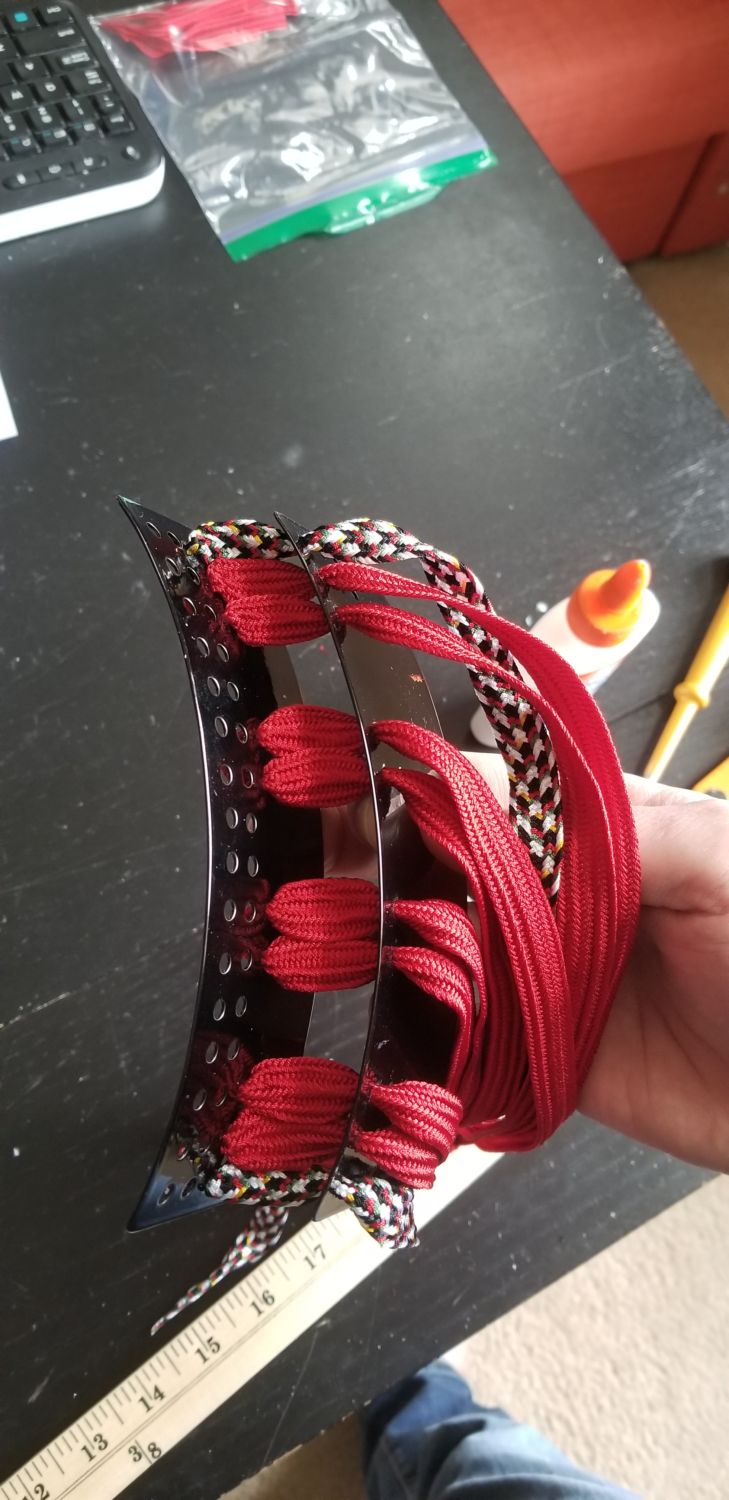
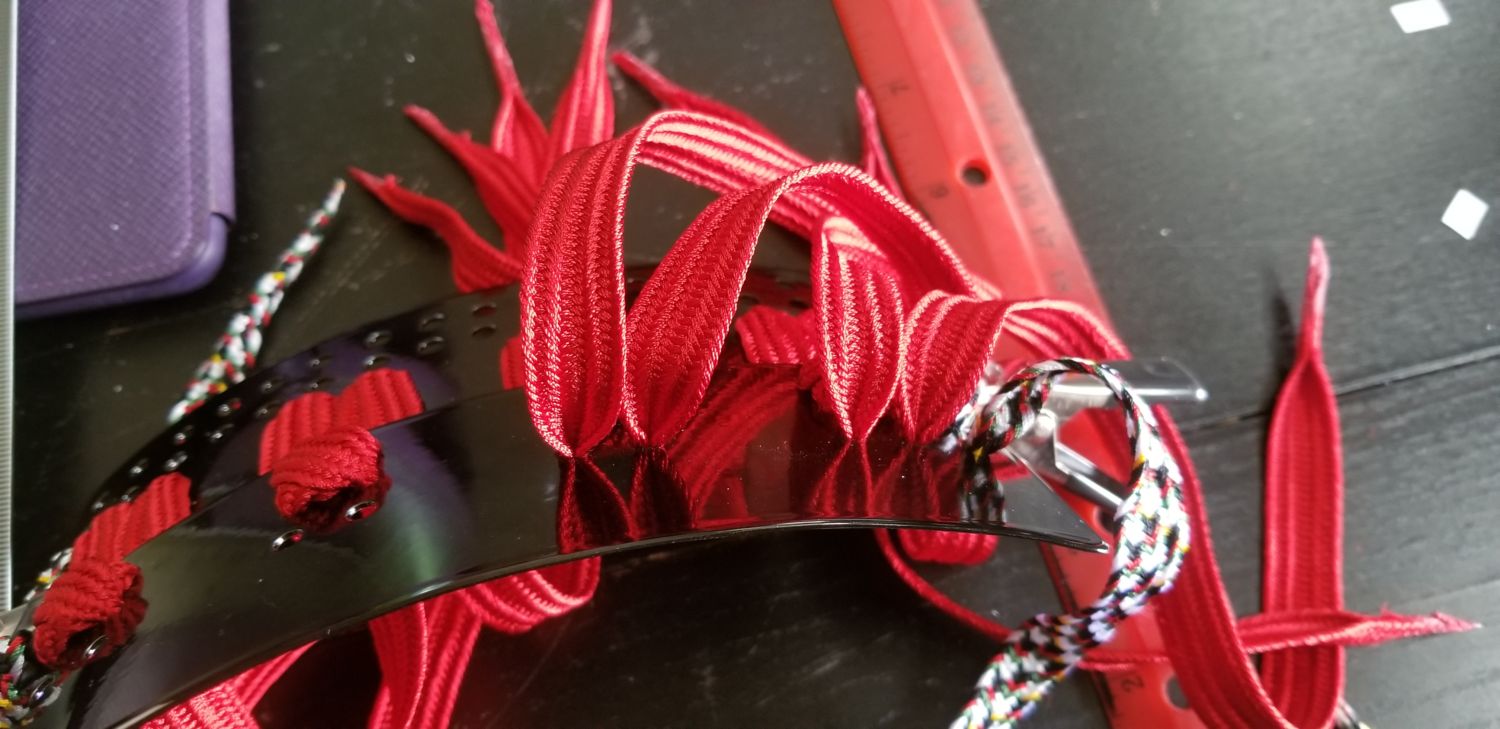
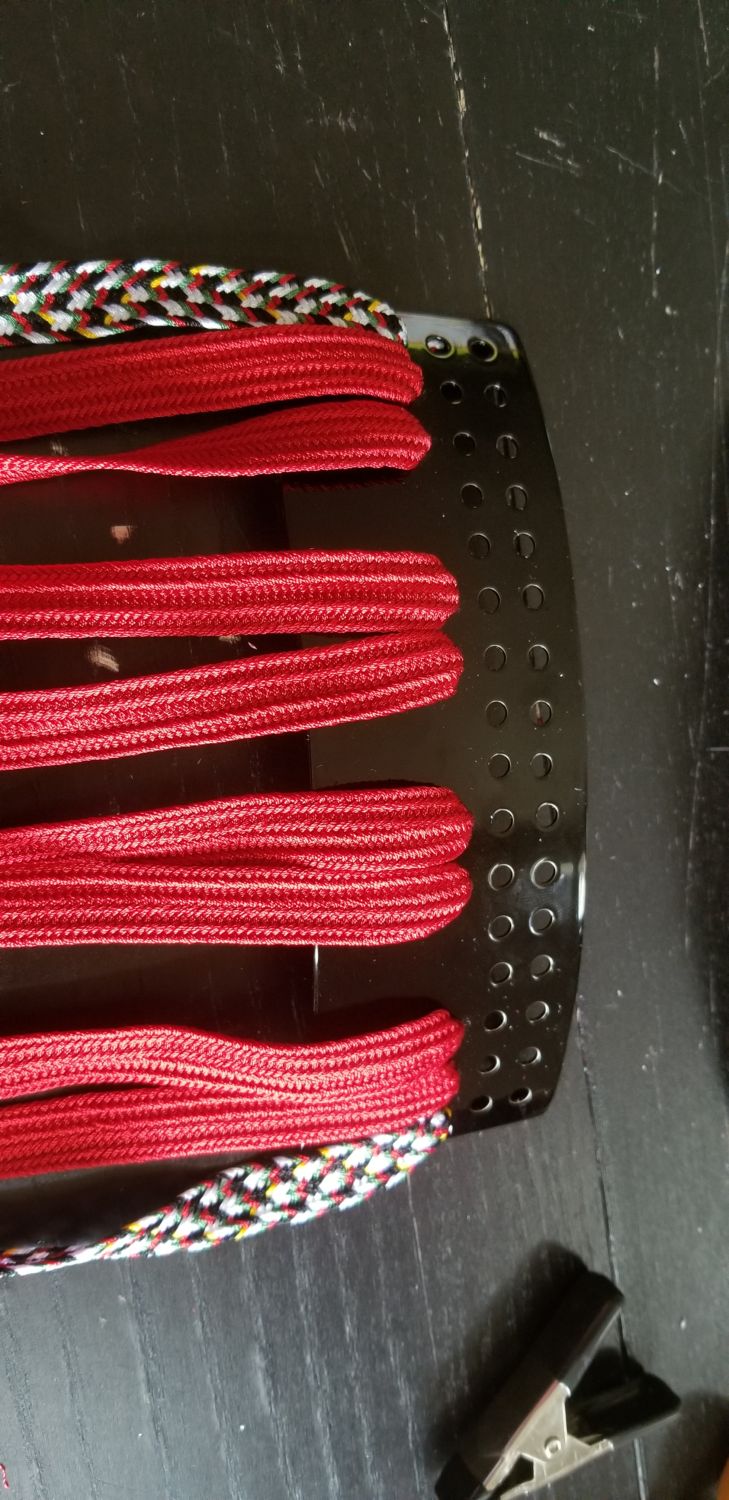
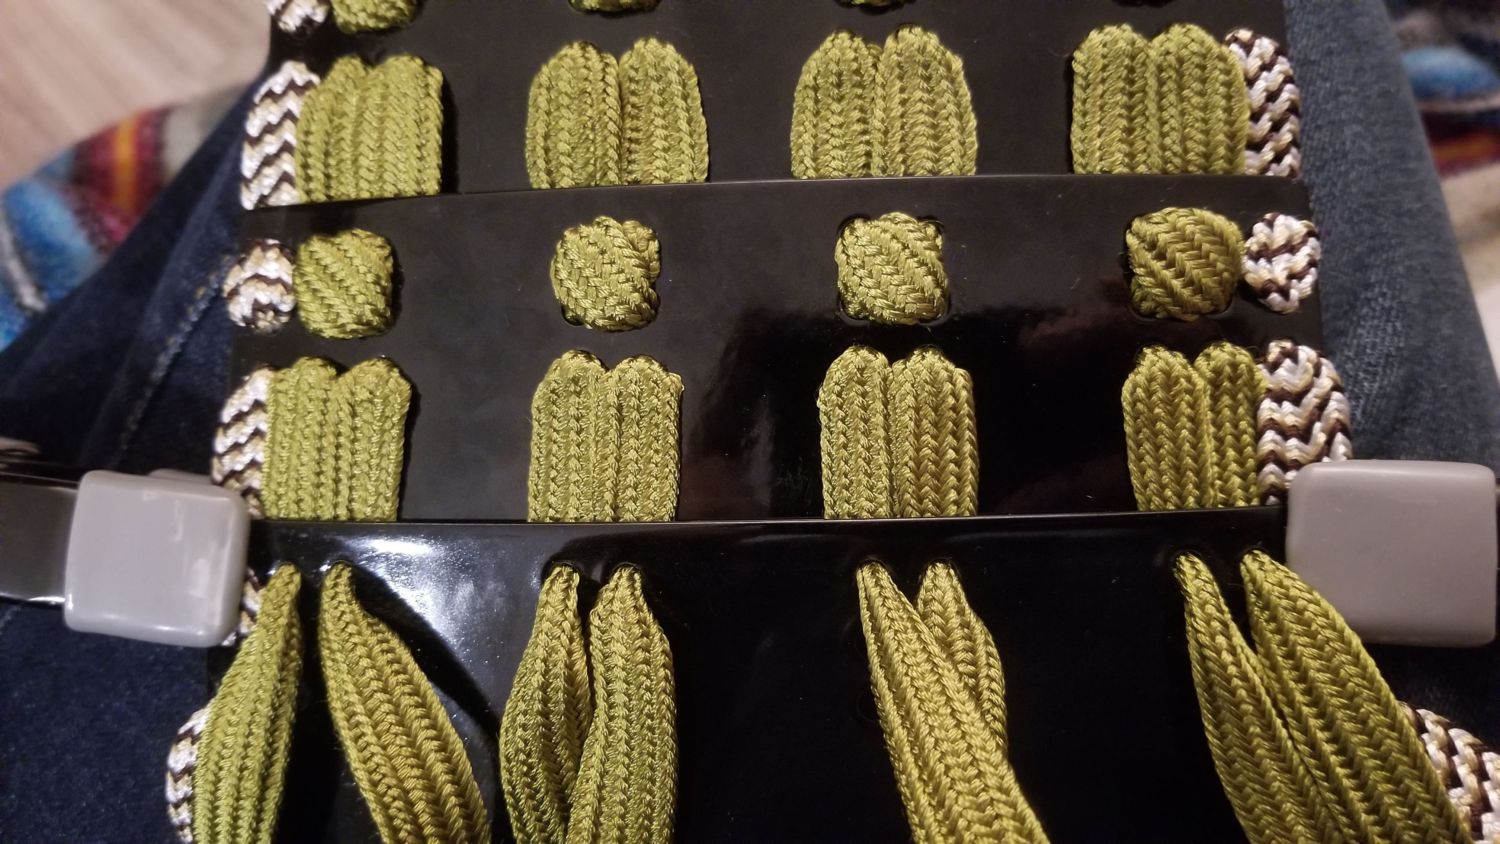
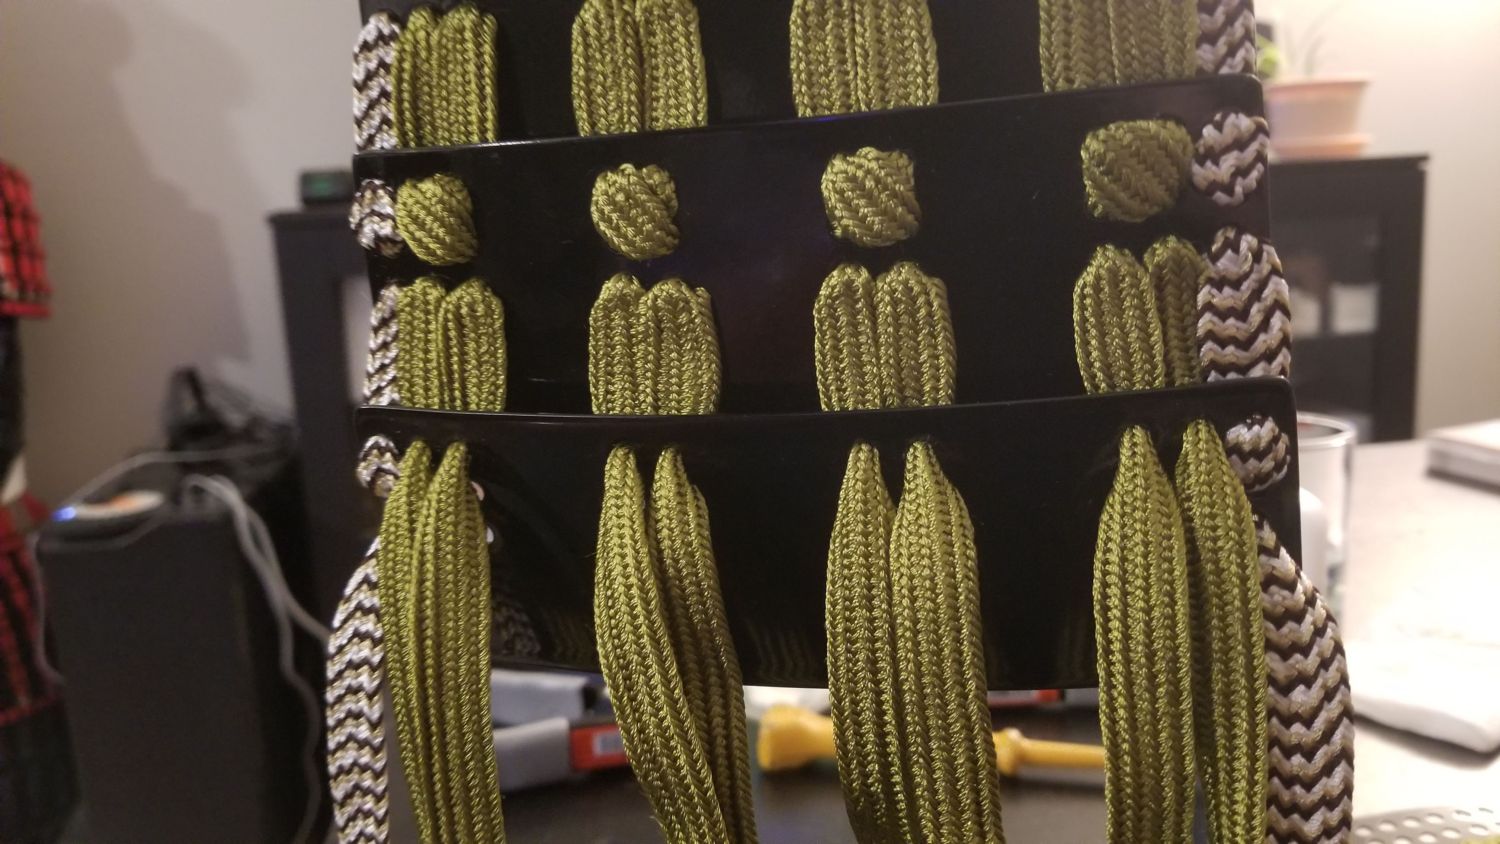
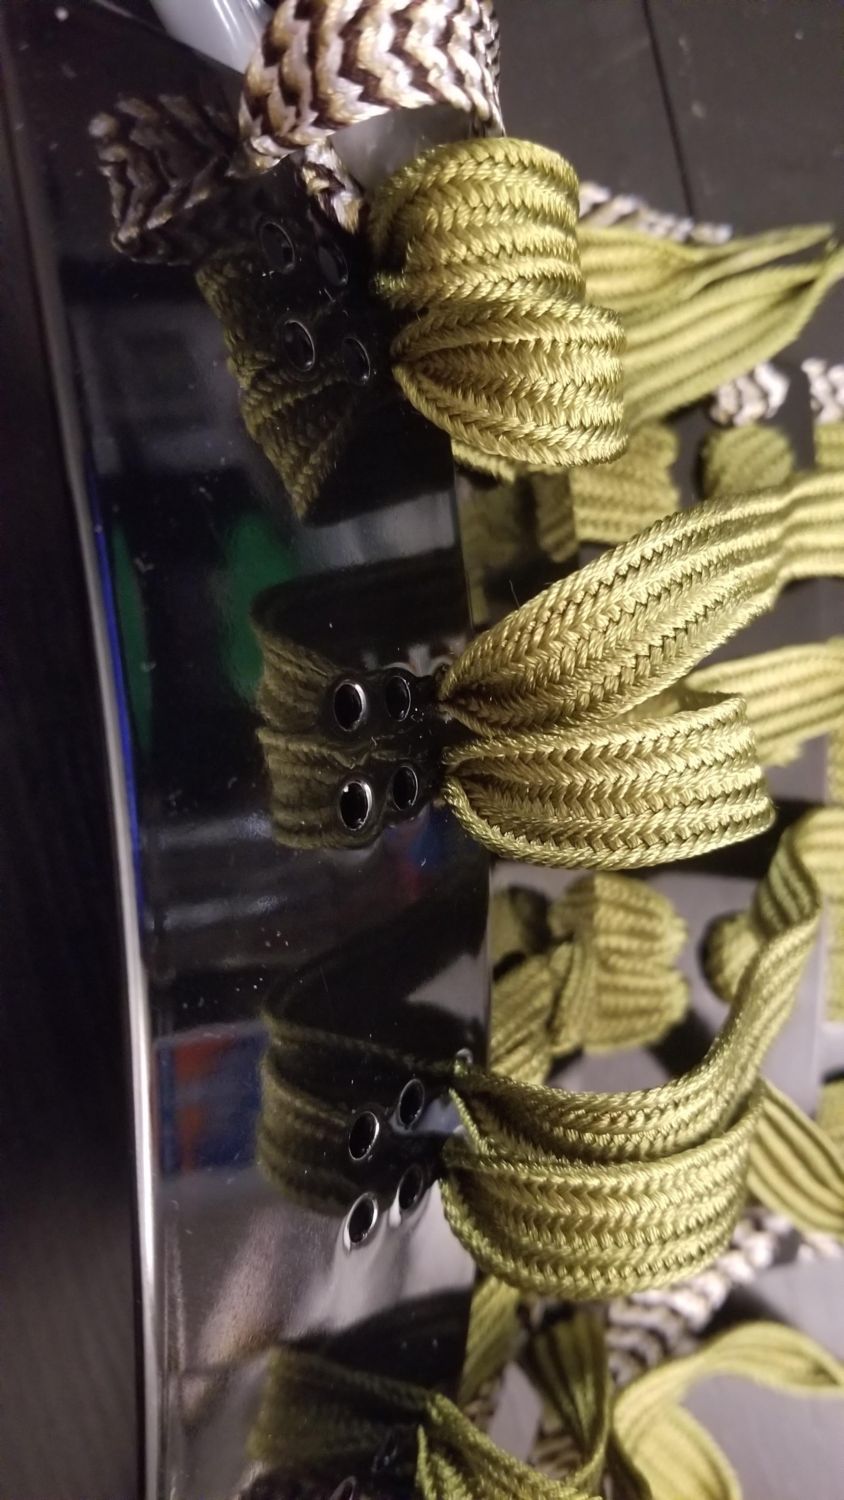
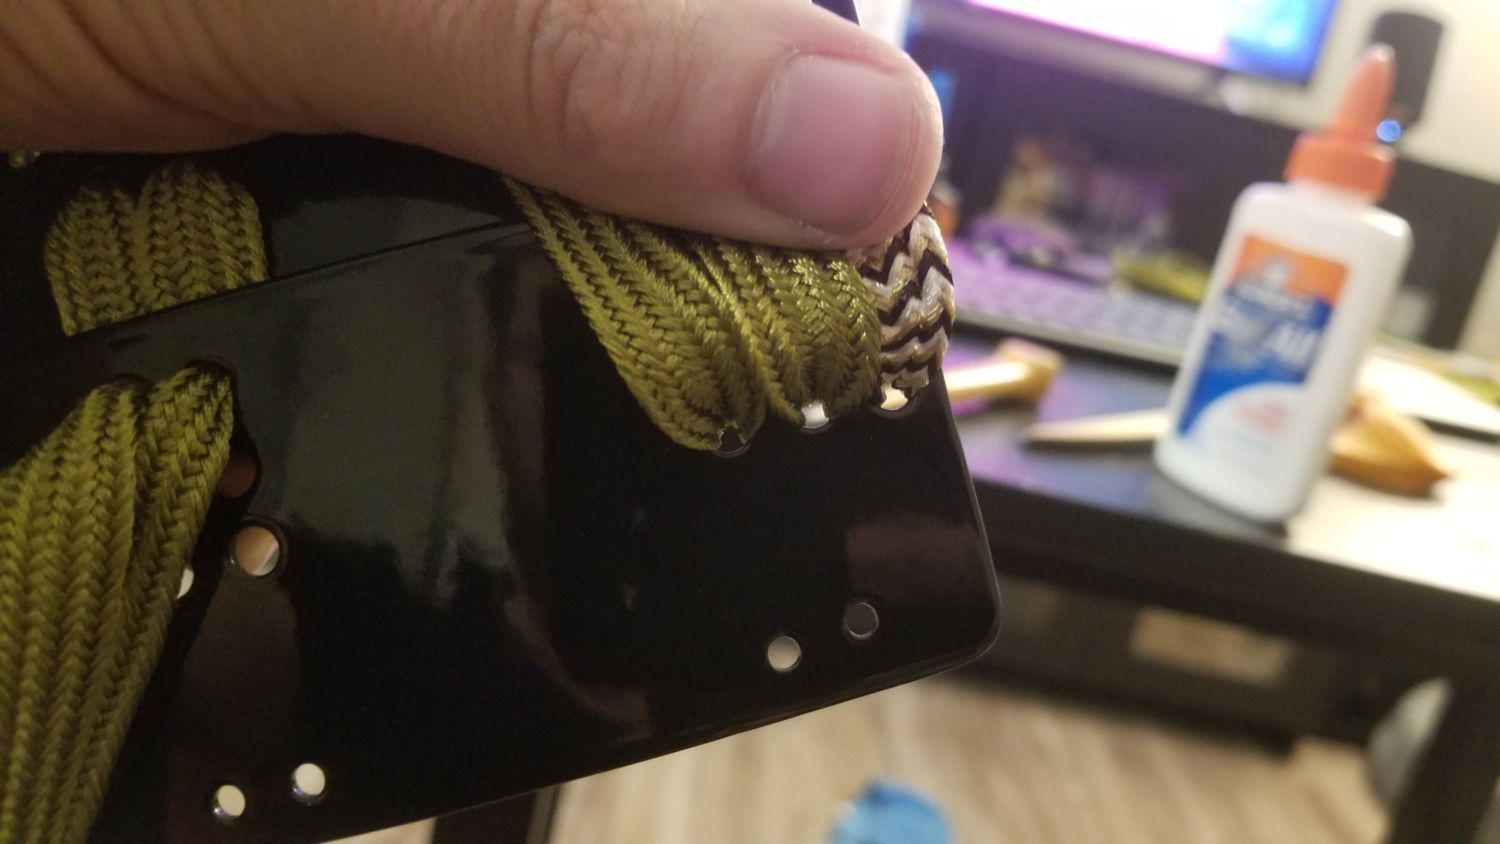
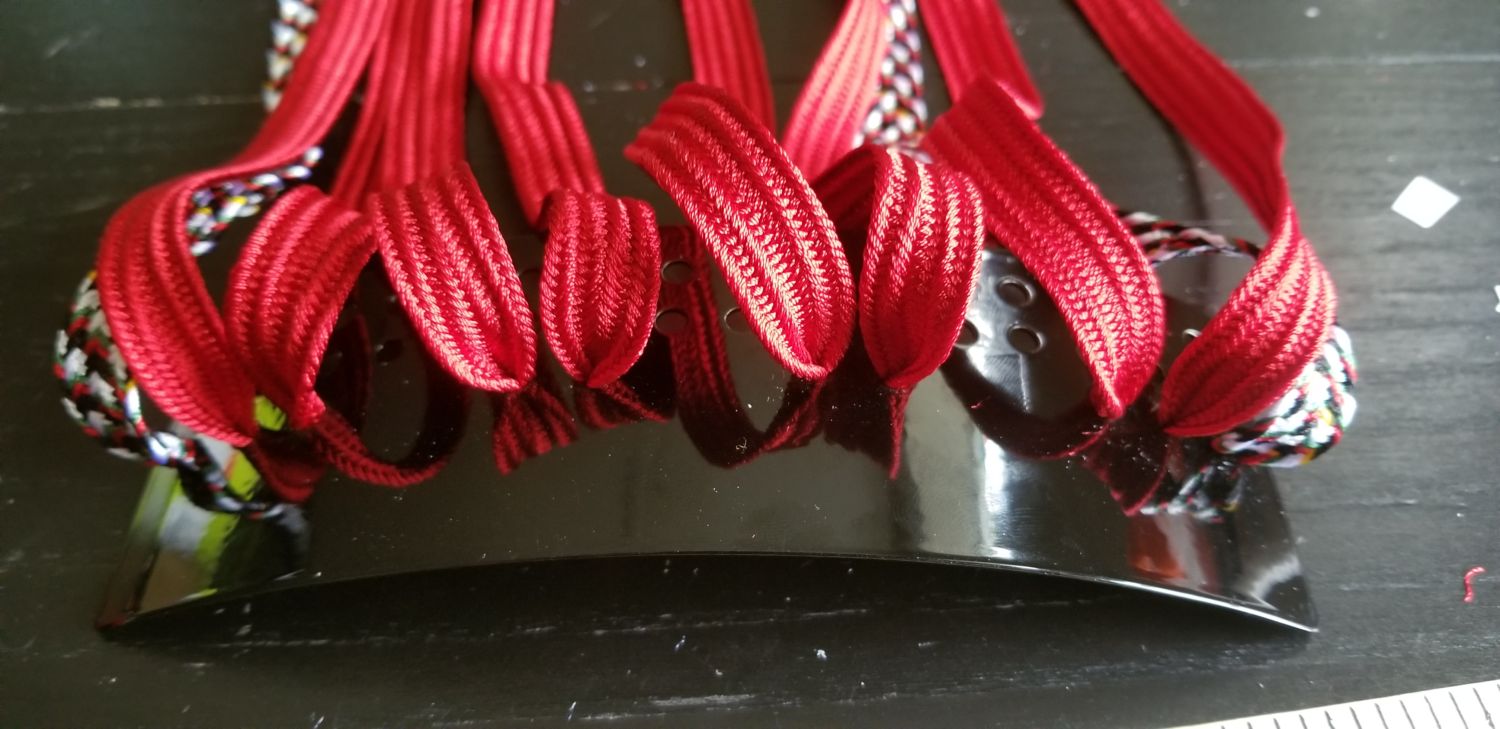
Skip to content
  • Home
  • Visual Glossary
    • Parts
    • Materials
    • Construction
    • Dou
    • Kabuto
    • Menpo
    • Kote
    • Sode
    • Auxiliary
    • Haidate
    • Suneate
    • People
  • Guides
    • Basic Metal Working Guide
    • Sugake odoshi guide
    • Zunari Kabuto
  • Armor Projects
    • Zunari Kabuto
    • Mogami Dou
    • Haribachi Kabuto
    • Okegawa Dou
  • Useful Links

sugake odoshi

Preparation - Make the Darts

Ruler, PVA Glue, Clamps, Scissors, and a center punch/chopstick/etc
Small squares of paper - I prefer washi paper, but any sort will do
Measure the approximate length required for the piece plus a bit extra for the tips and errors
Spread glue over the end of the lace, and then cut into an arrow shape. The glue helps to prevent fraying
Dab more glue onto either side of the arrow, and fold in half. Be careful to keep it from fraying. Gently role the ends to help it take a smooth dart shape
Gently twist the fold lace into a sort of round dart shape. Add more glue if needed
Allow to fully dry. Add more glue to edges if starting to fray
Repeat on other end of lace
Pull through both holes in the first plate
20200428_104039

Next pull everything through

20200428_131159
20220503_203601
20220503_203253
20200428_131301
20200428_145135
20200428_130316
20220503_204430
20220503_204235
20220503_204500

Pull each lace through all of the holes, and measure the overlap

Orient the holes

20220503_160436
20211110_211028
20200428_145135
20200428_125623
20220503_204500
20220503_204235

Correctly

Copyright © 2025 Tonbo Armory